Reopened & Even Better by Kathy Hochstetler

Reopened & Even Better

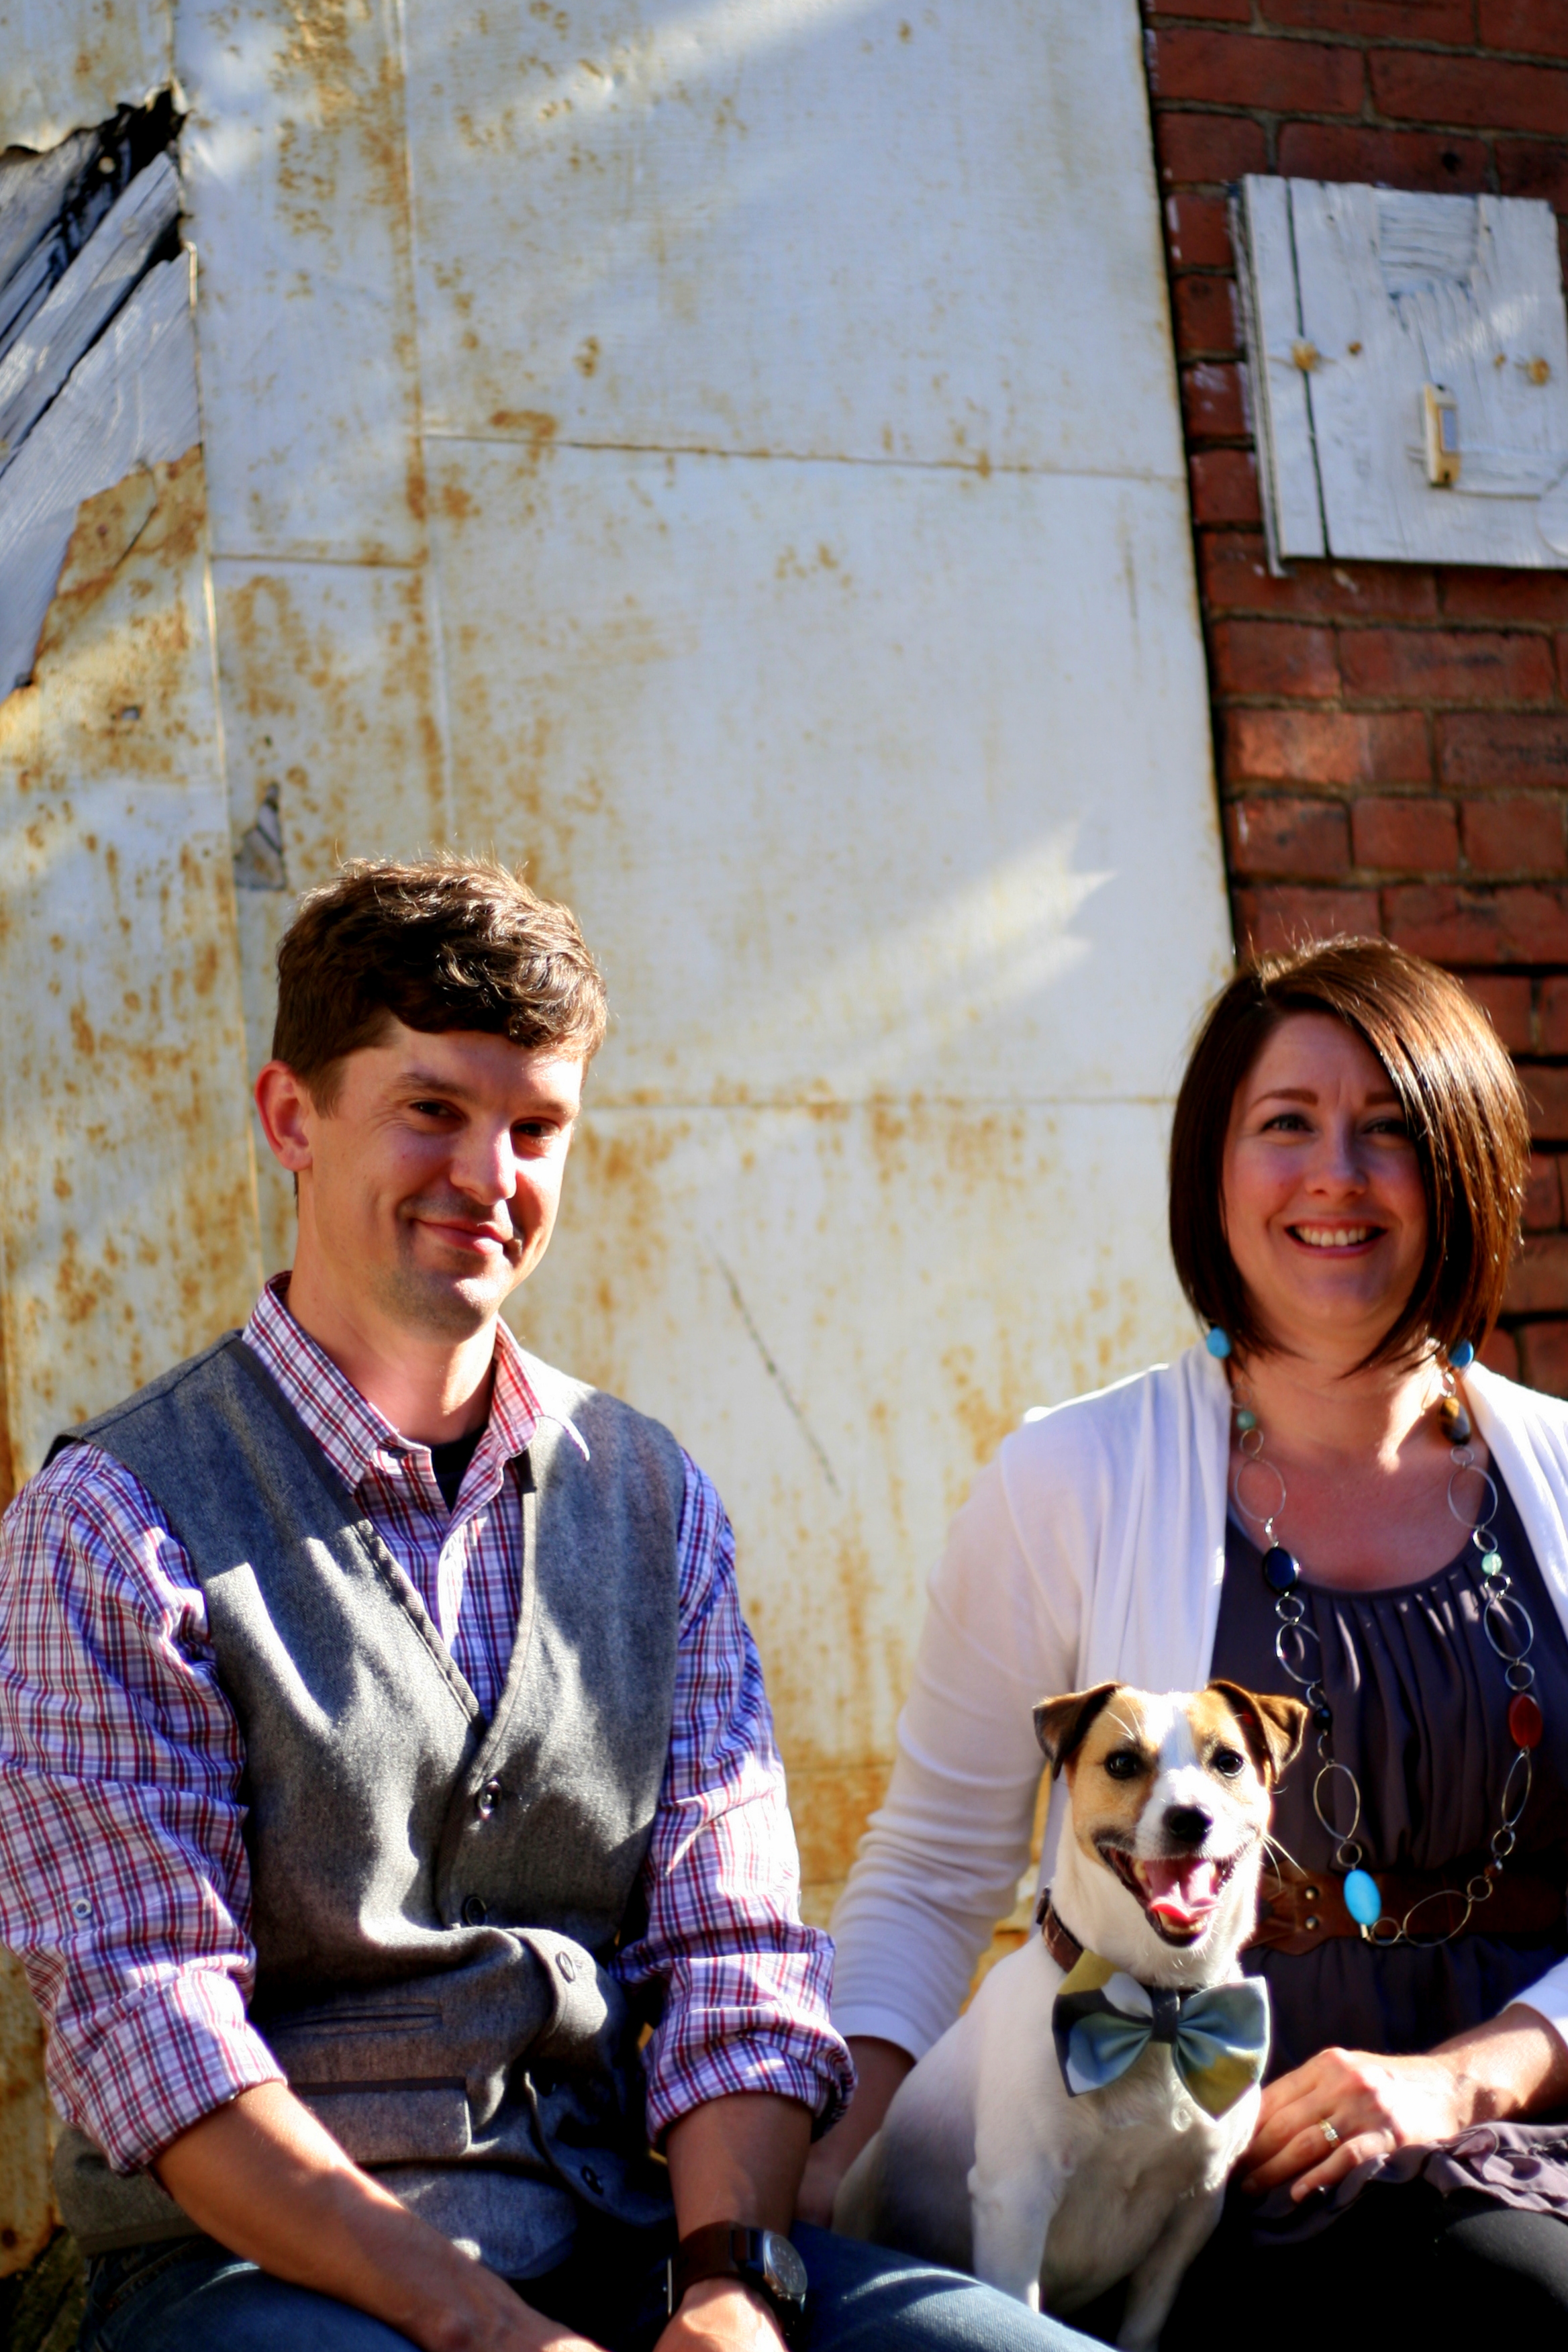
What a journey we have all been through the past few months! We are grateful to be reopened. It felt so good to flip that open sign on May 13th.

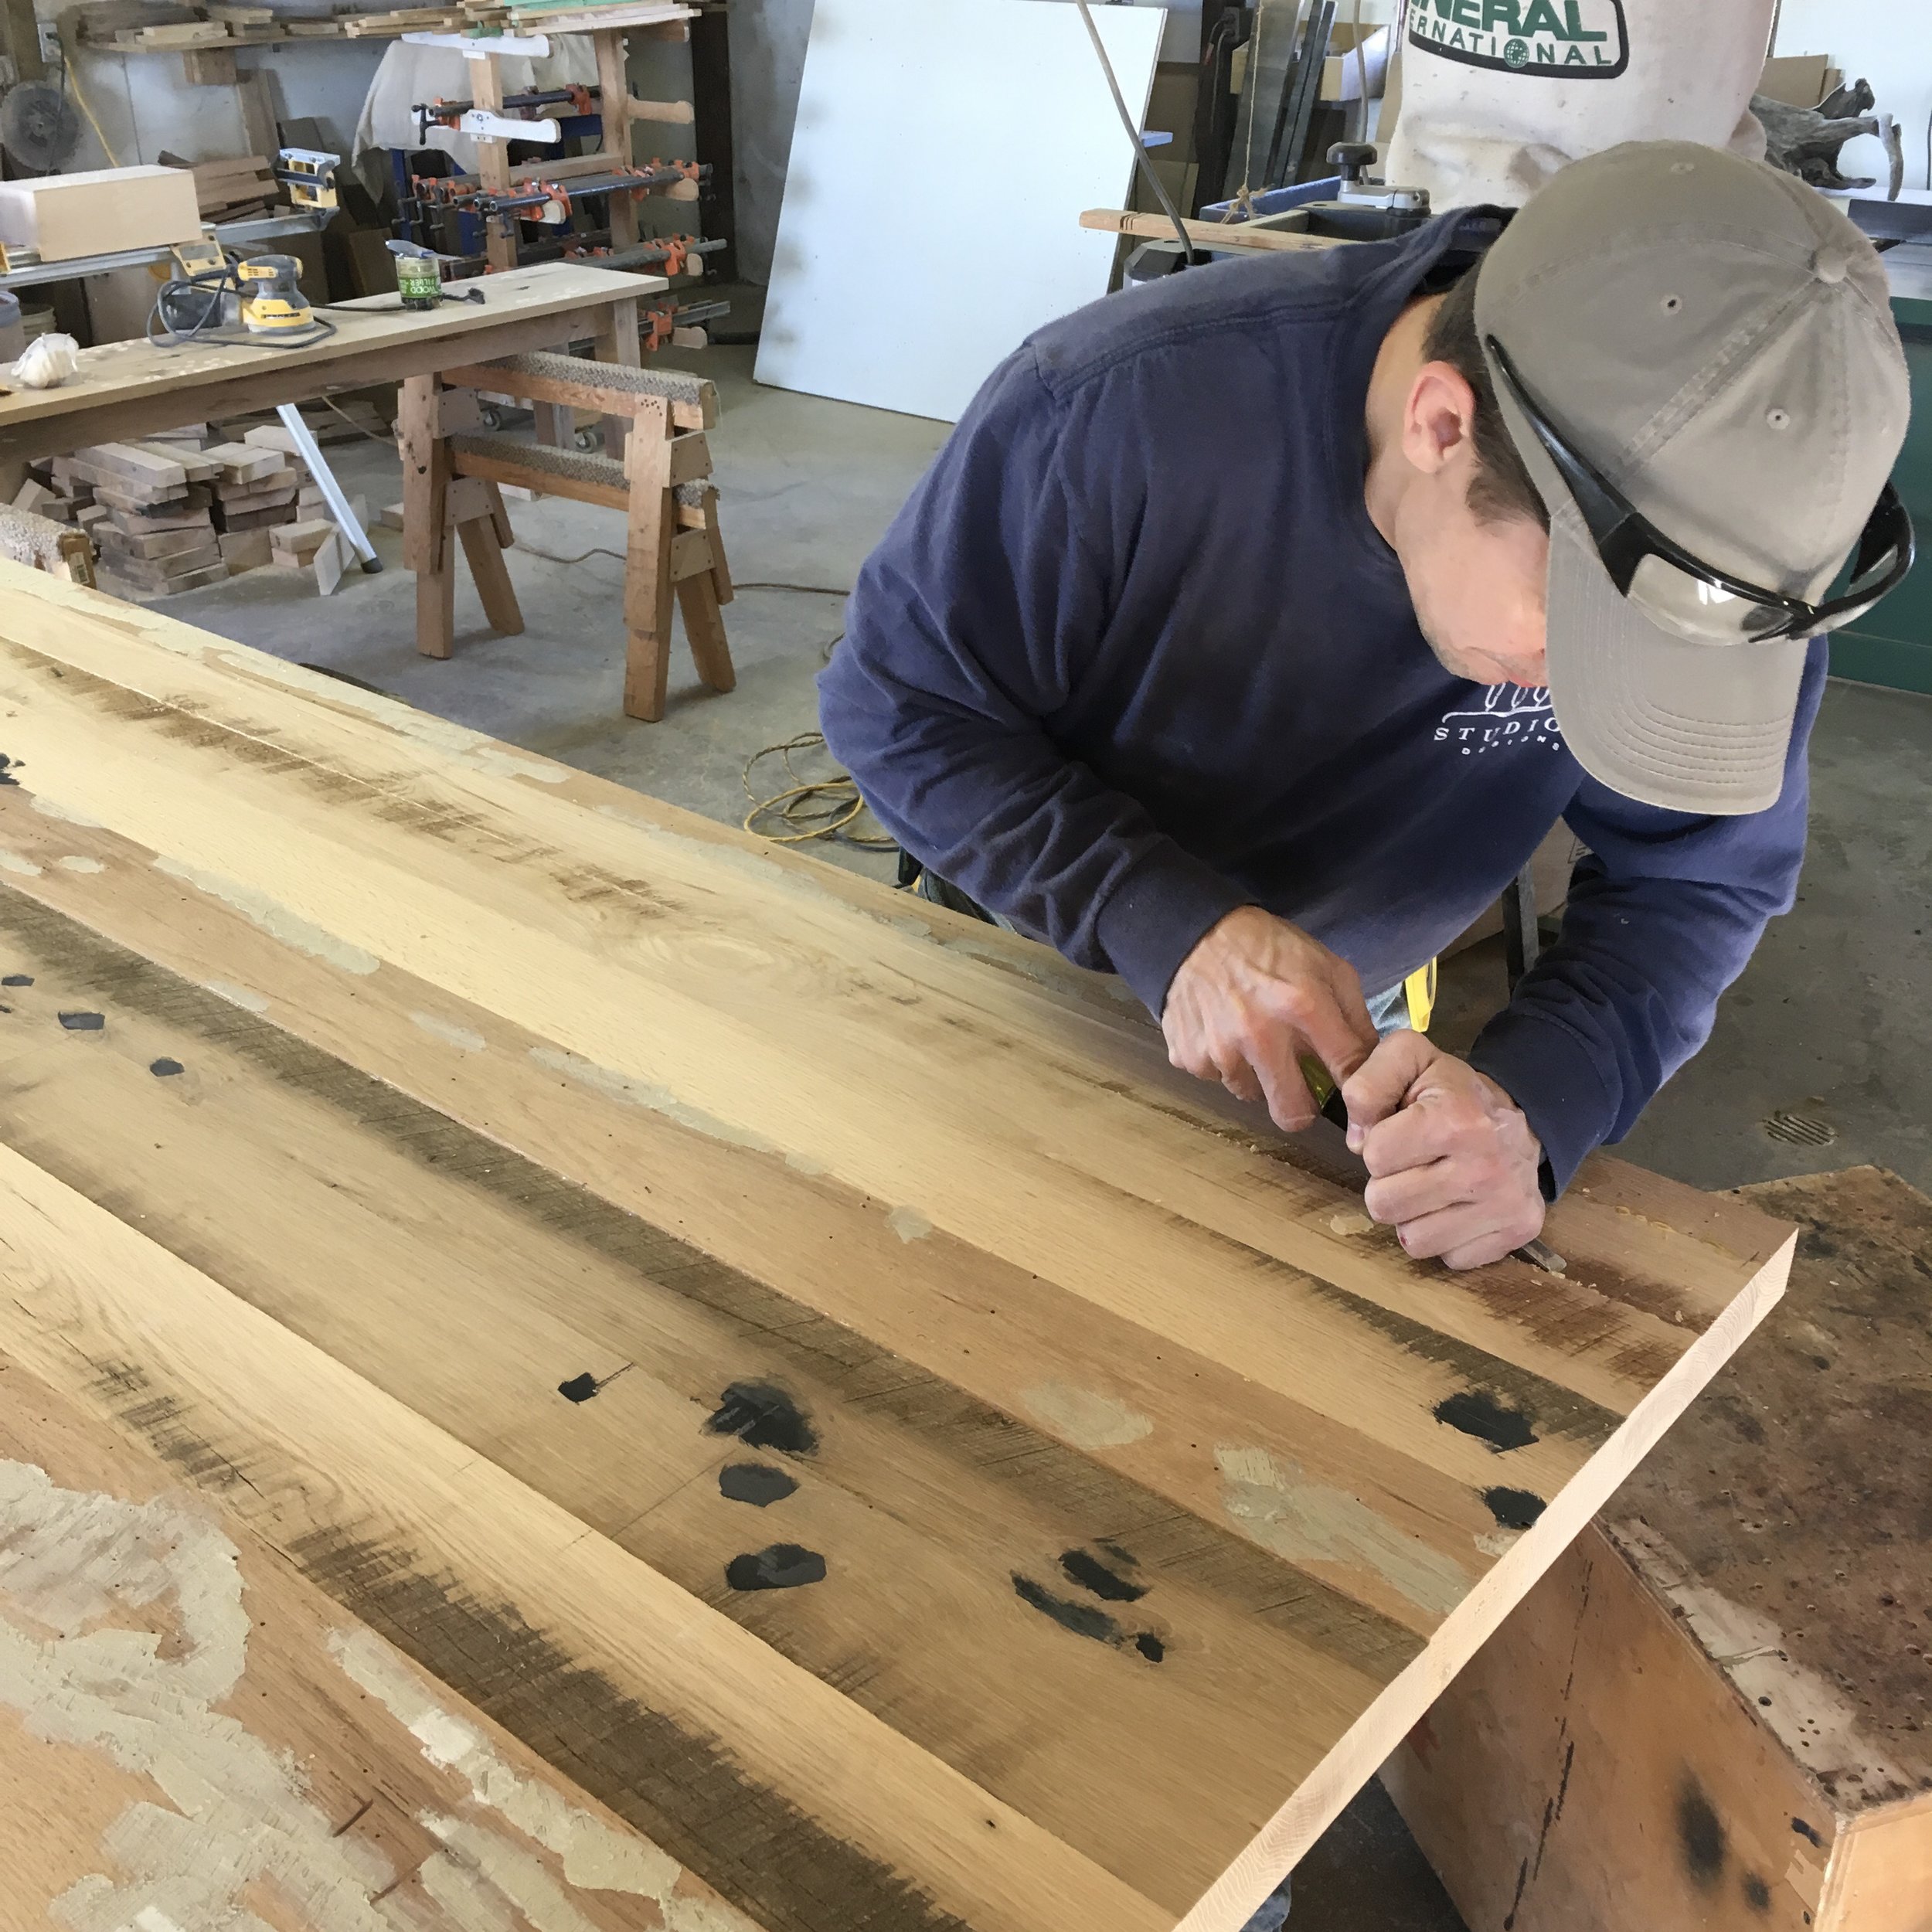
The initial shutdown was only going to be two weeks so John and I started tackling those projects that never get done at home. We cleaned out our second floor and attic. After many trips to the thrift store to make donations and lots of cleaning, we reclaimed our art room and made a space for John’s drum kit.

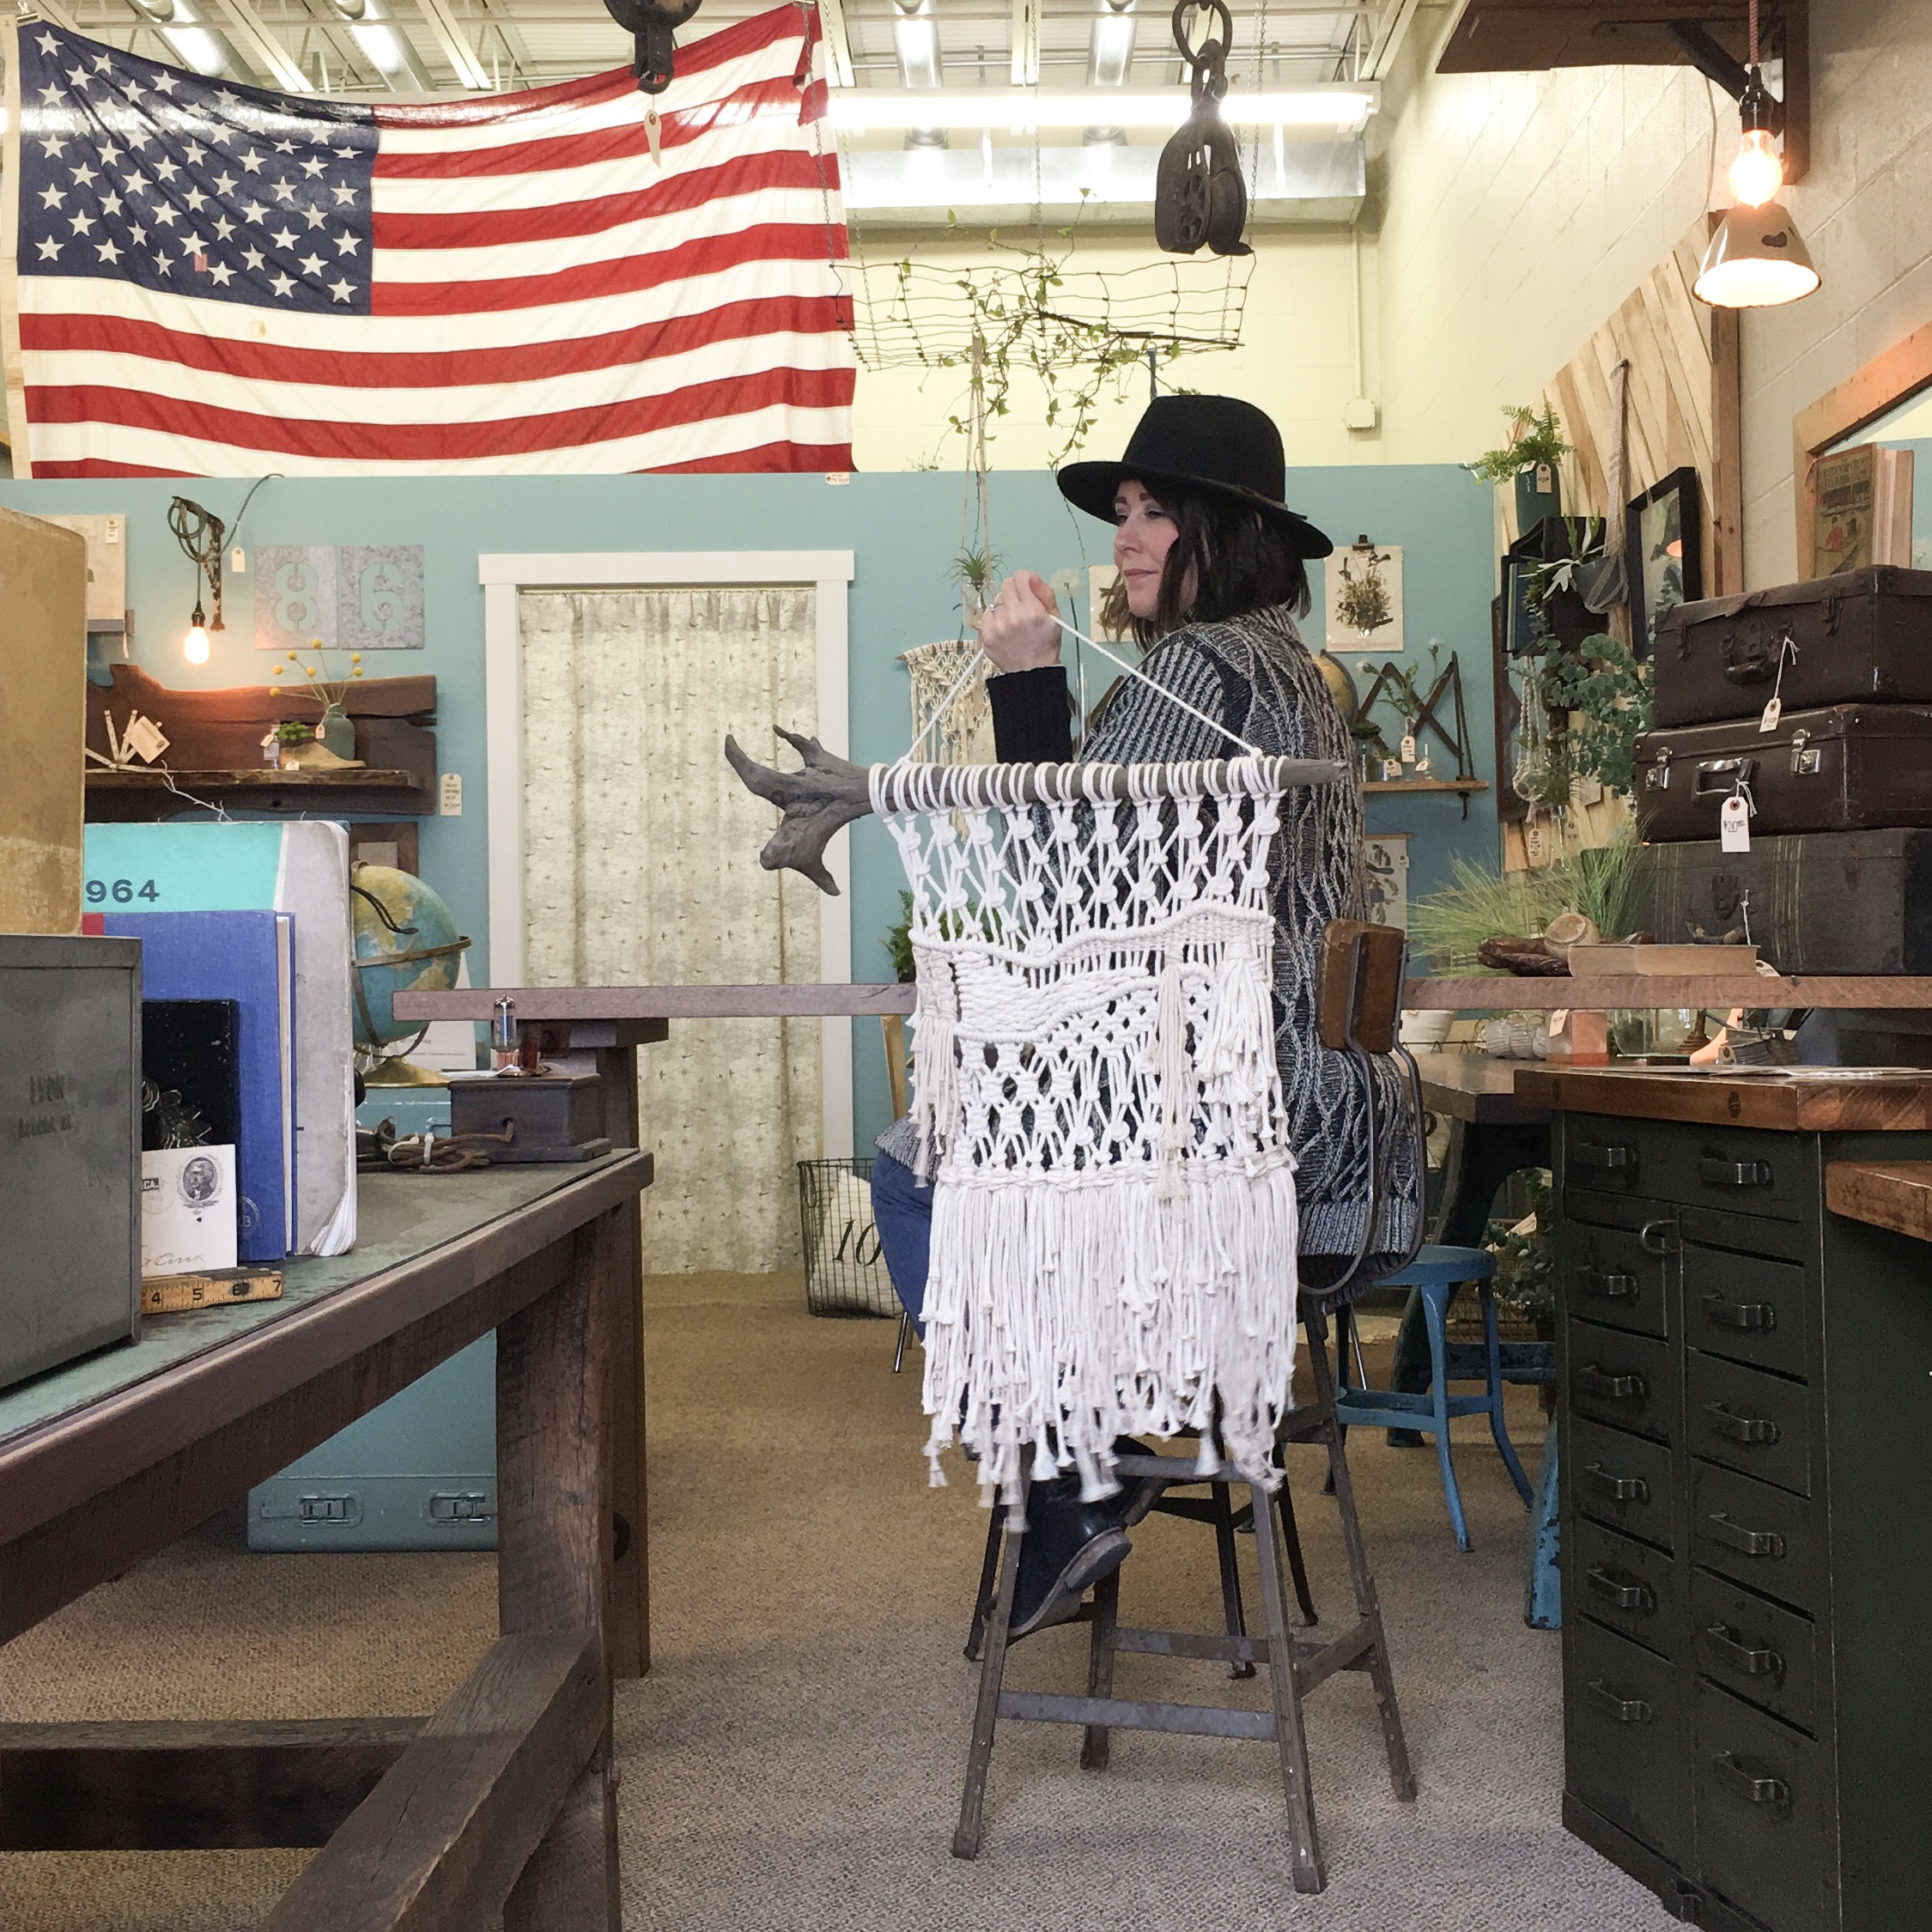
Then we found out that this whole shutdown was going to be longer than anticipated. So we got real scrappy. And all the entrepreneurs said “Amen!” The long intended online shop became the next project. Many days were spent photographing product and entering the listings. A lot was learned through the process, you know….you learn as you.

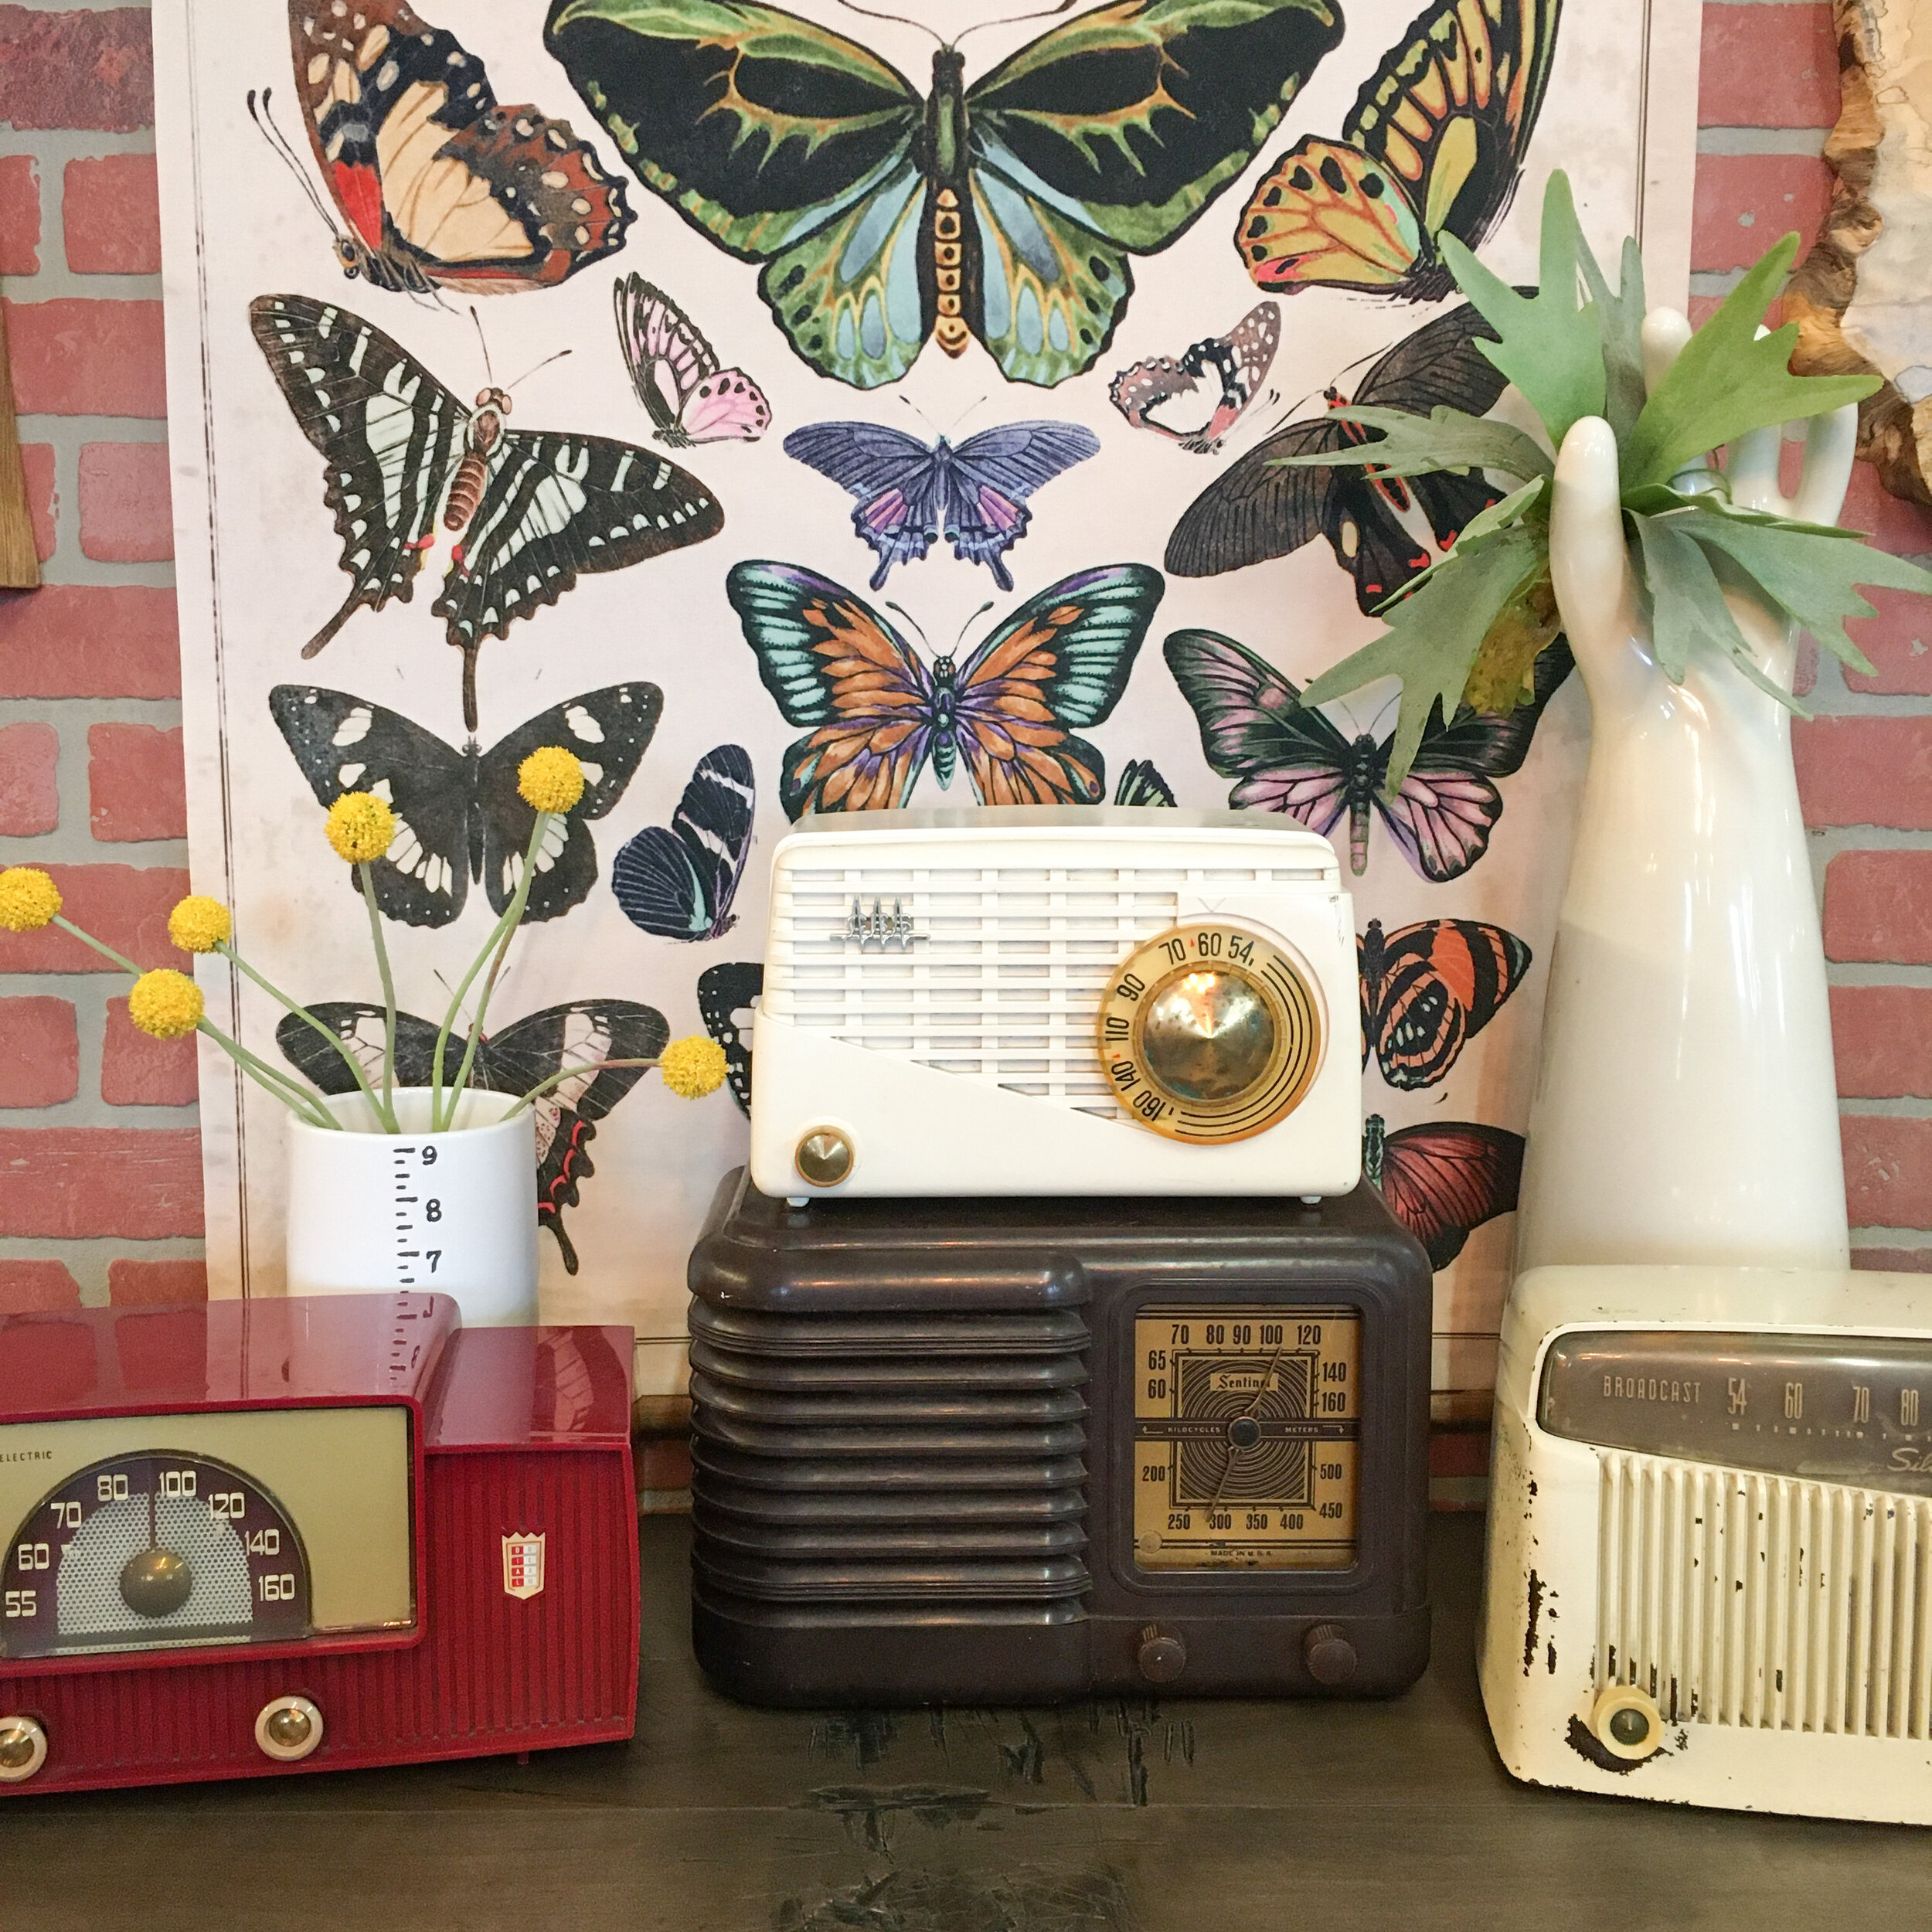
So glad that this project got done, other things kept getting put ahead of the online shop. As the only one manning the studio, many hats are worn. More items will be listed in the shop periodically but I got a good start.

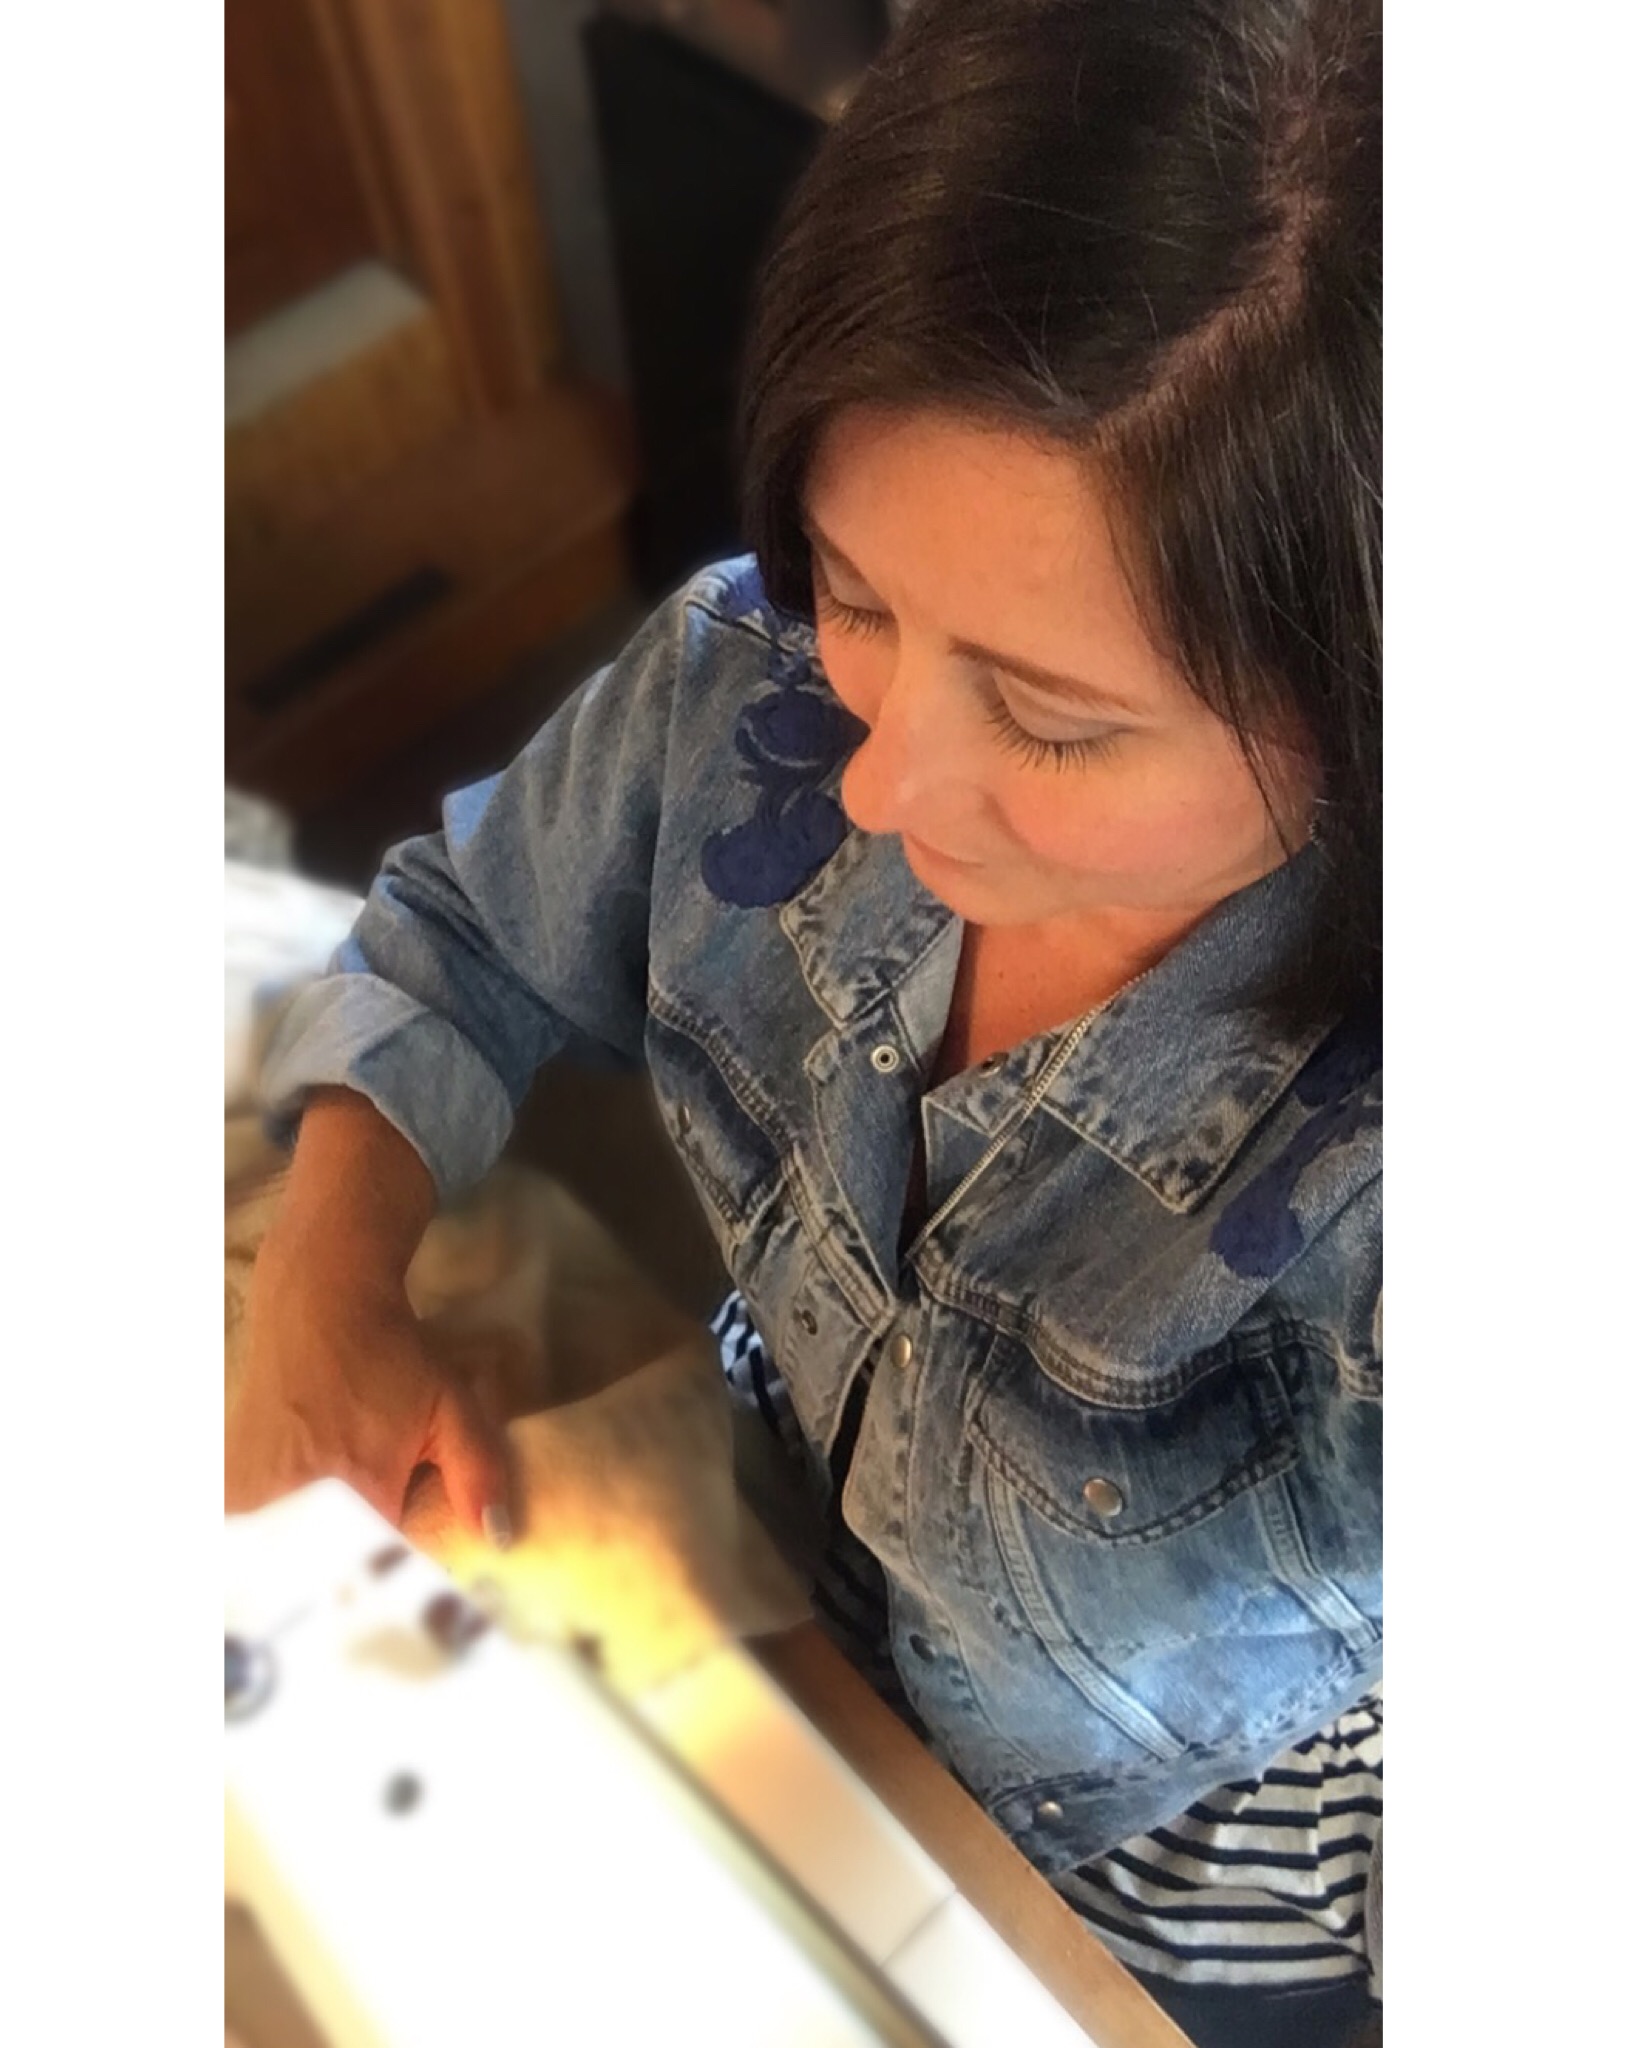
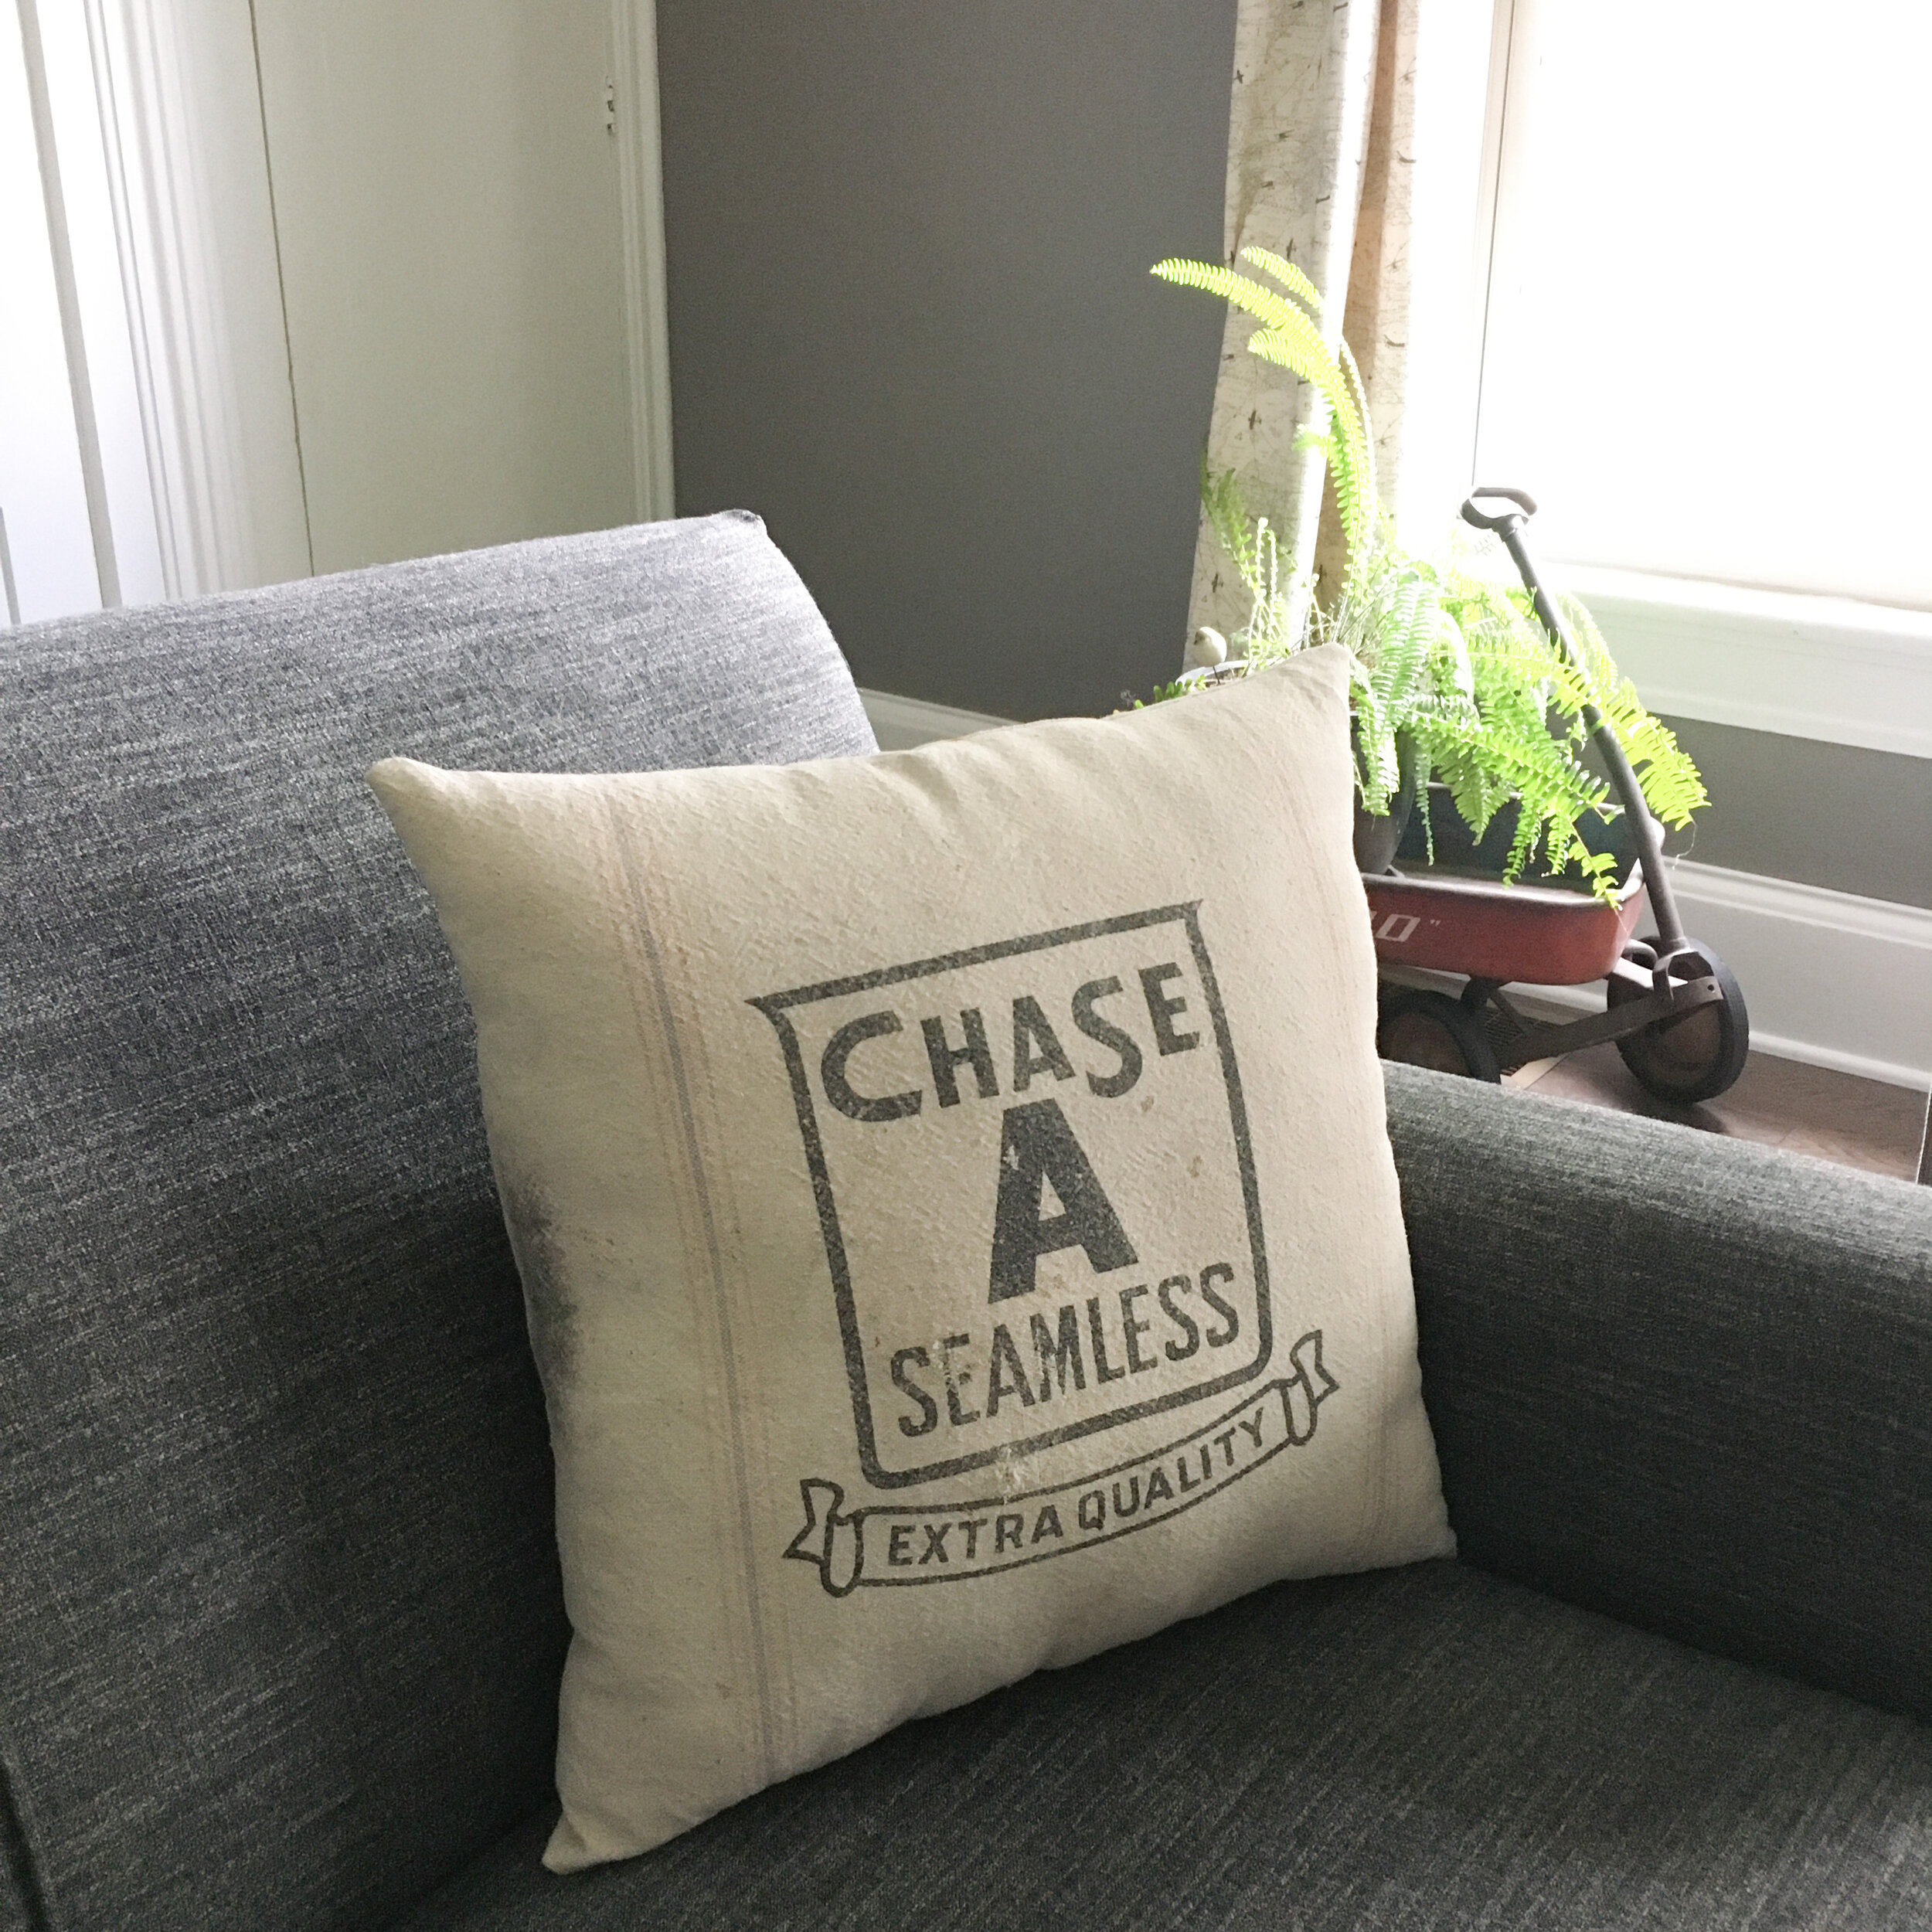
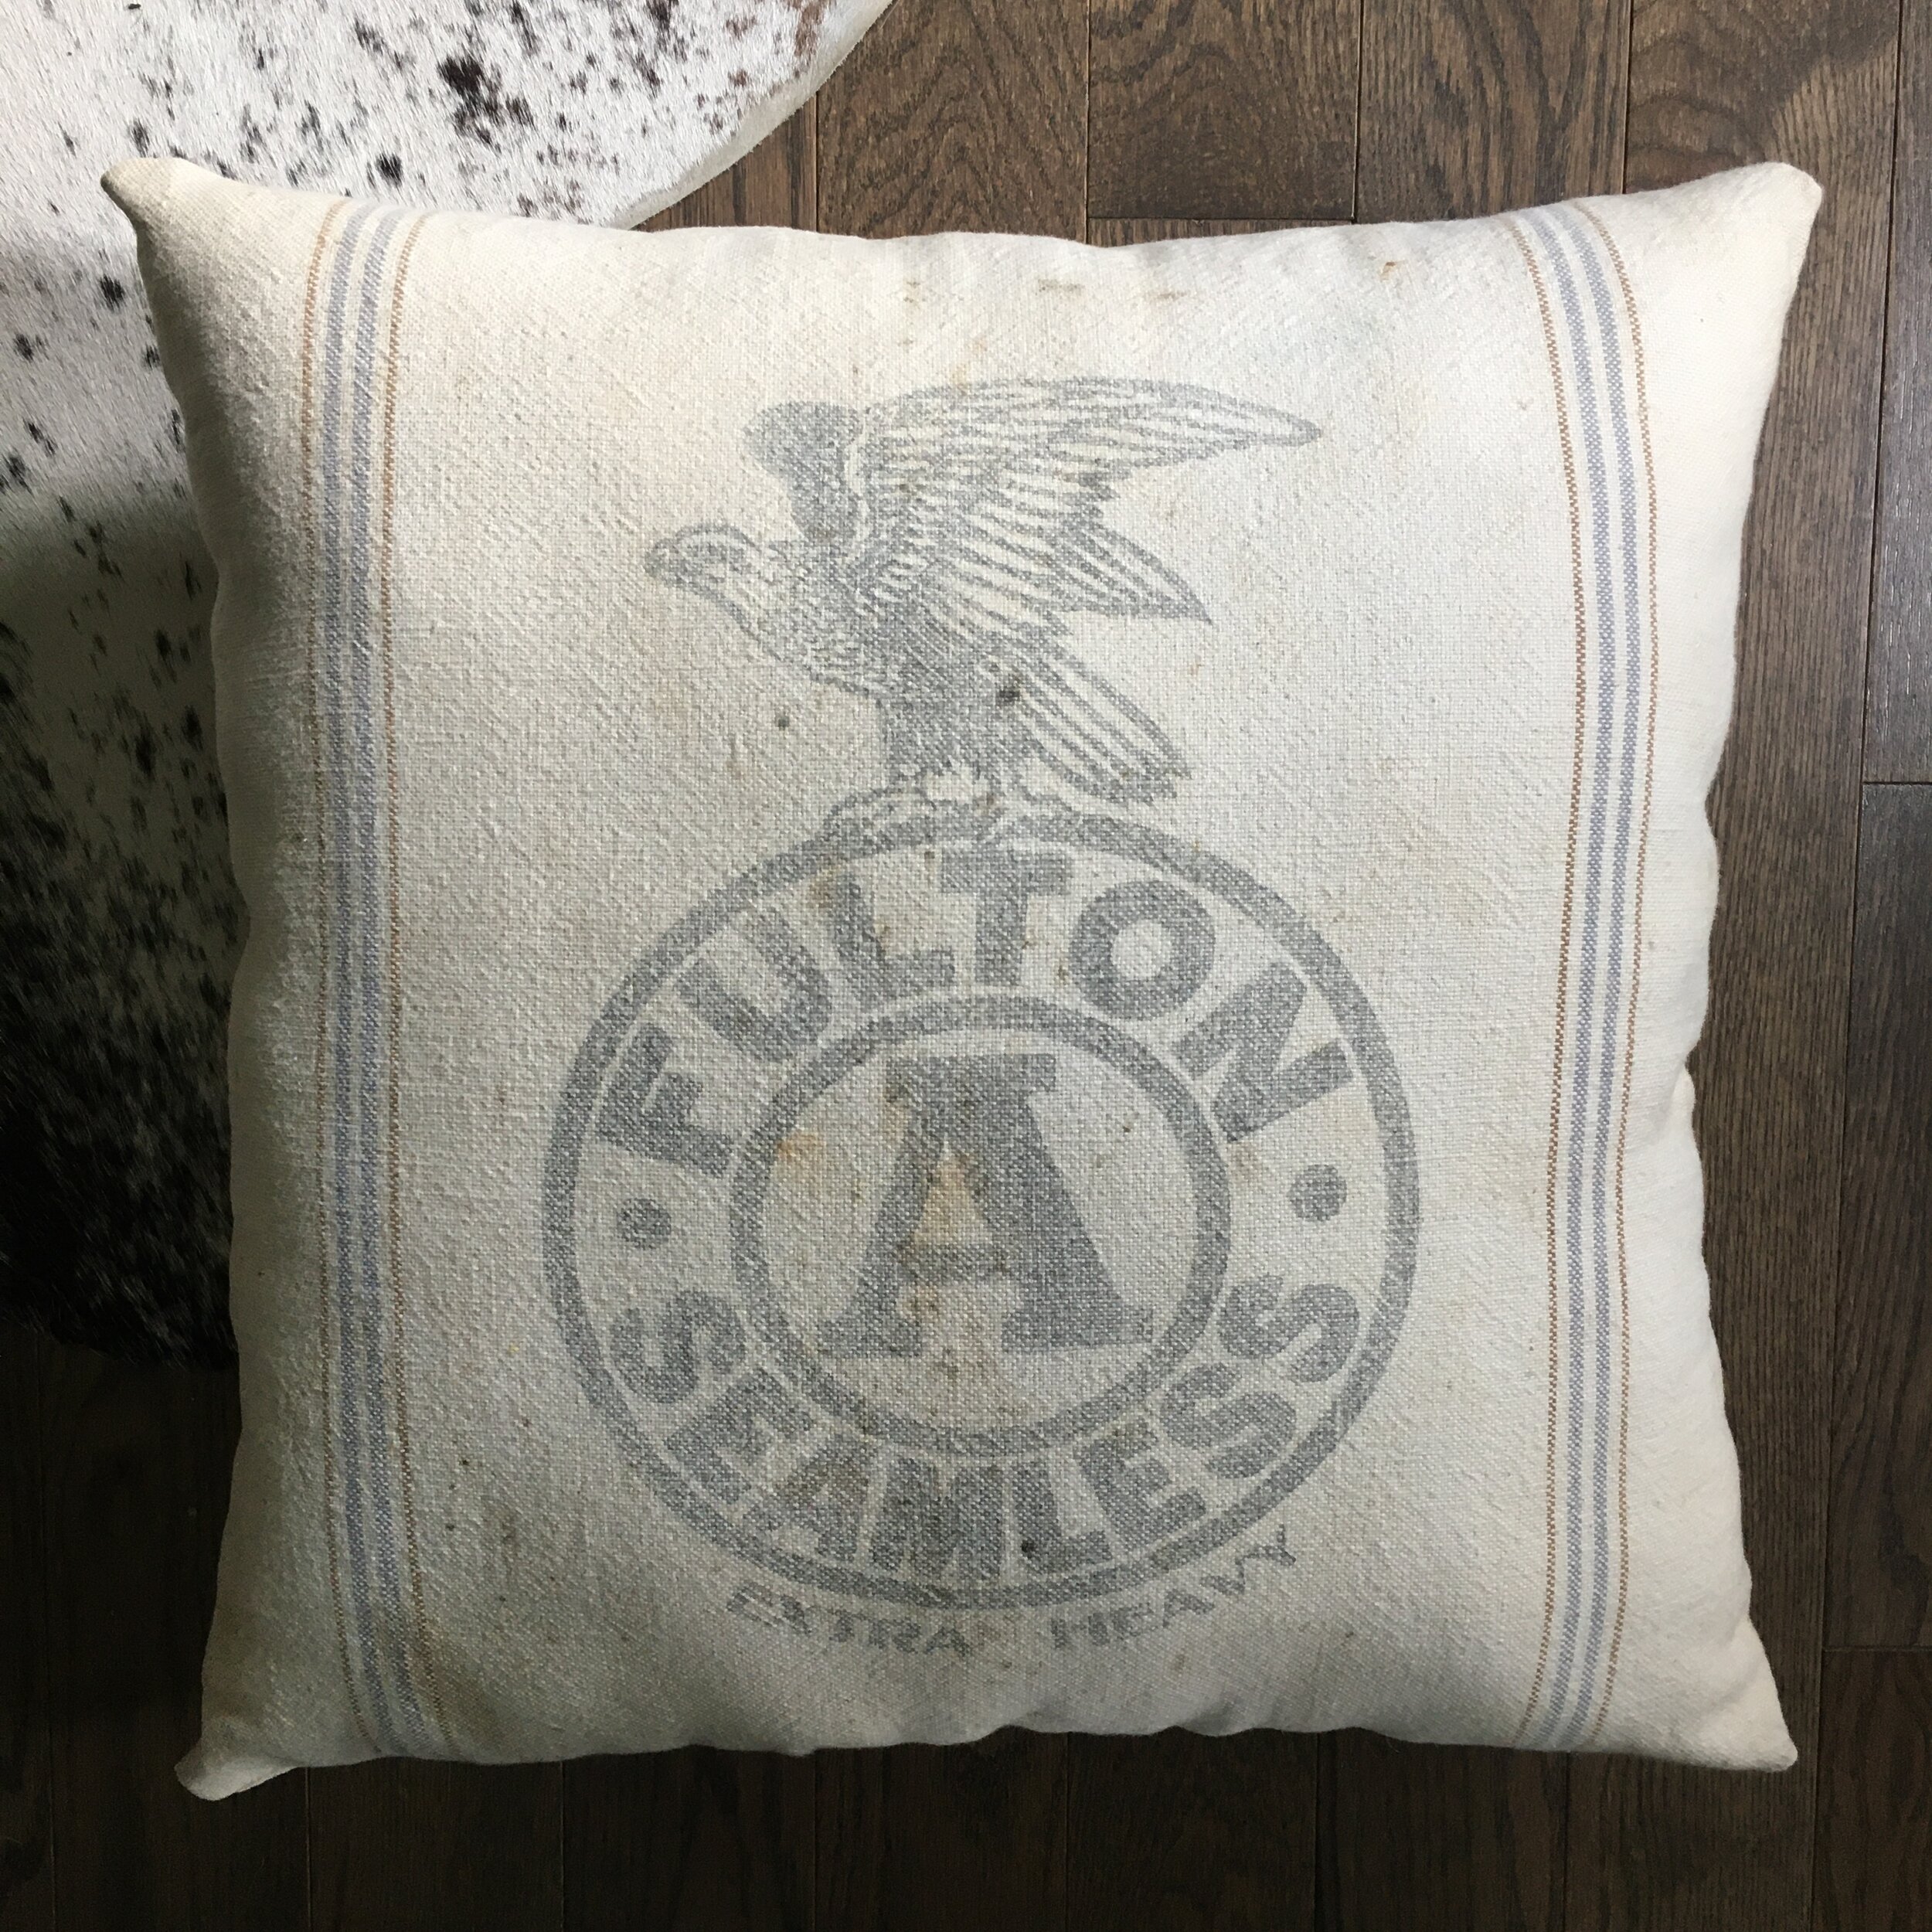
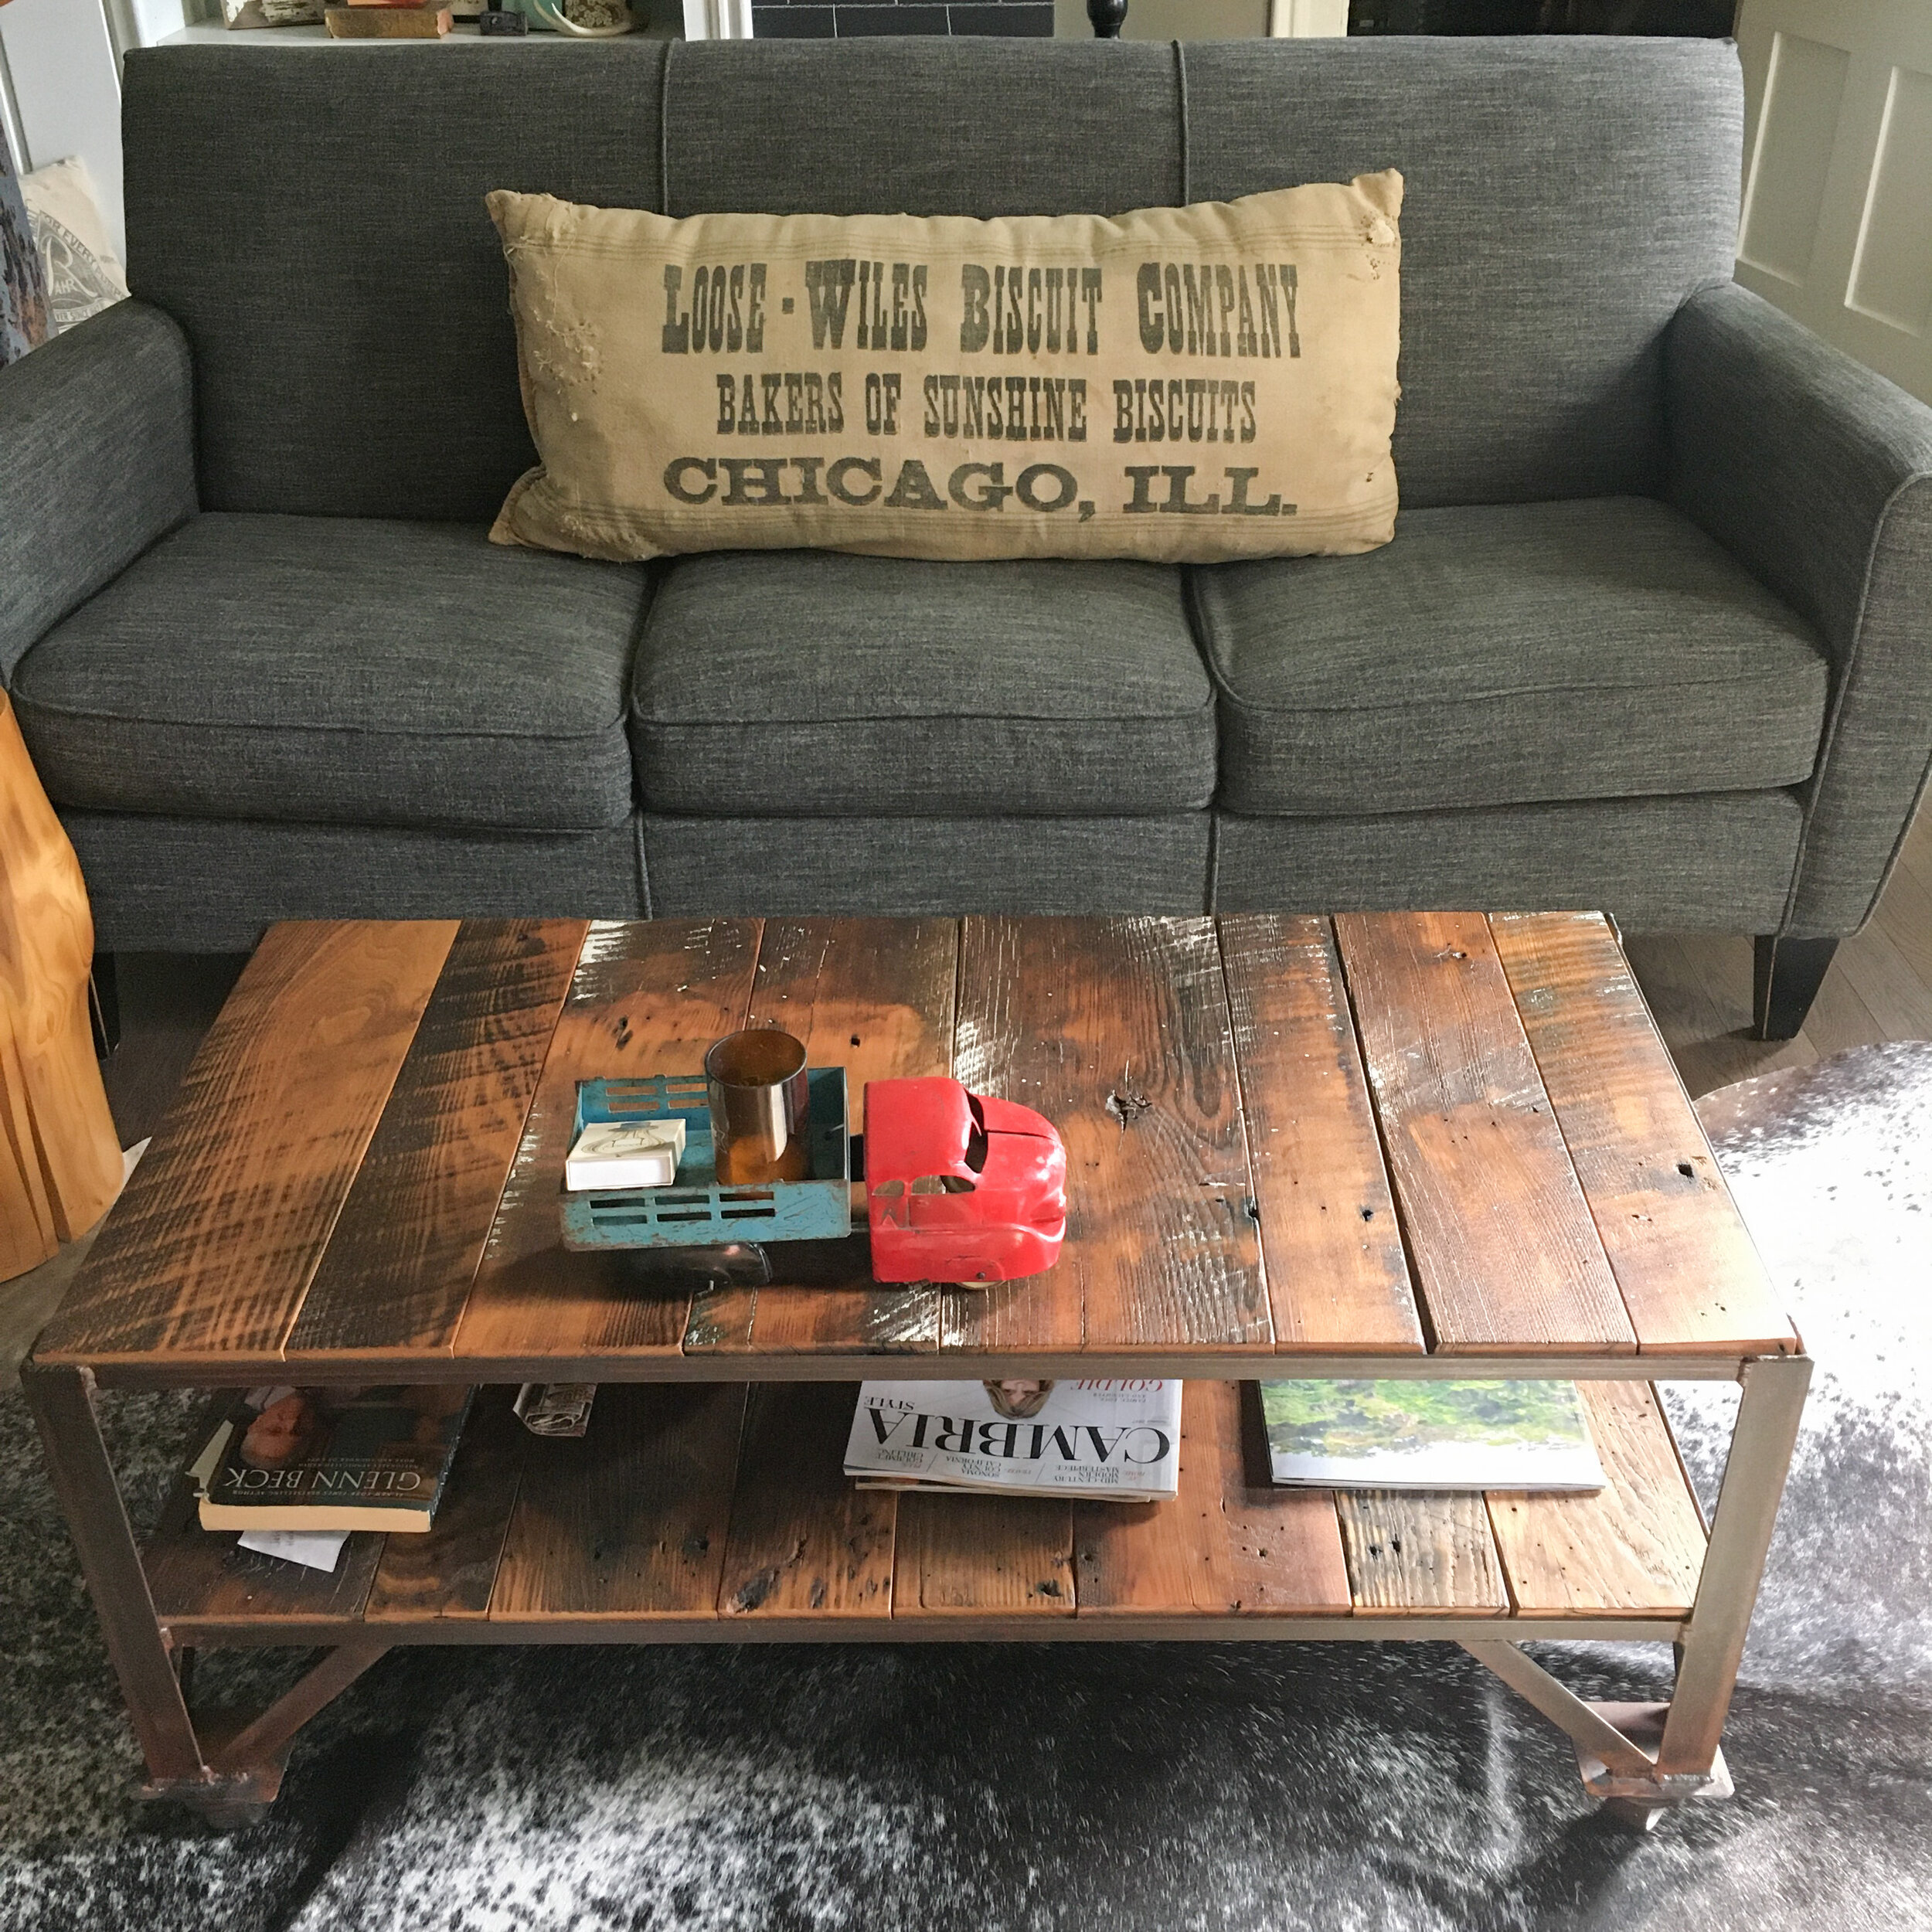
The next thing I tackled was creating pillows. The feed sacks had previously been cleaned and all of my sewing materials were at home. So I got to patching holes and sewing them up. I am grateful that I was able to work with my hands during this time, it was a godsend. A little bit of normalcy during uncertain times.

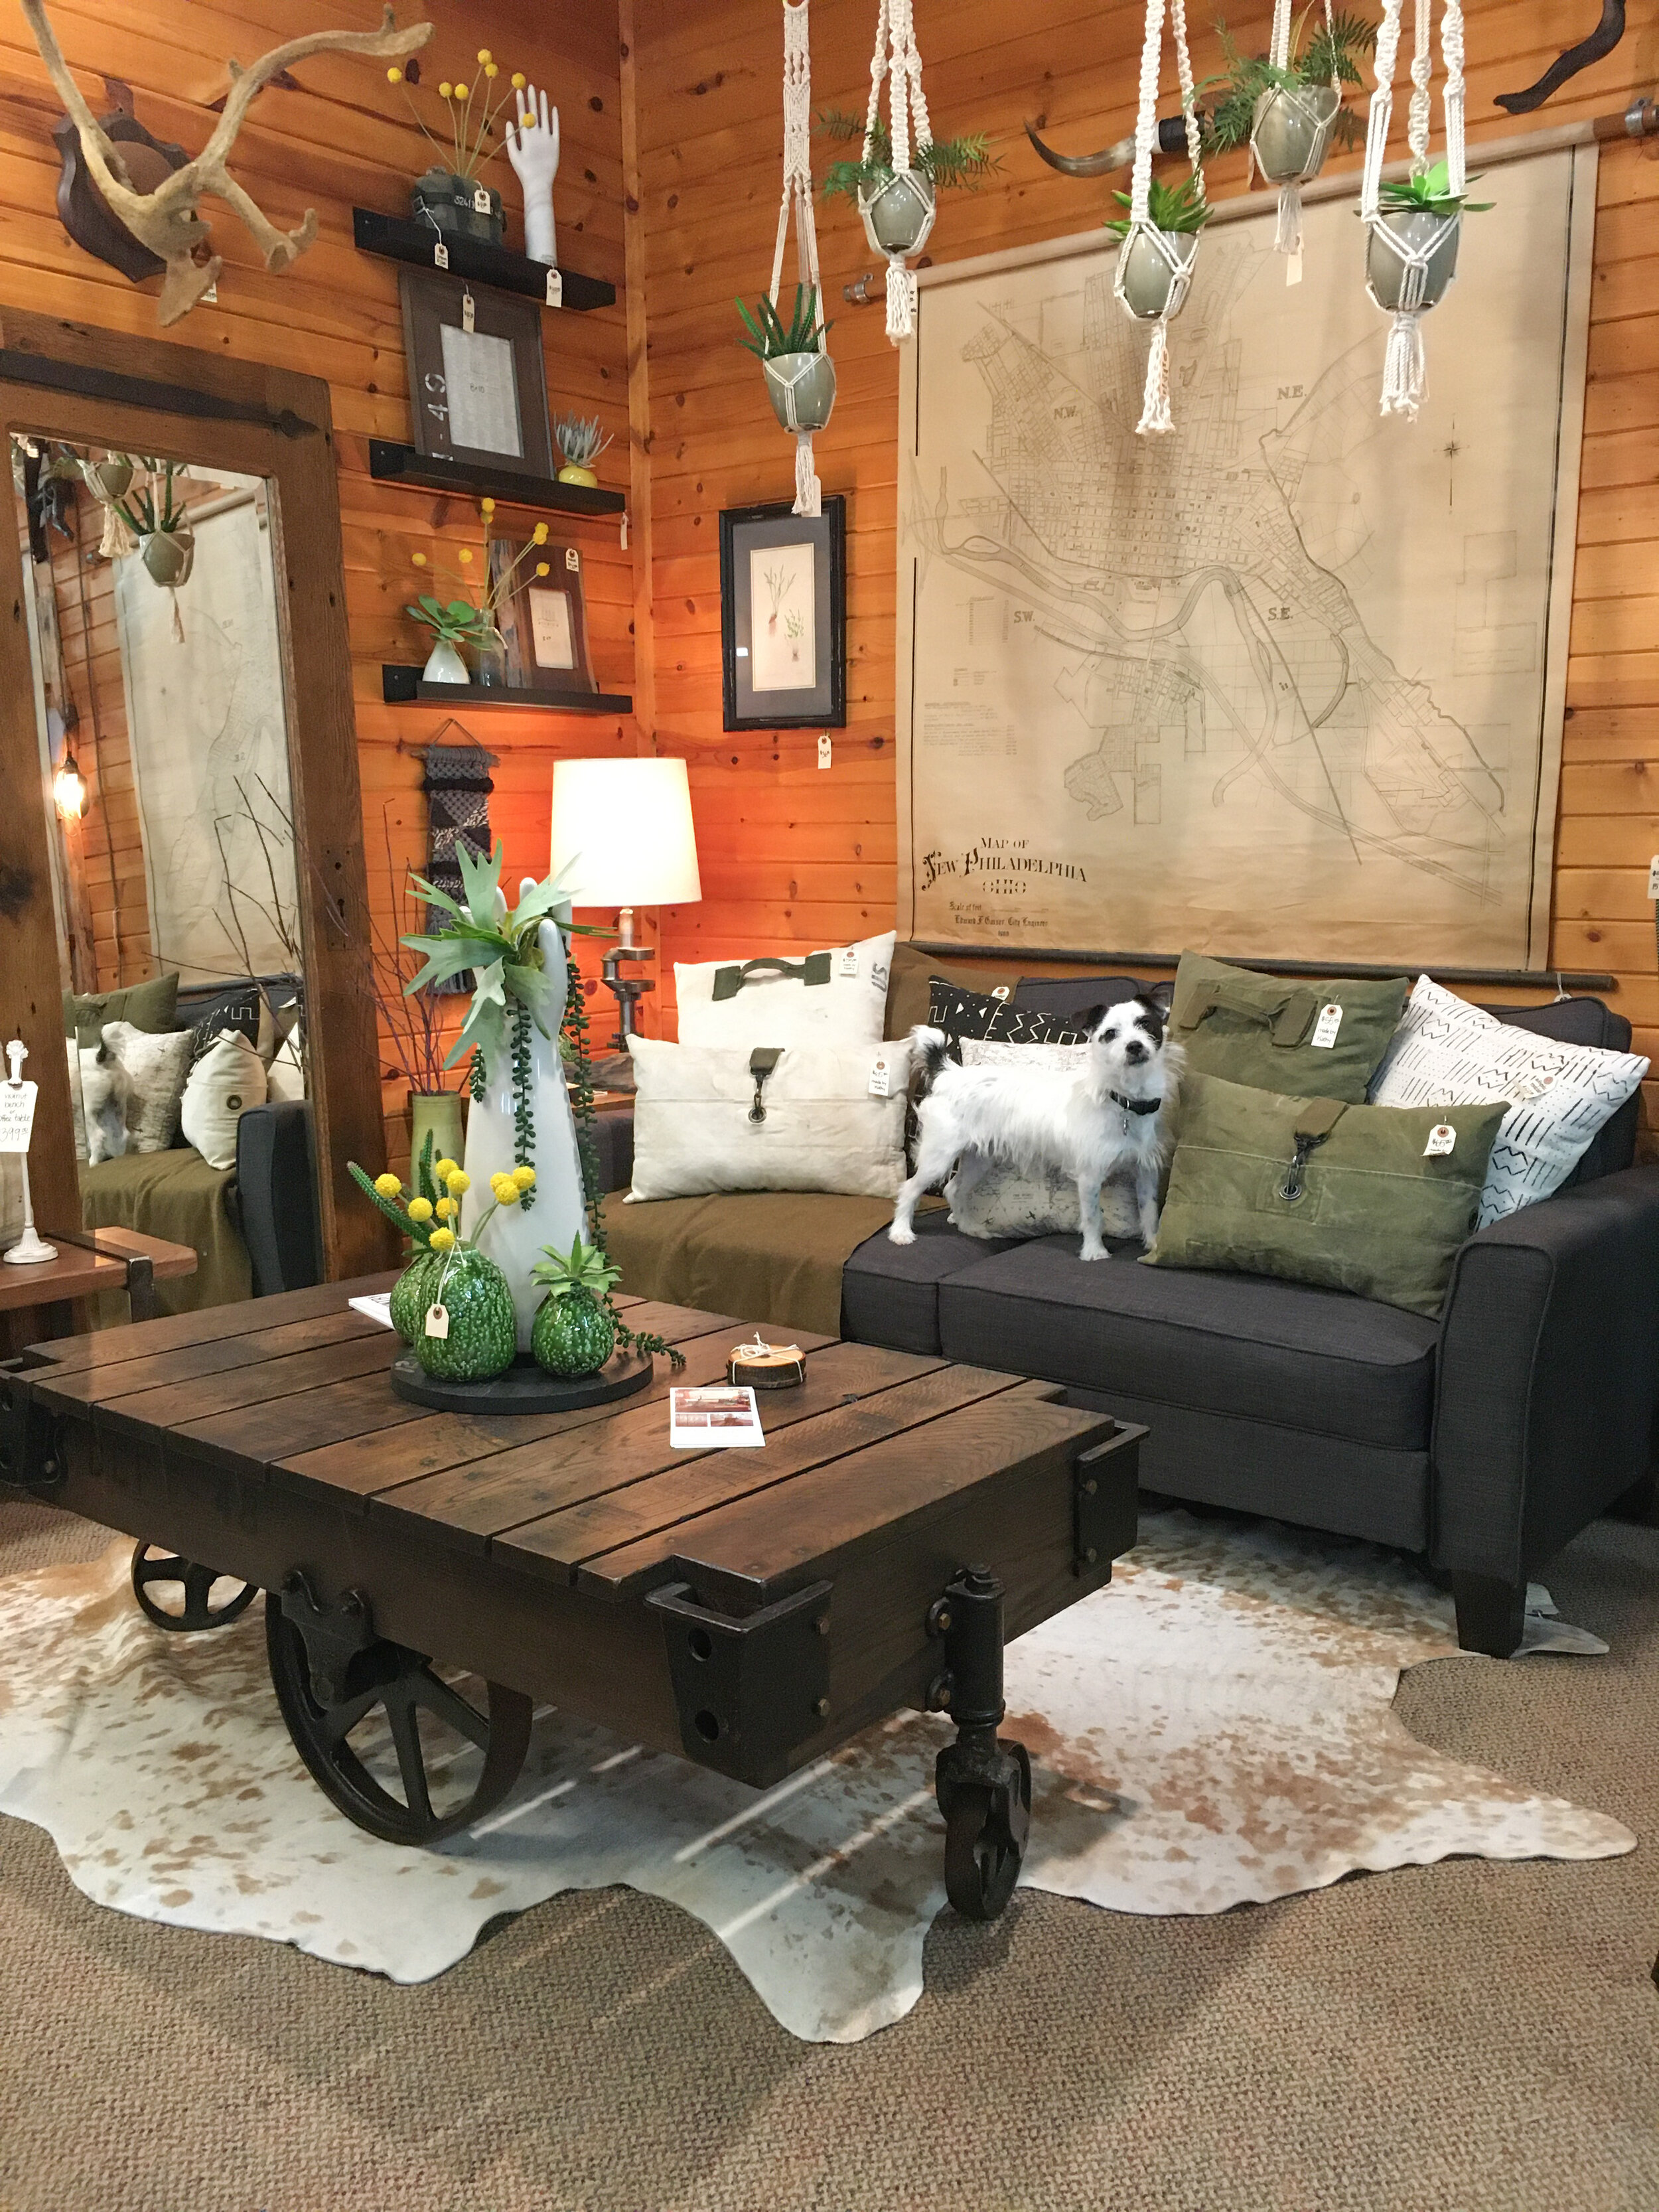
It was fun to photograph the finished pillows in my living room with Baxter and John relaxing just out of the frame.

The need for fabric face masks became apparent and after a little trial and error, I came up with a pattern that worked well. Luckily, I was able to use up some of the fabric that was stashed at the studio. In the past, I had made pillows with the fabric. I was able to use up some scraps that were otherwise not useful for the projects that I do.

Supplies had run out, like elastic but I was able to find a good alternative at a local fabric shop. I made and sold over 100 masks and I’m grateful that it brought in a little income during the difficult time. It was hard to keep up with the demand but I had to pace myself.

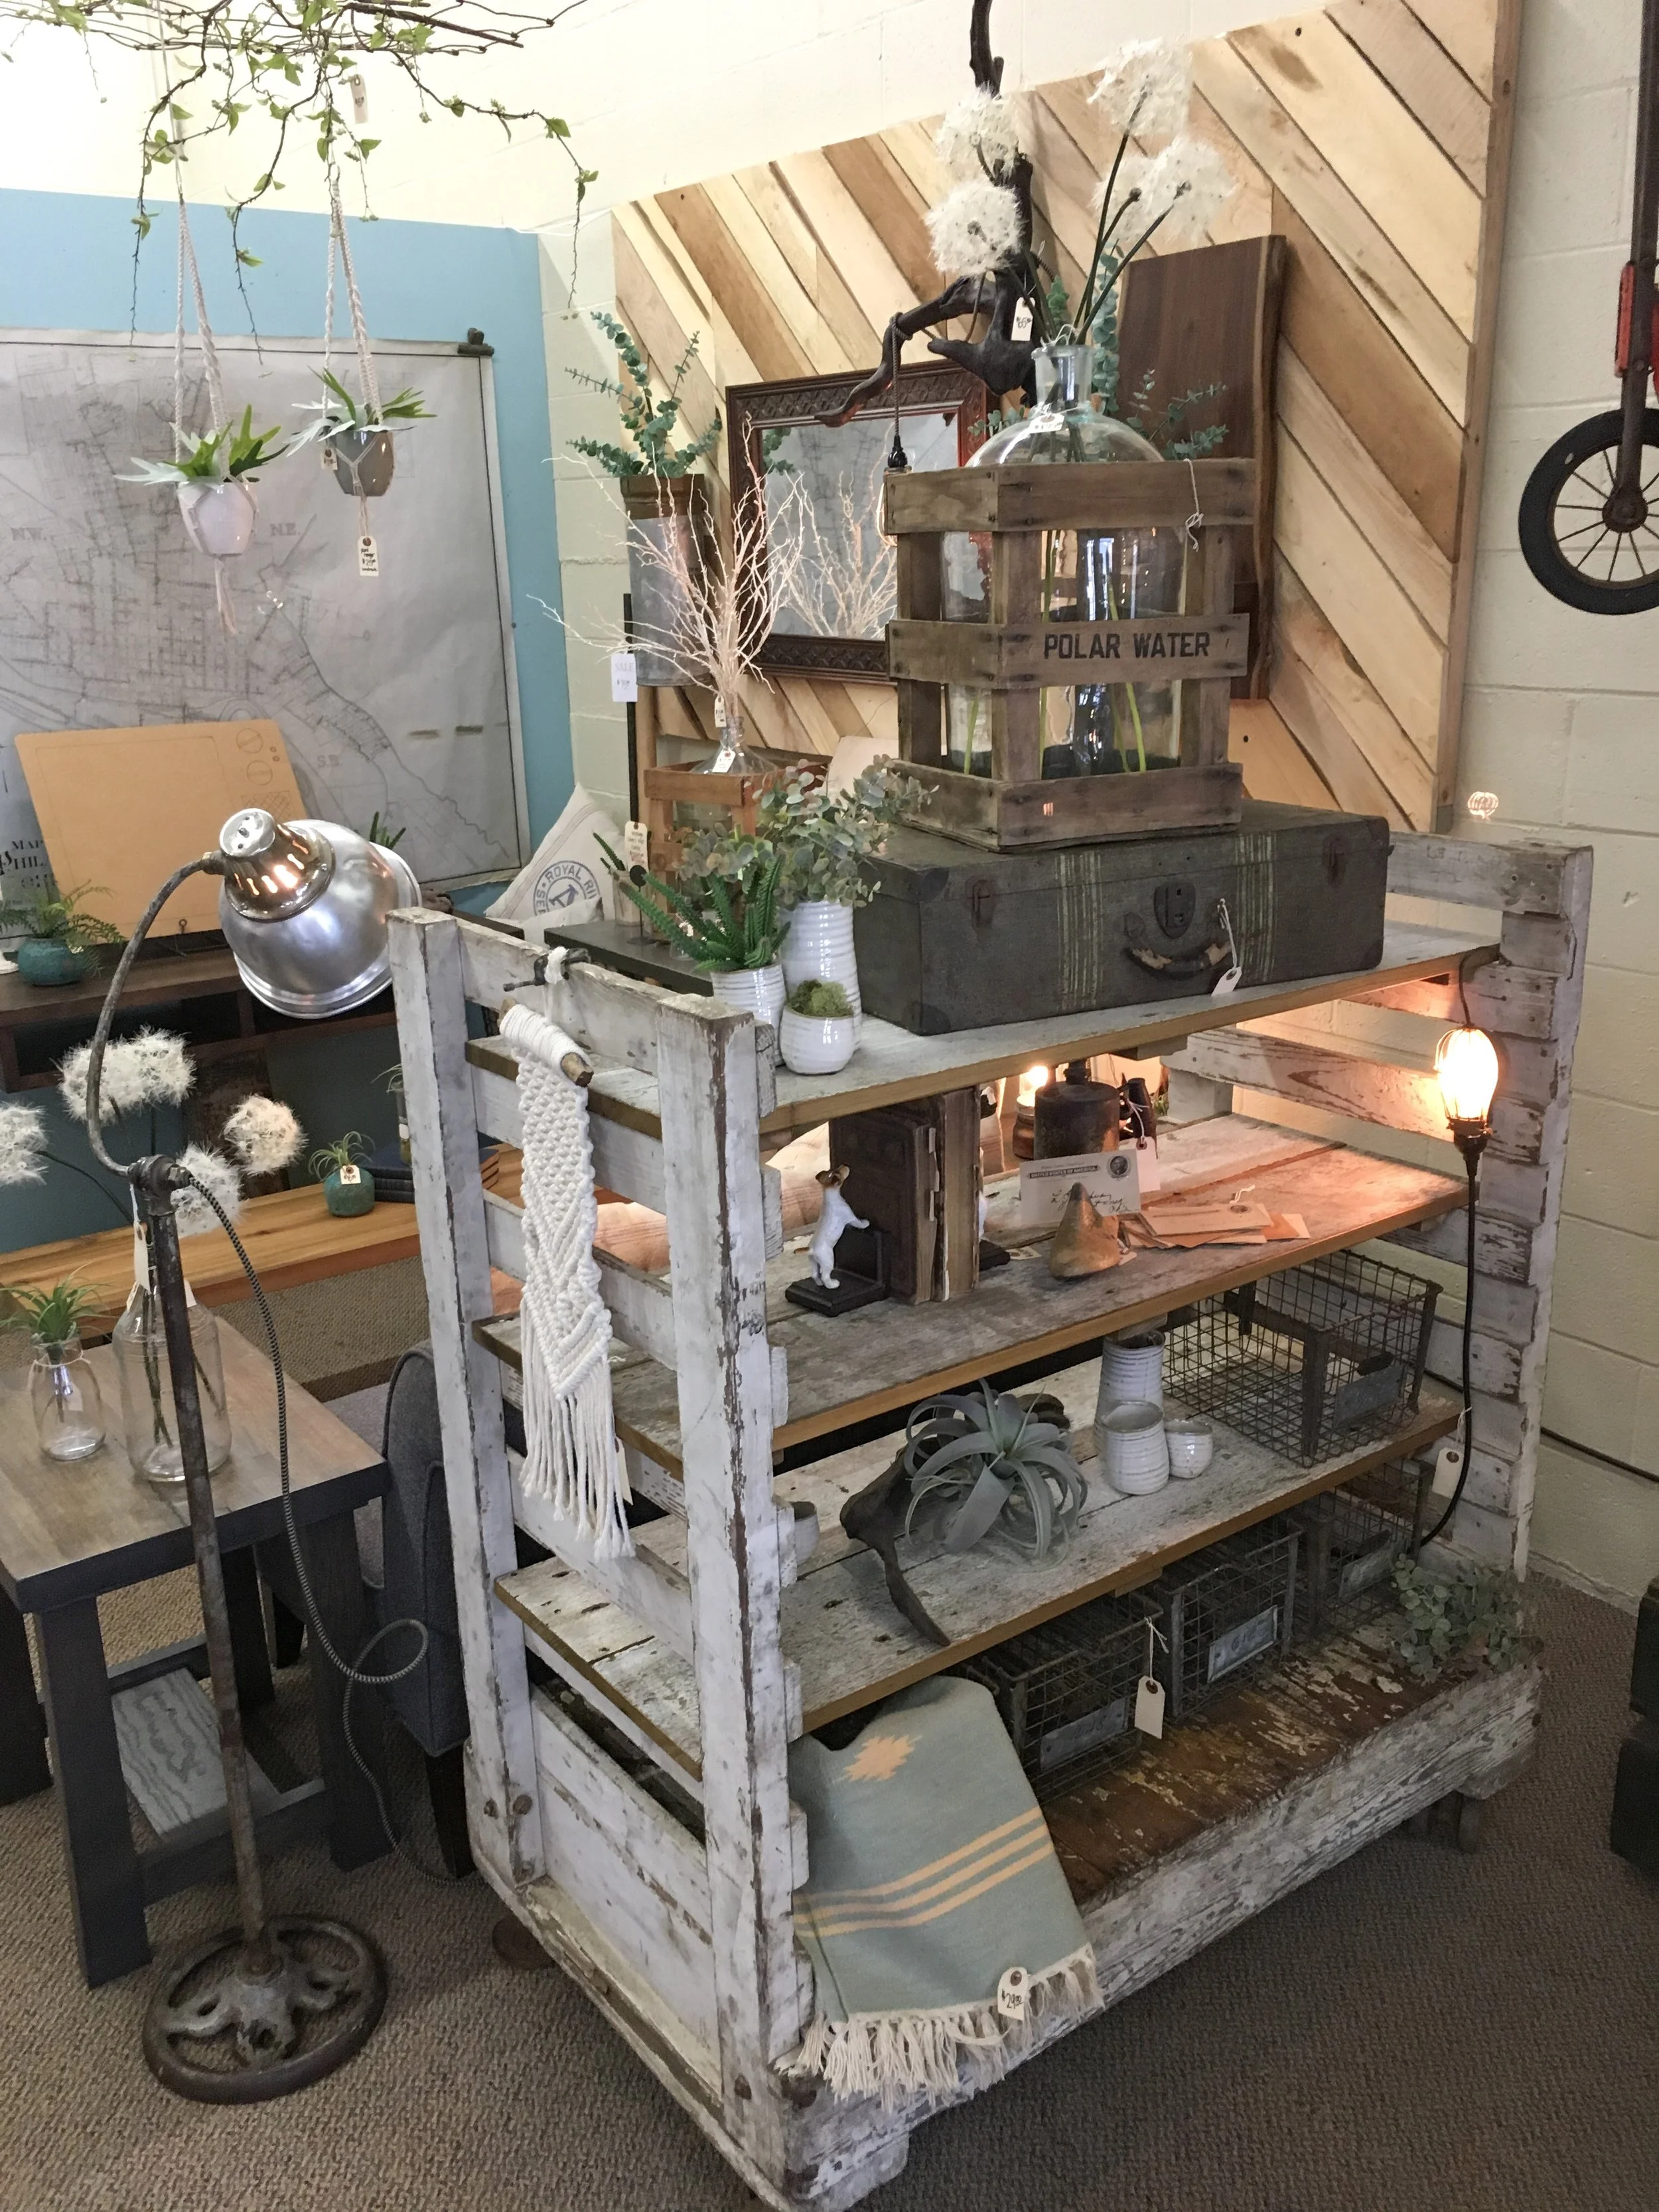
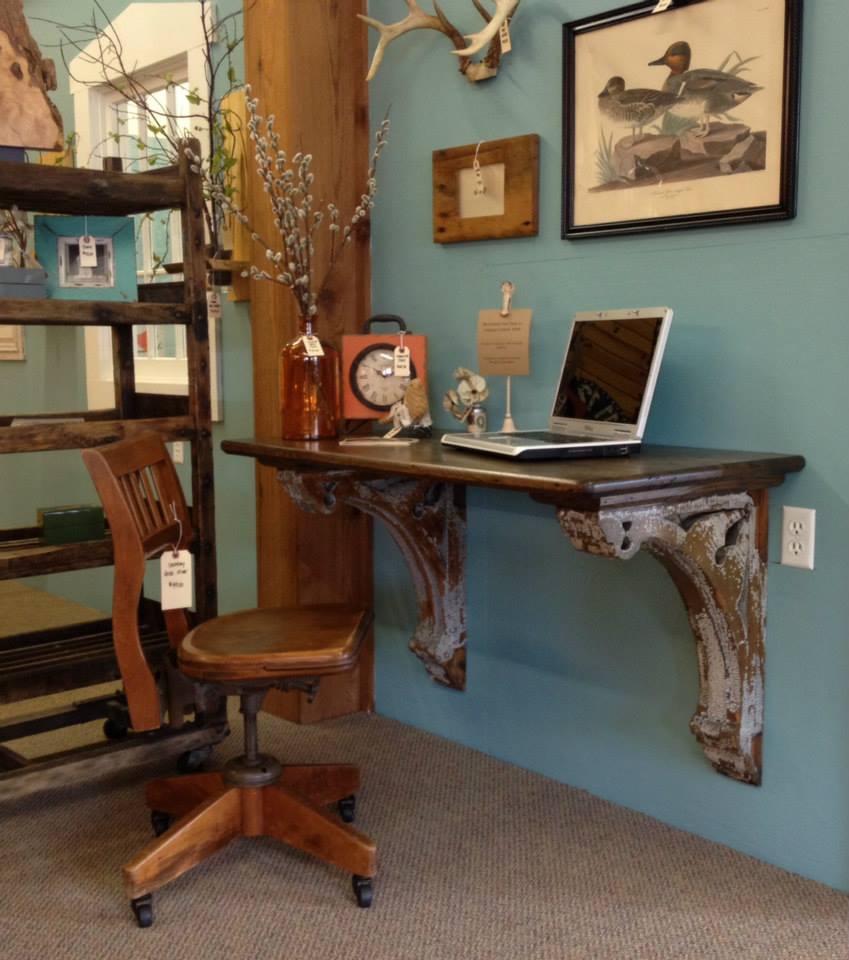
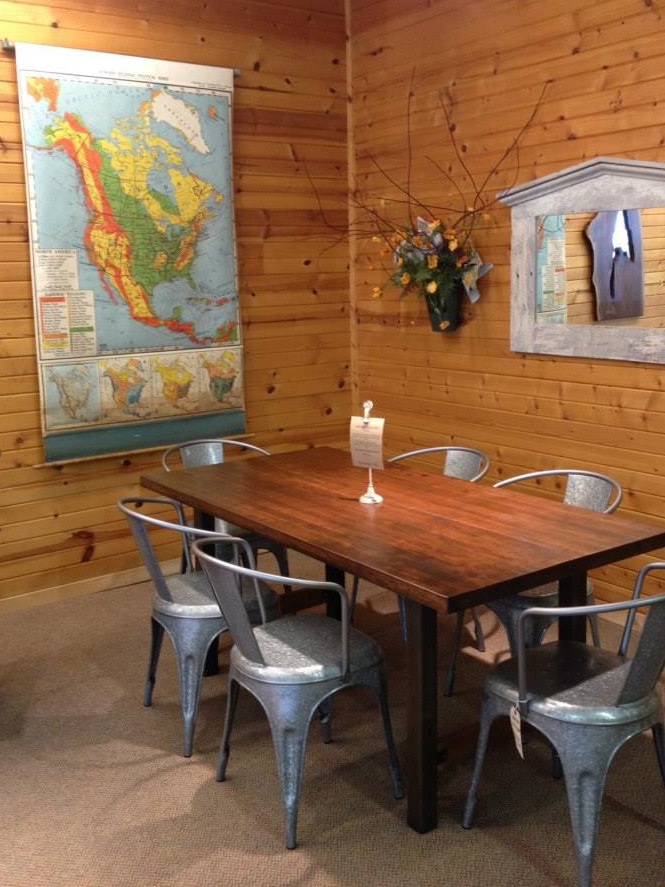
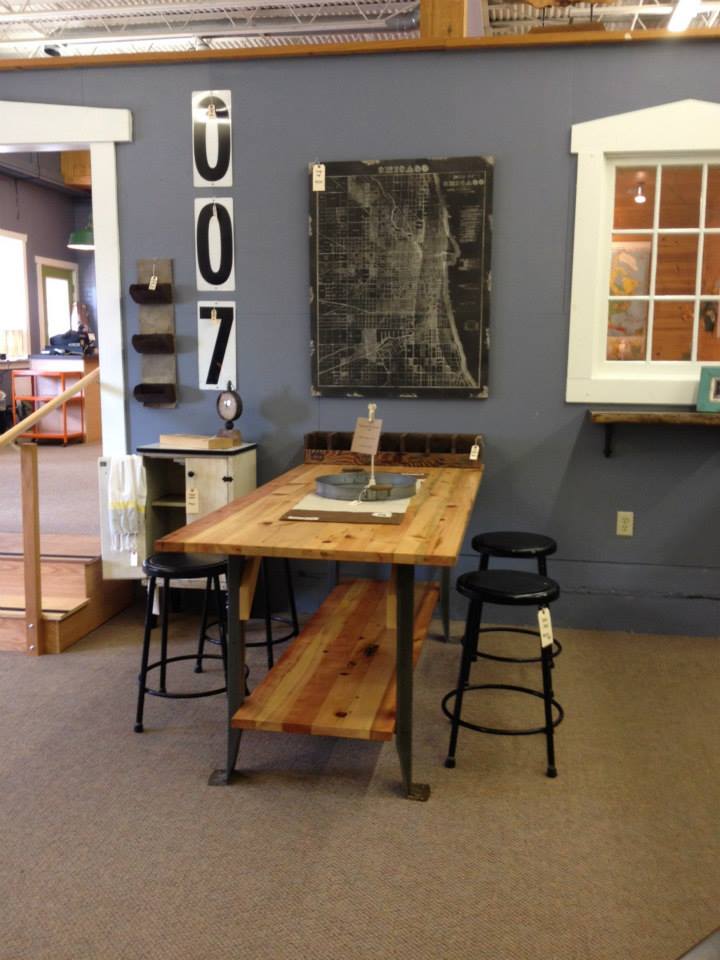
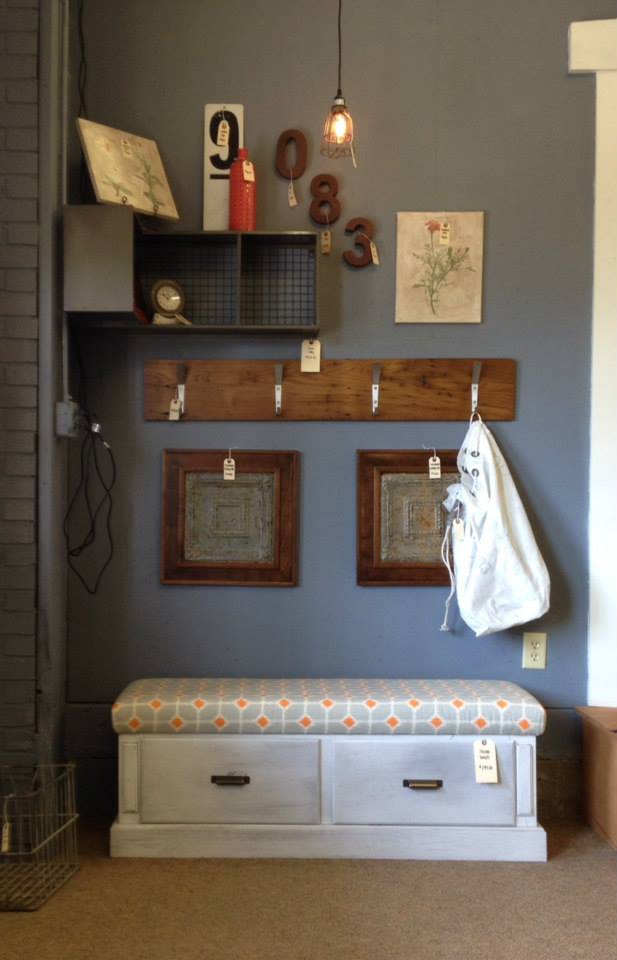
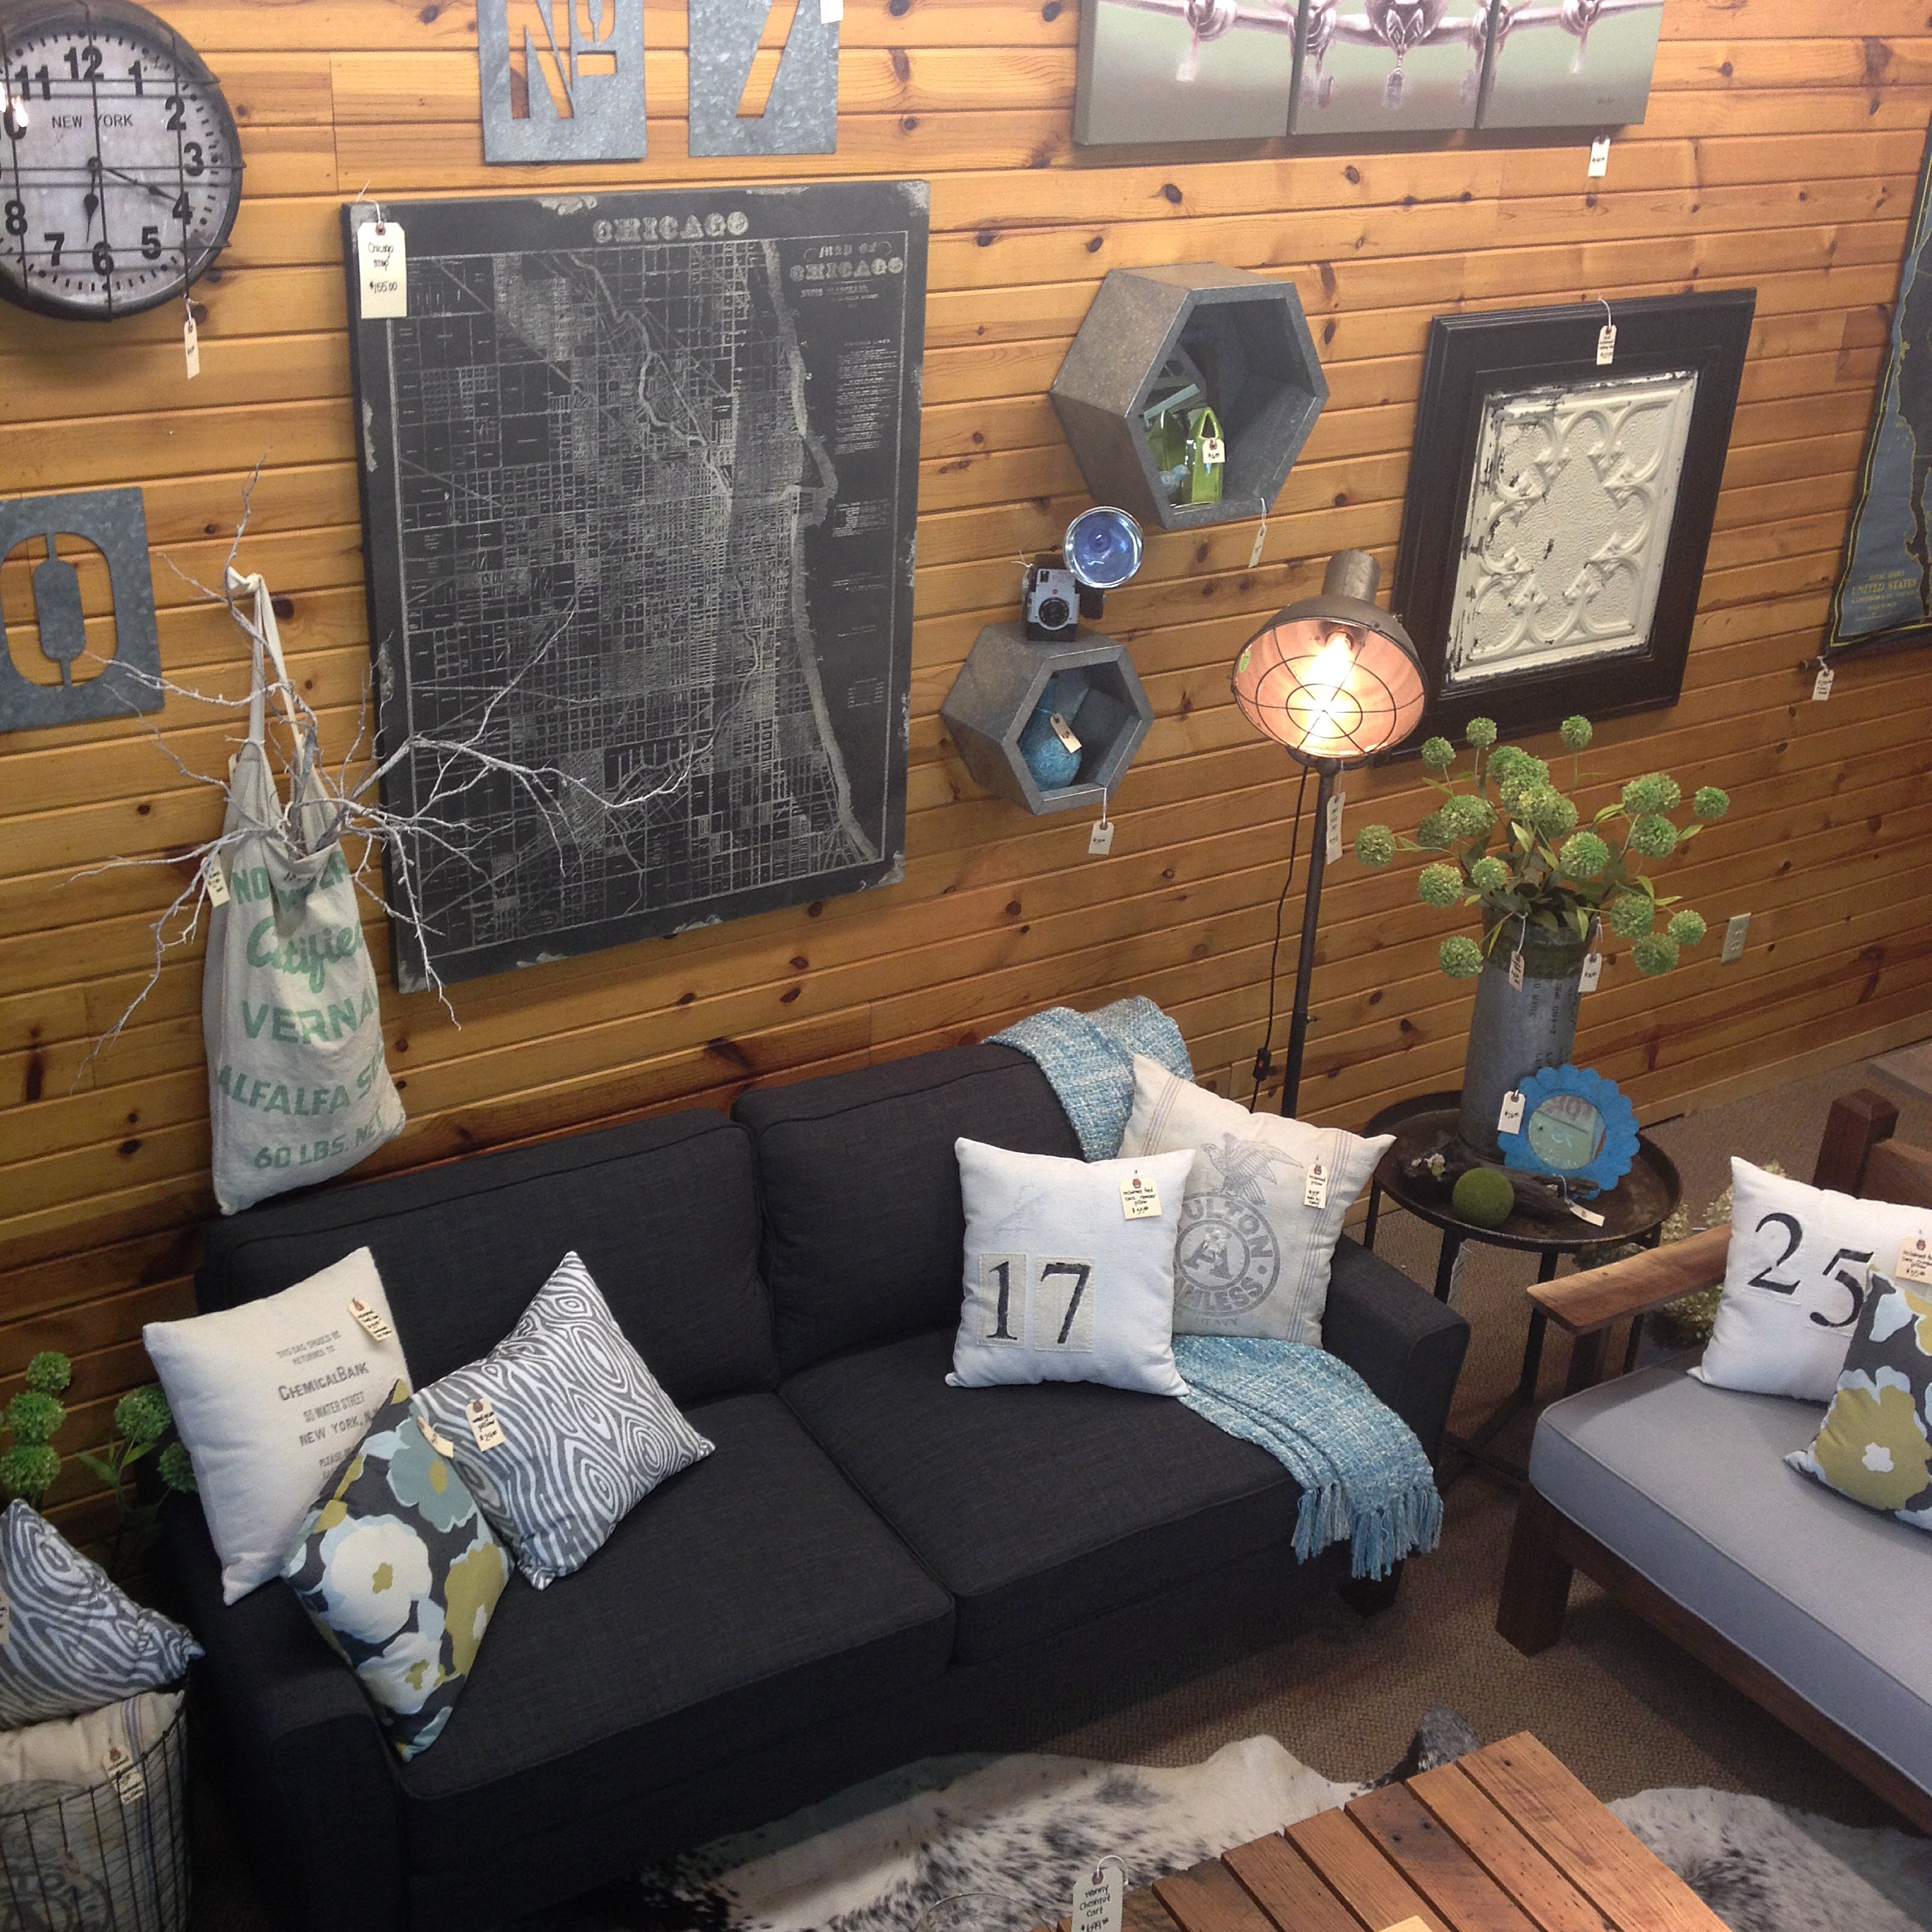
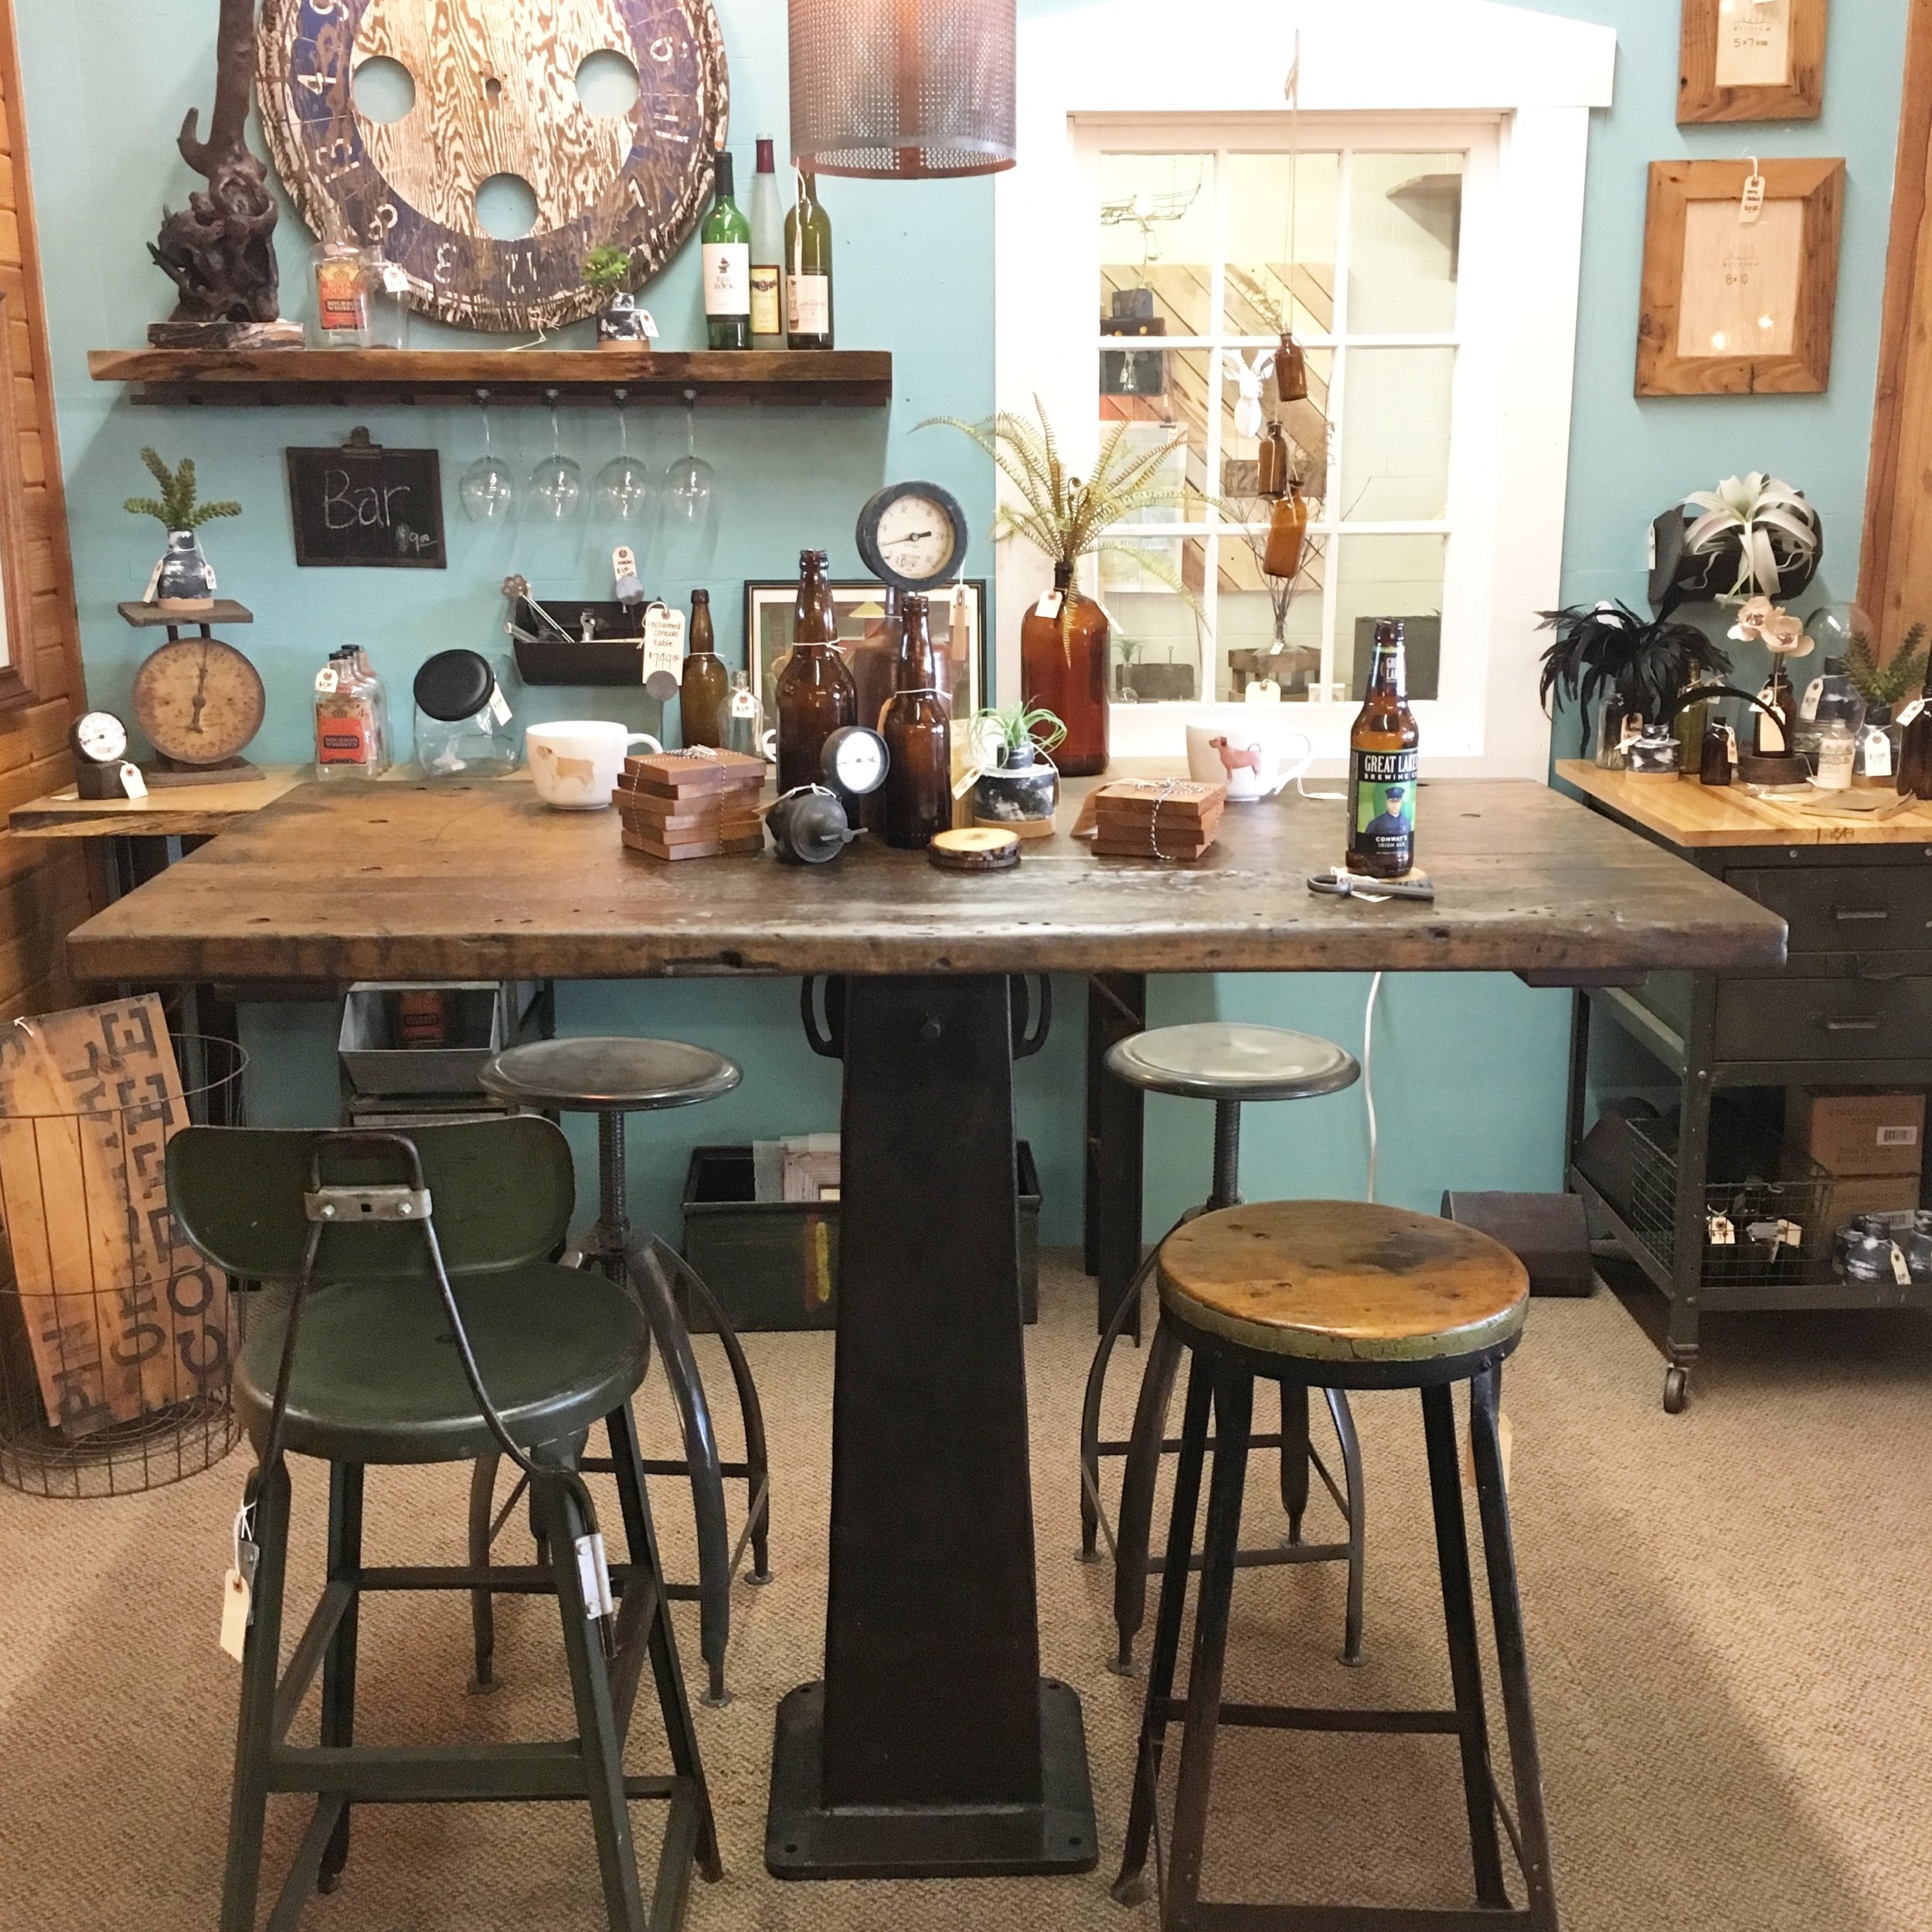
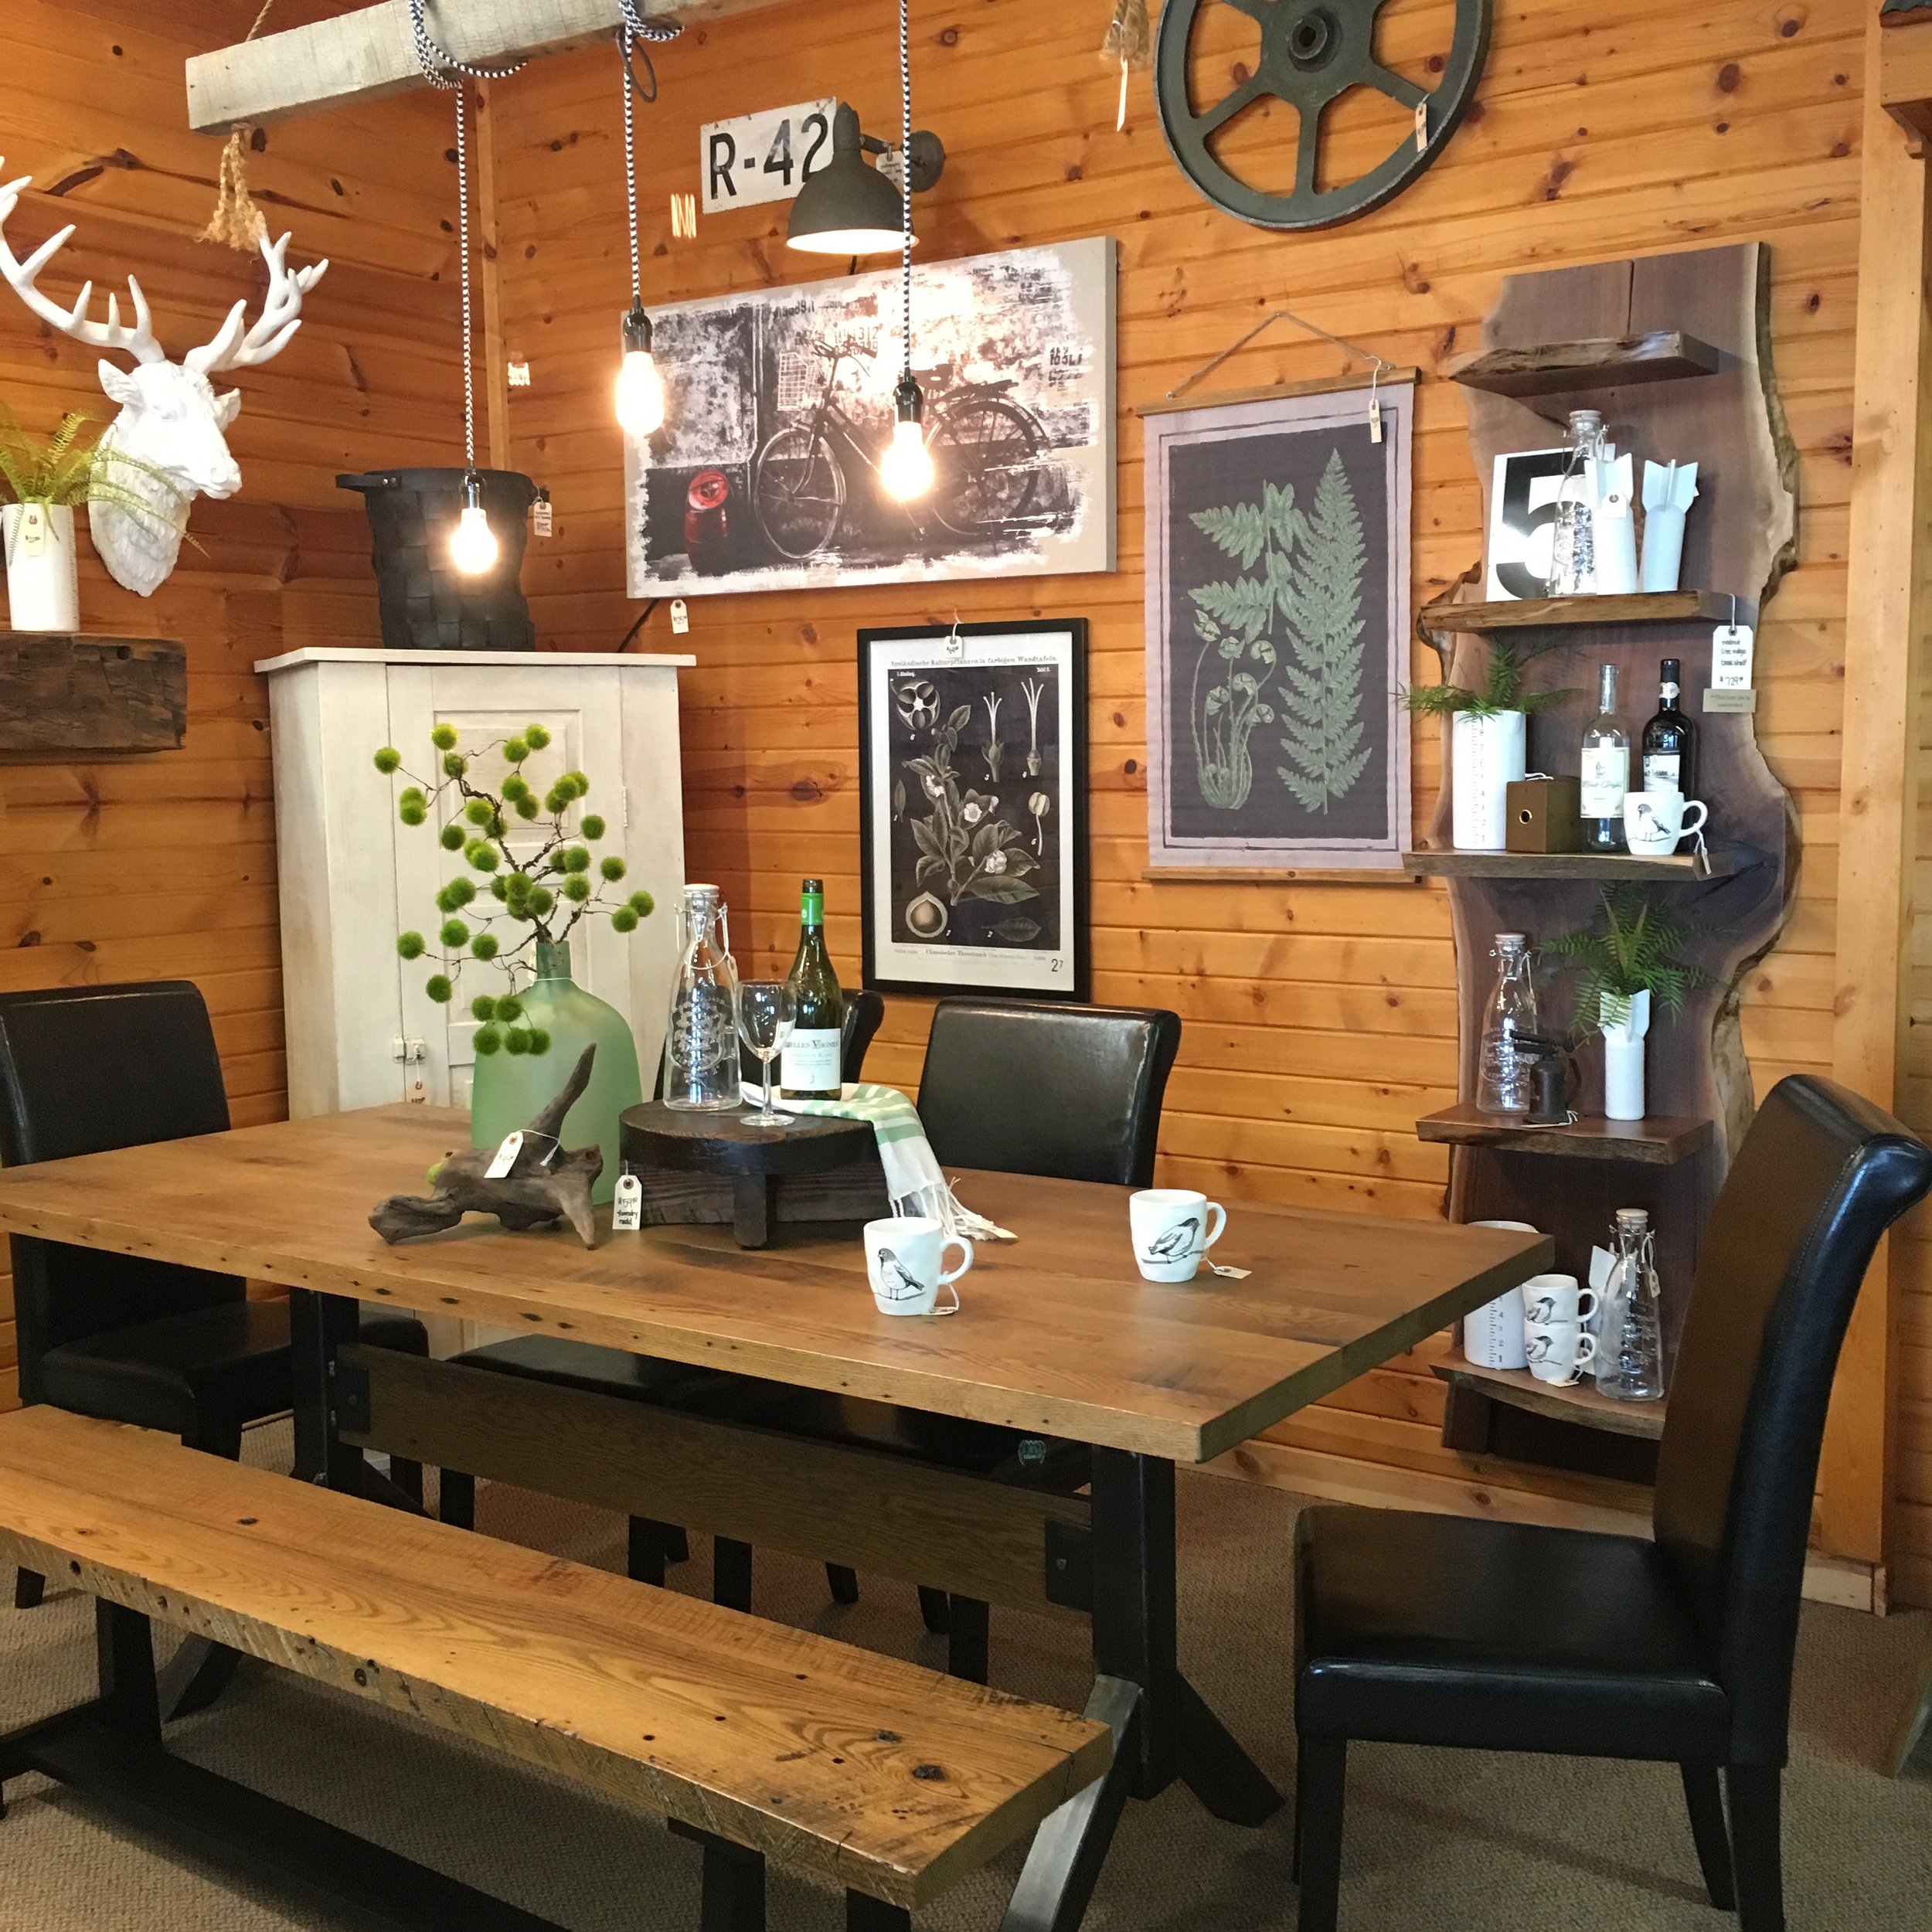
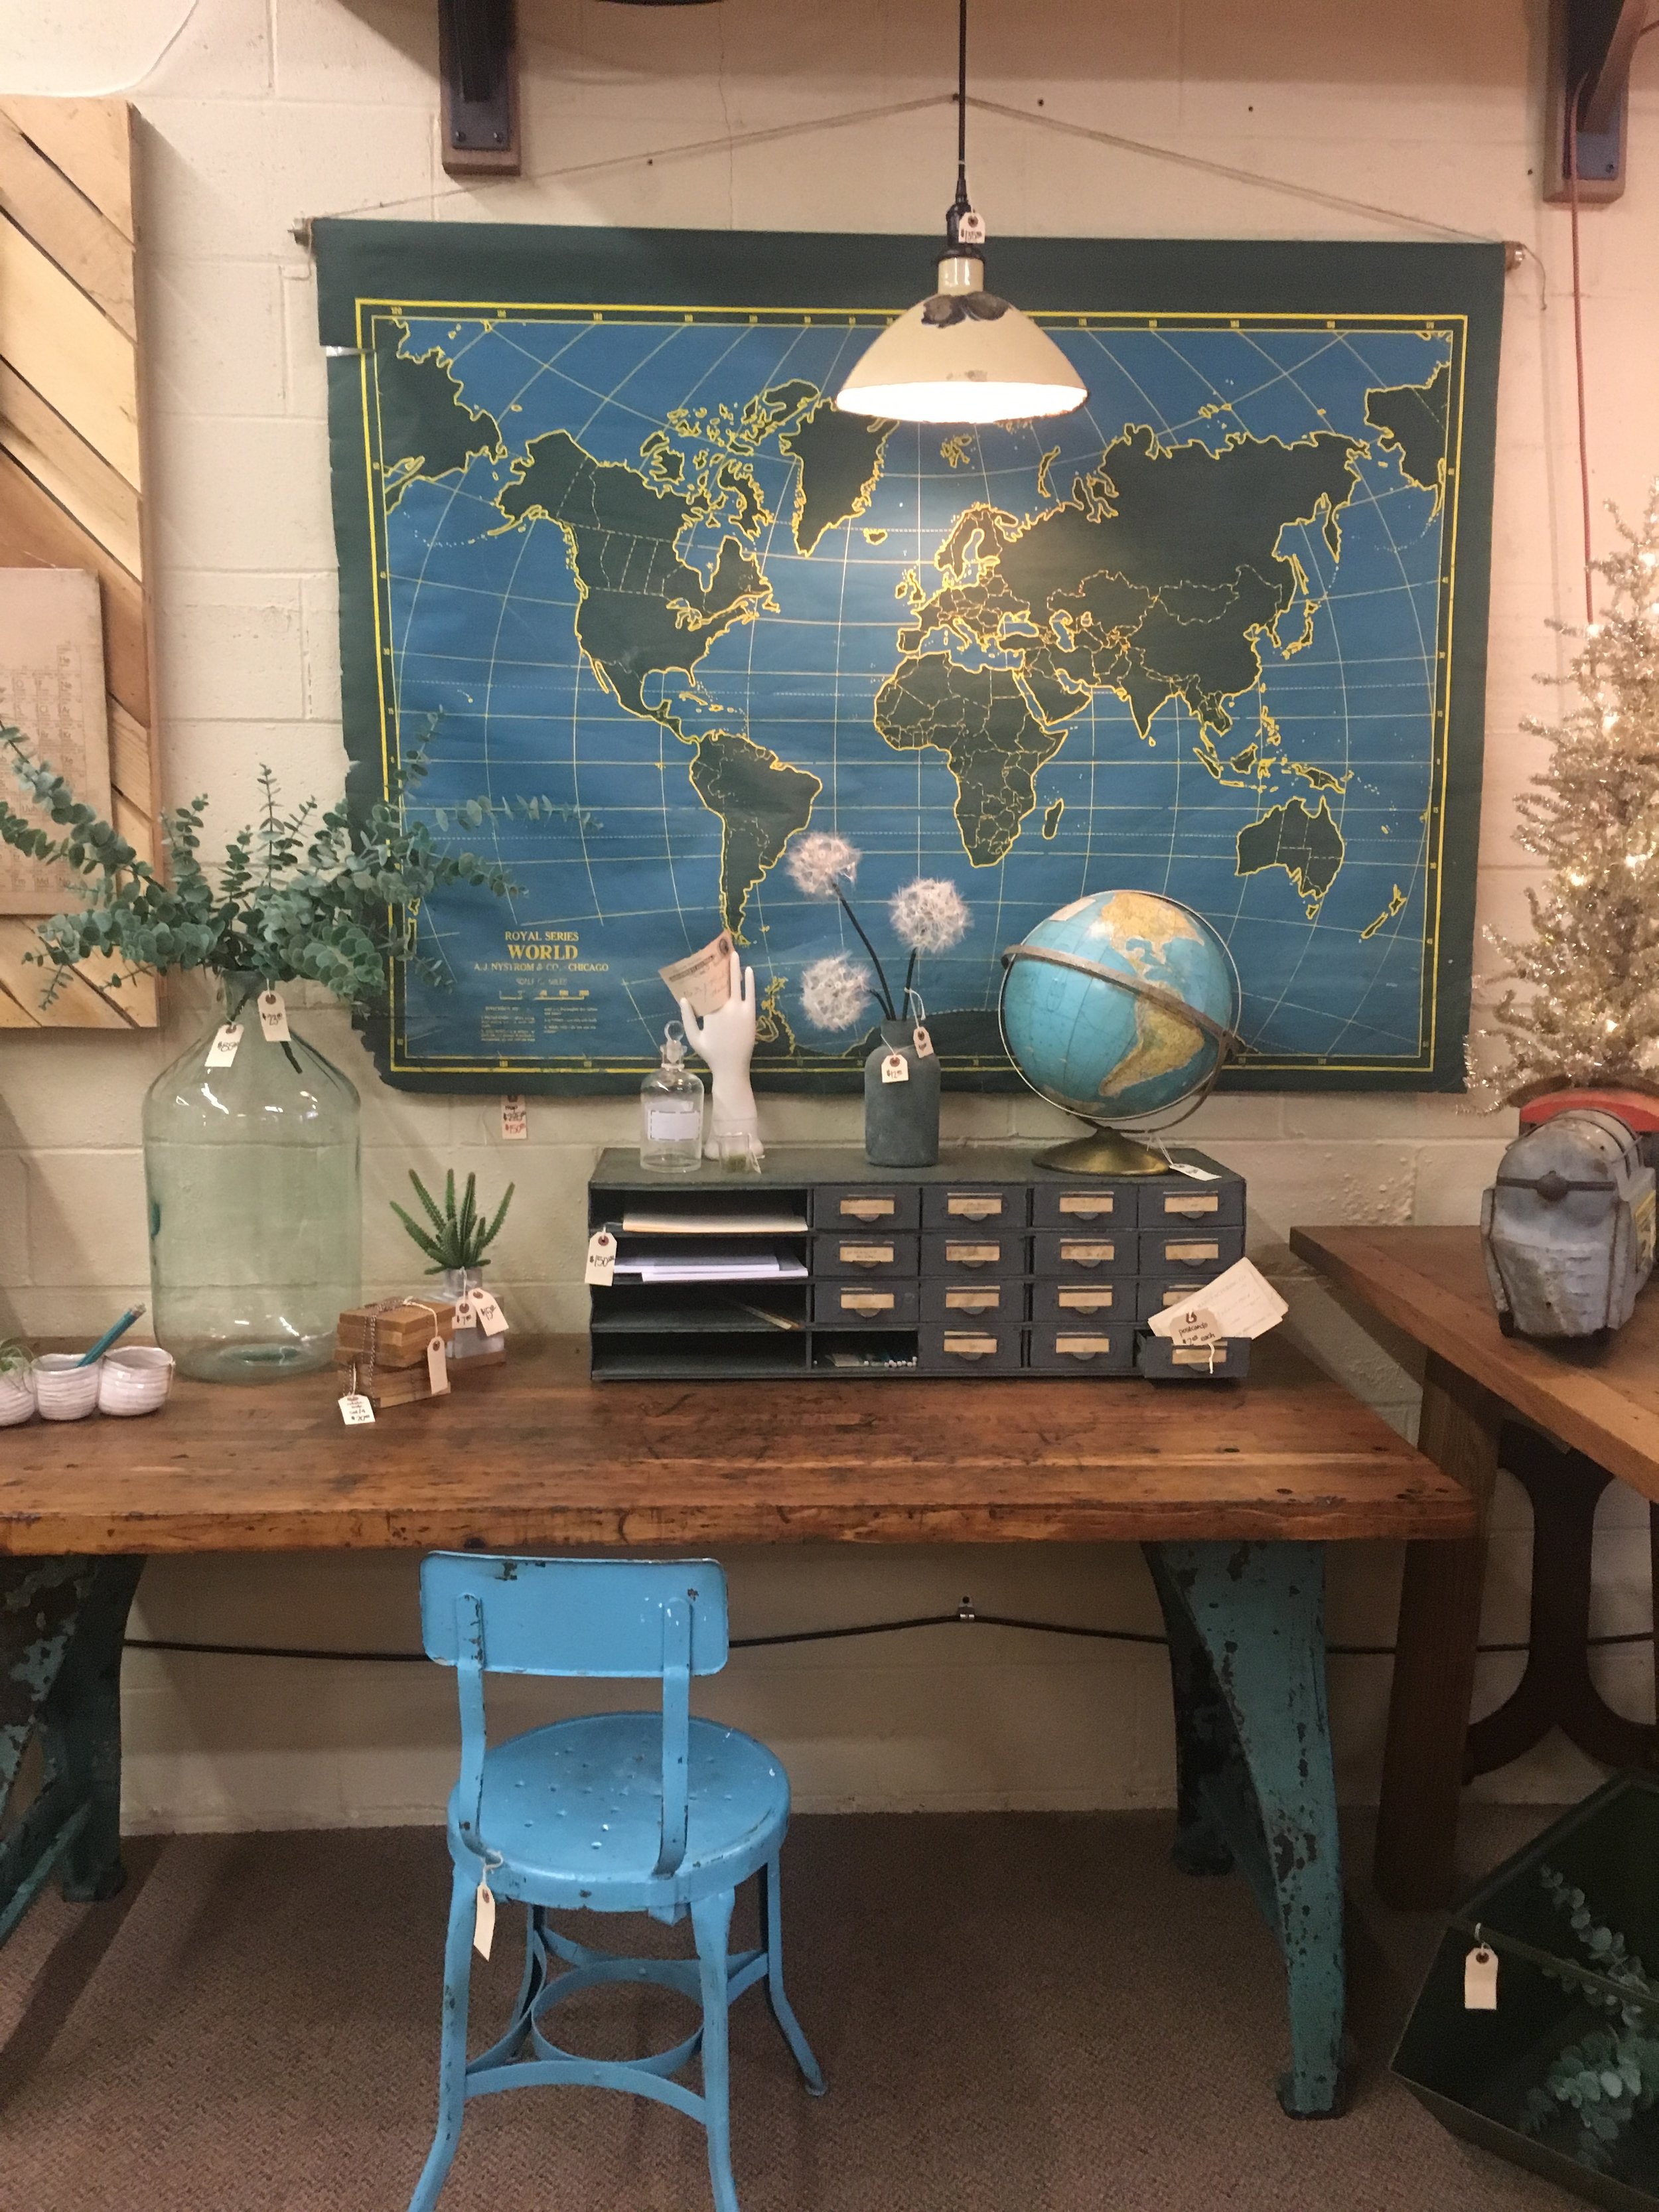
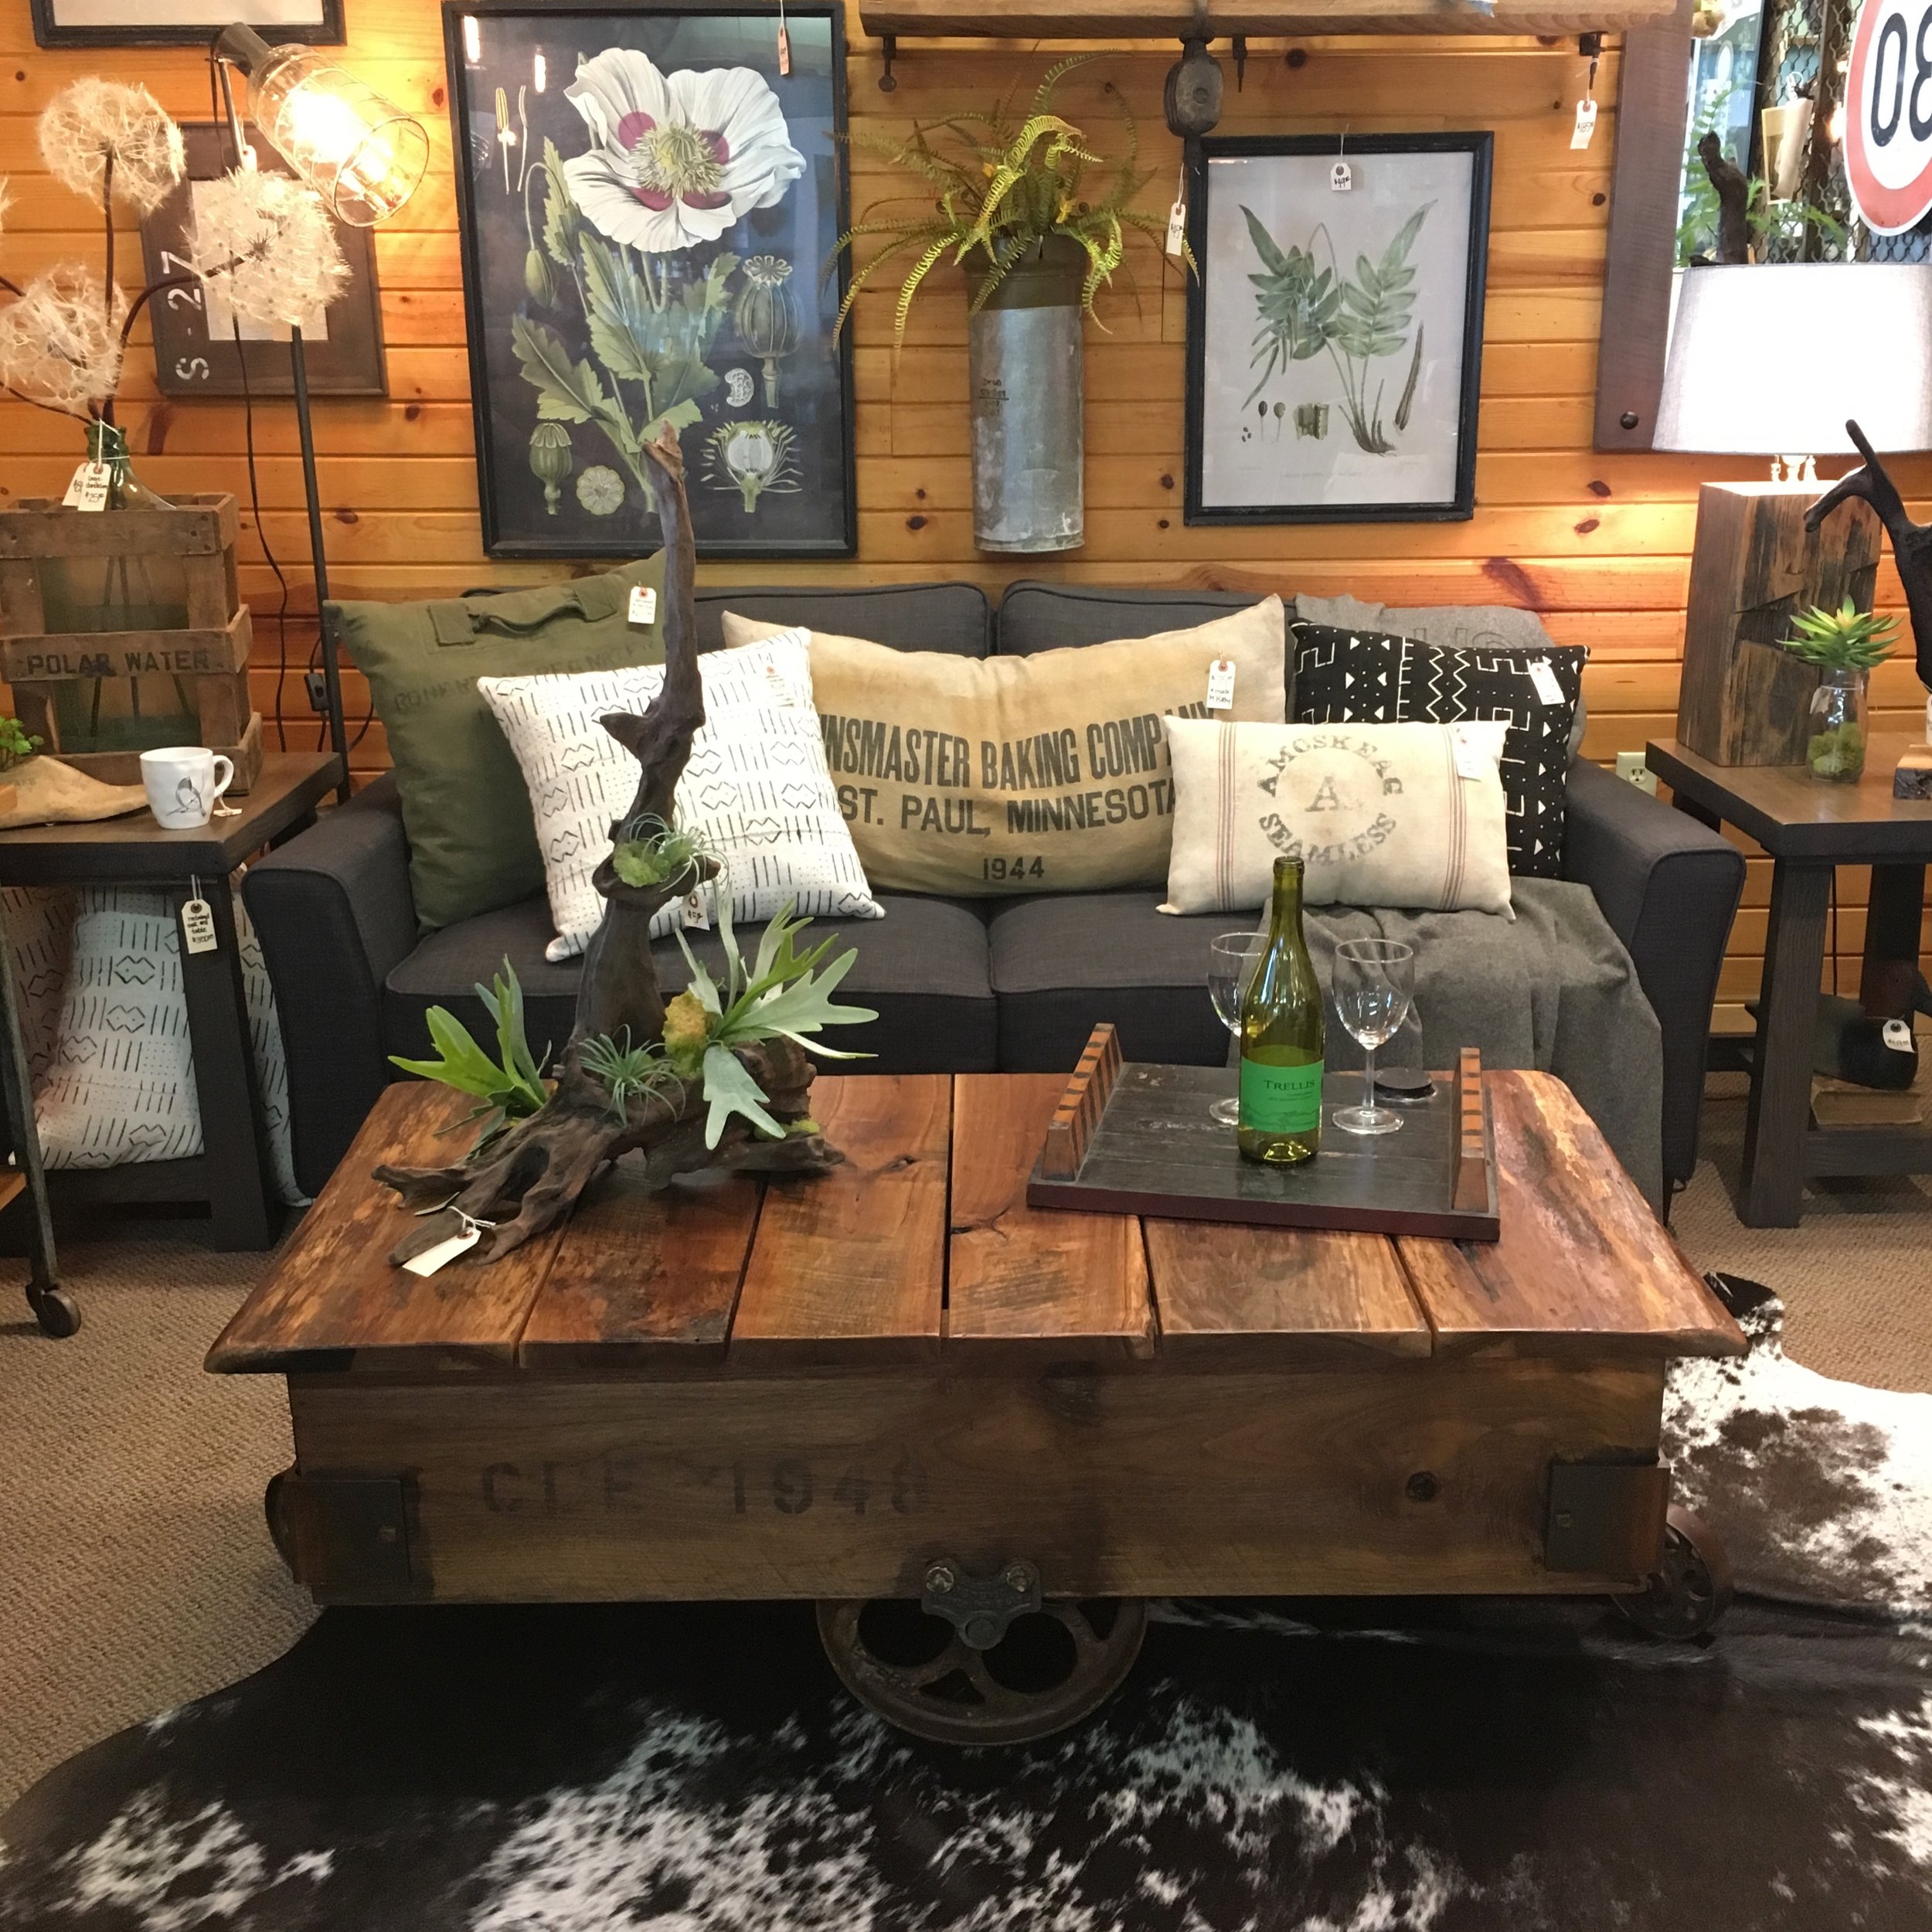
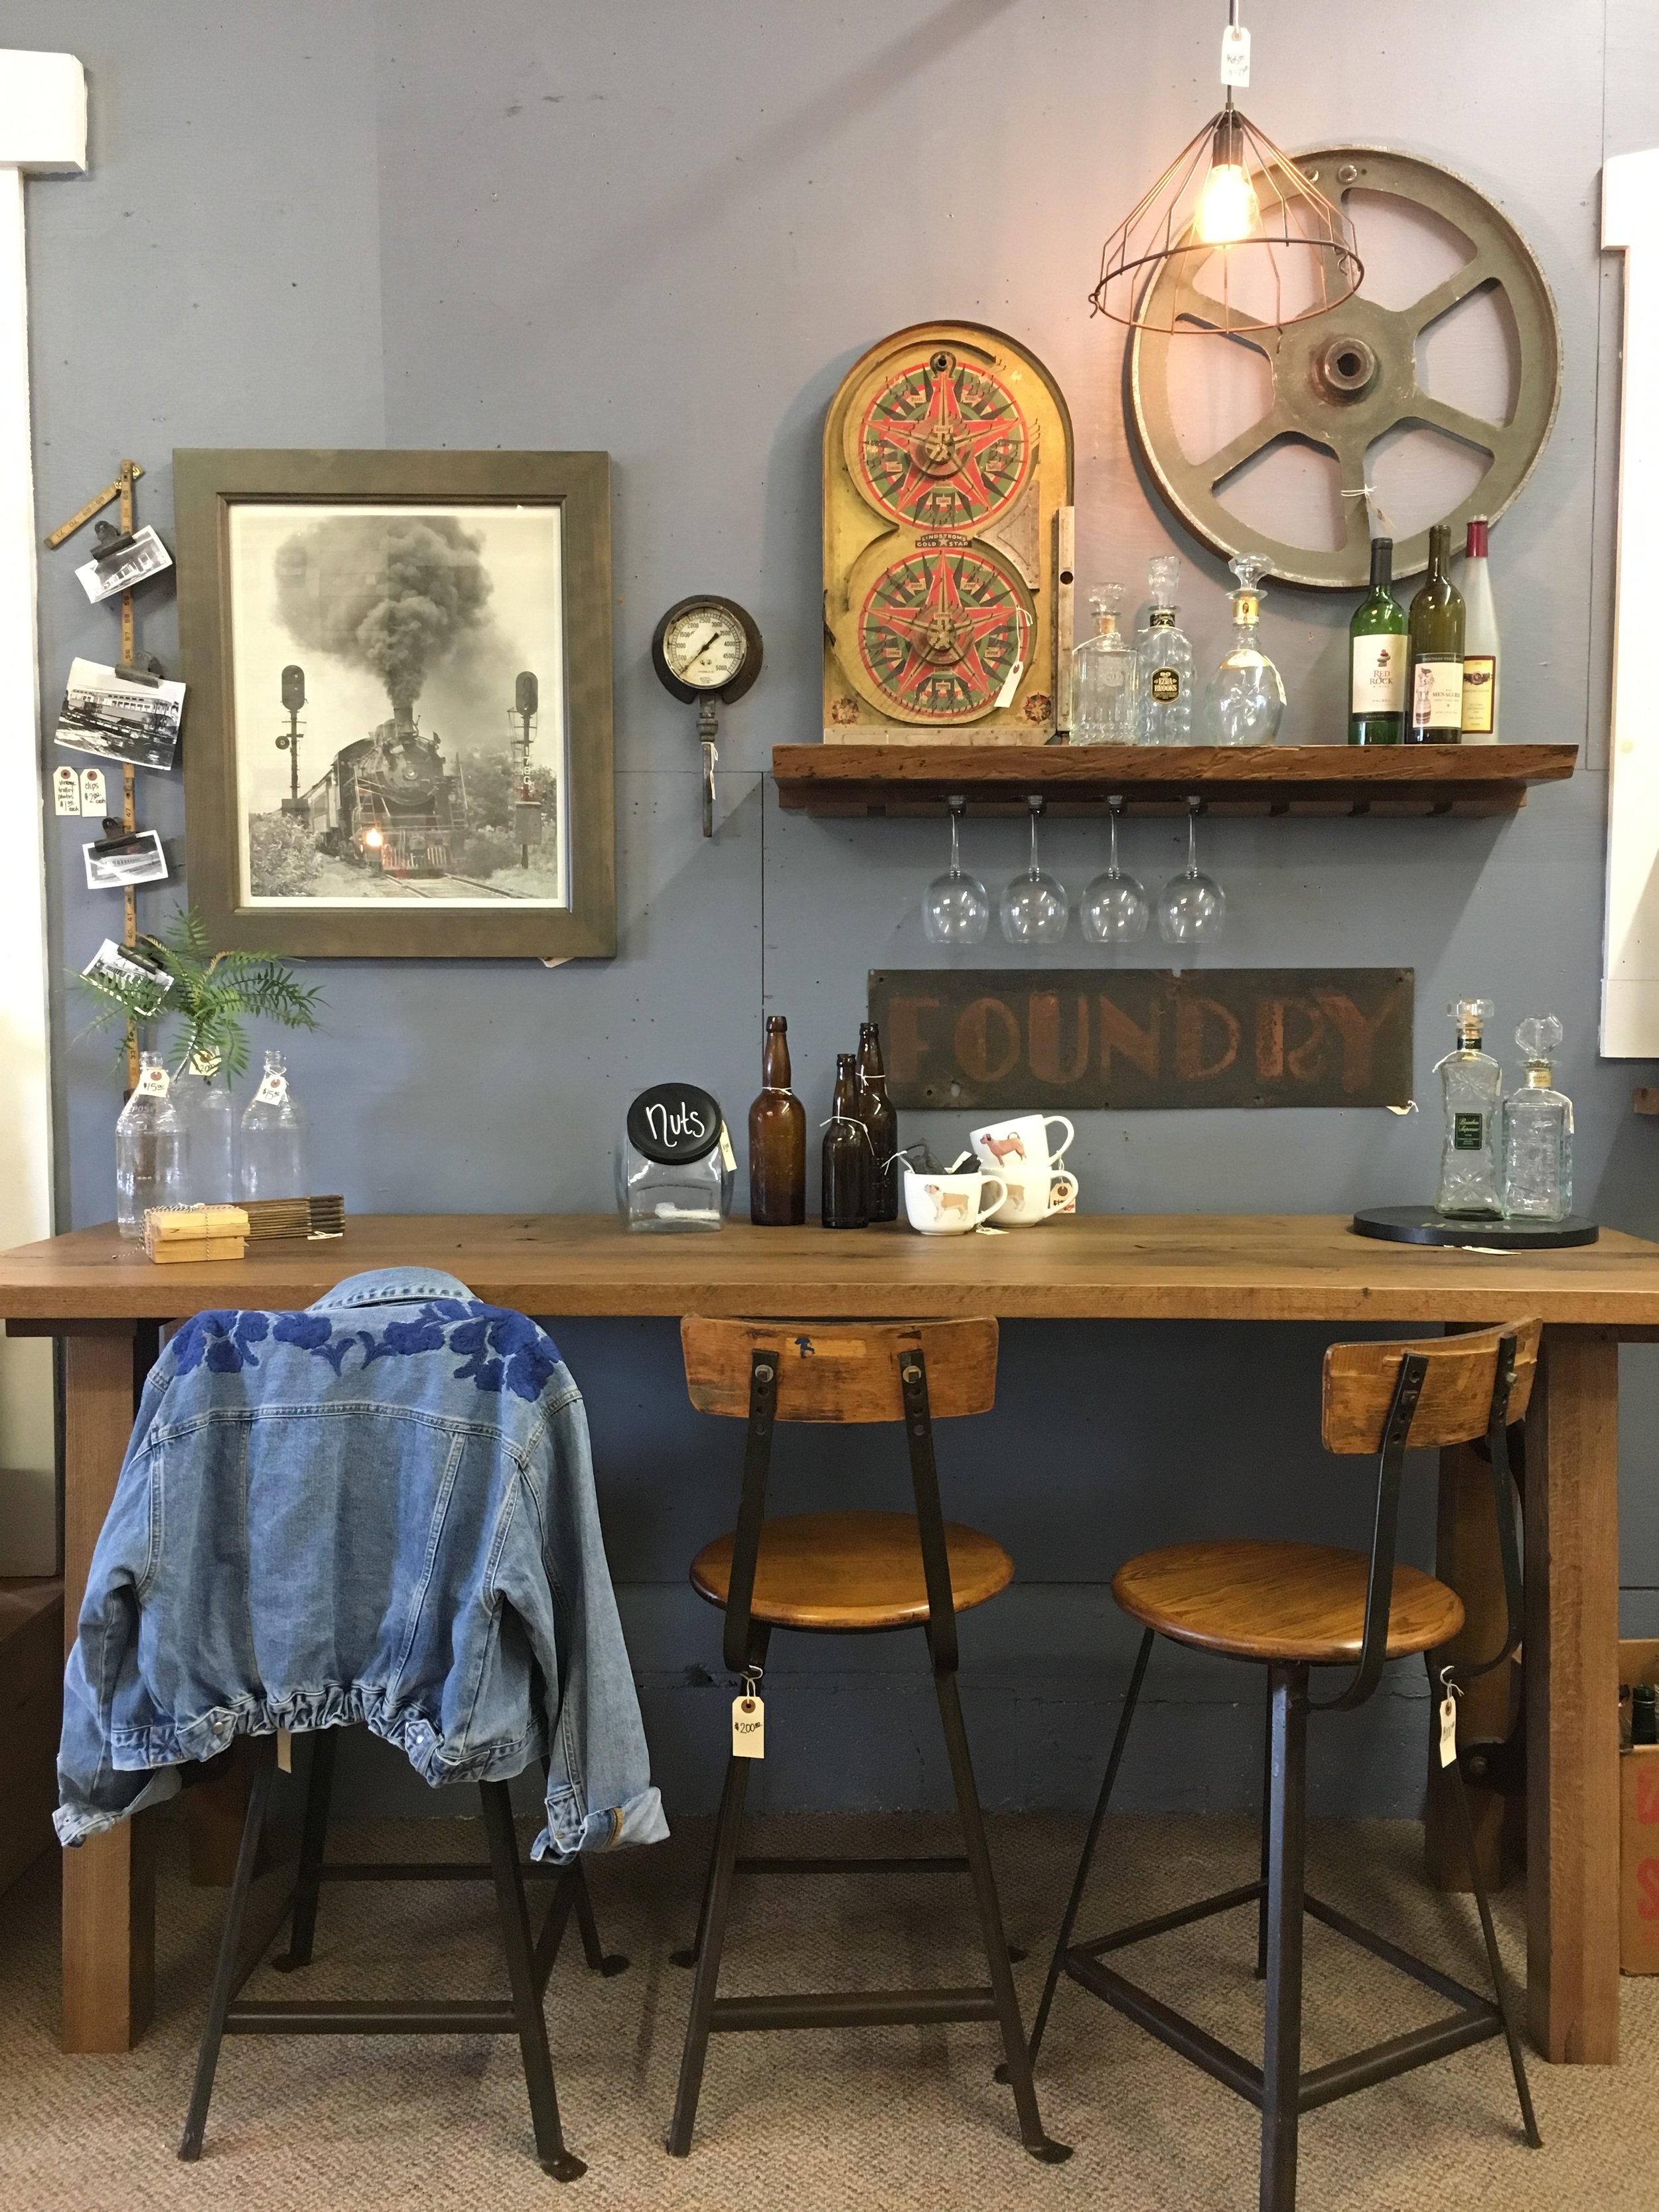
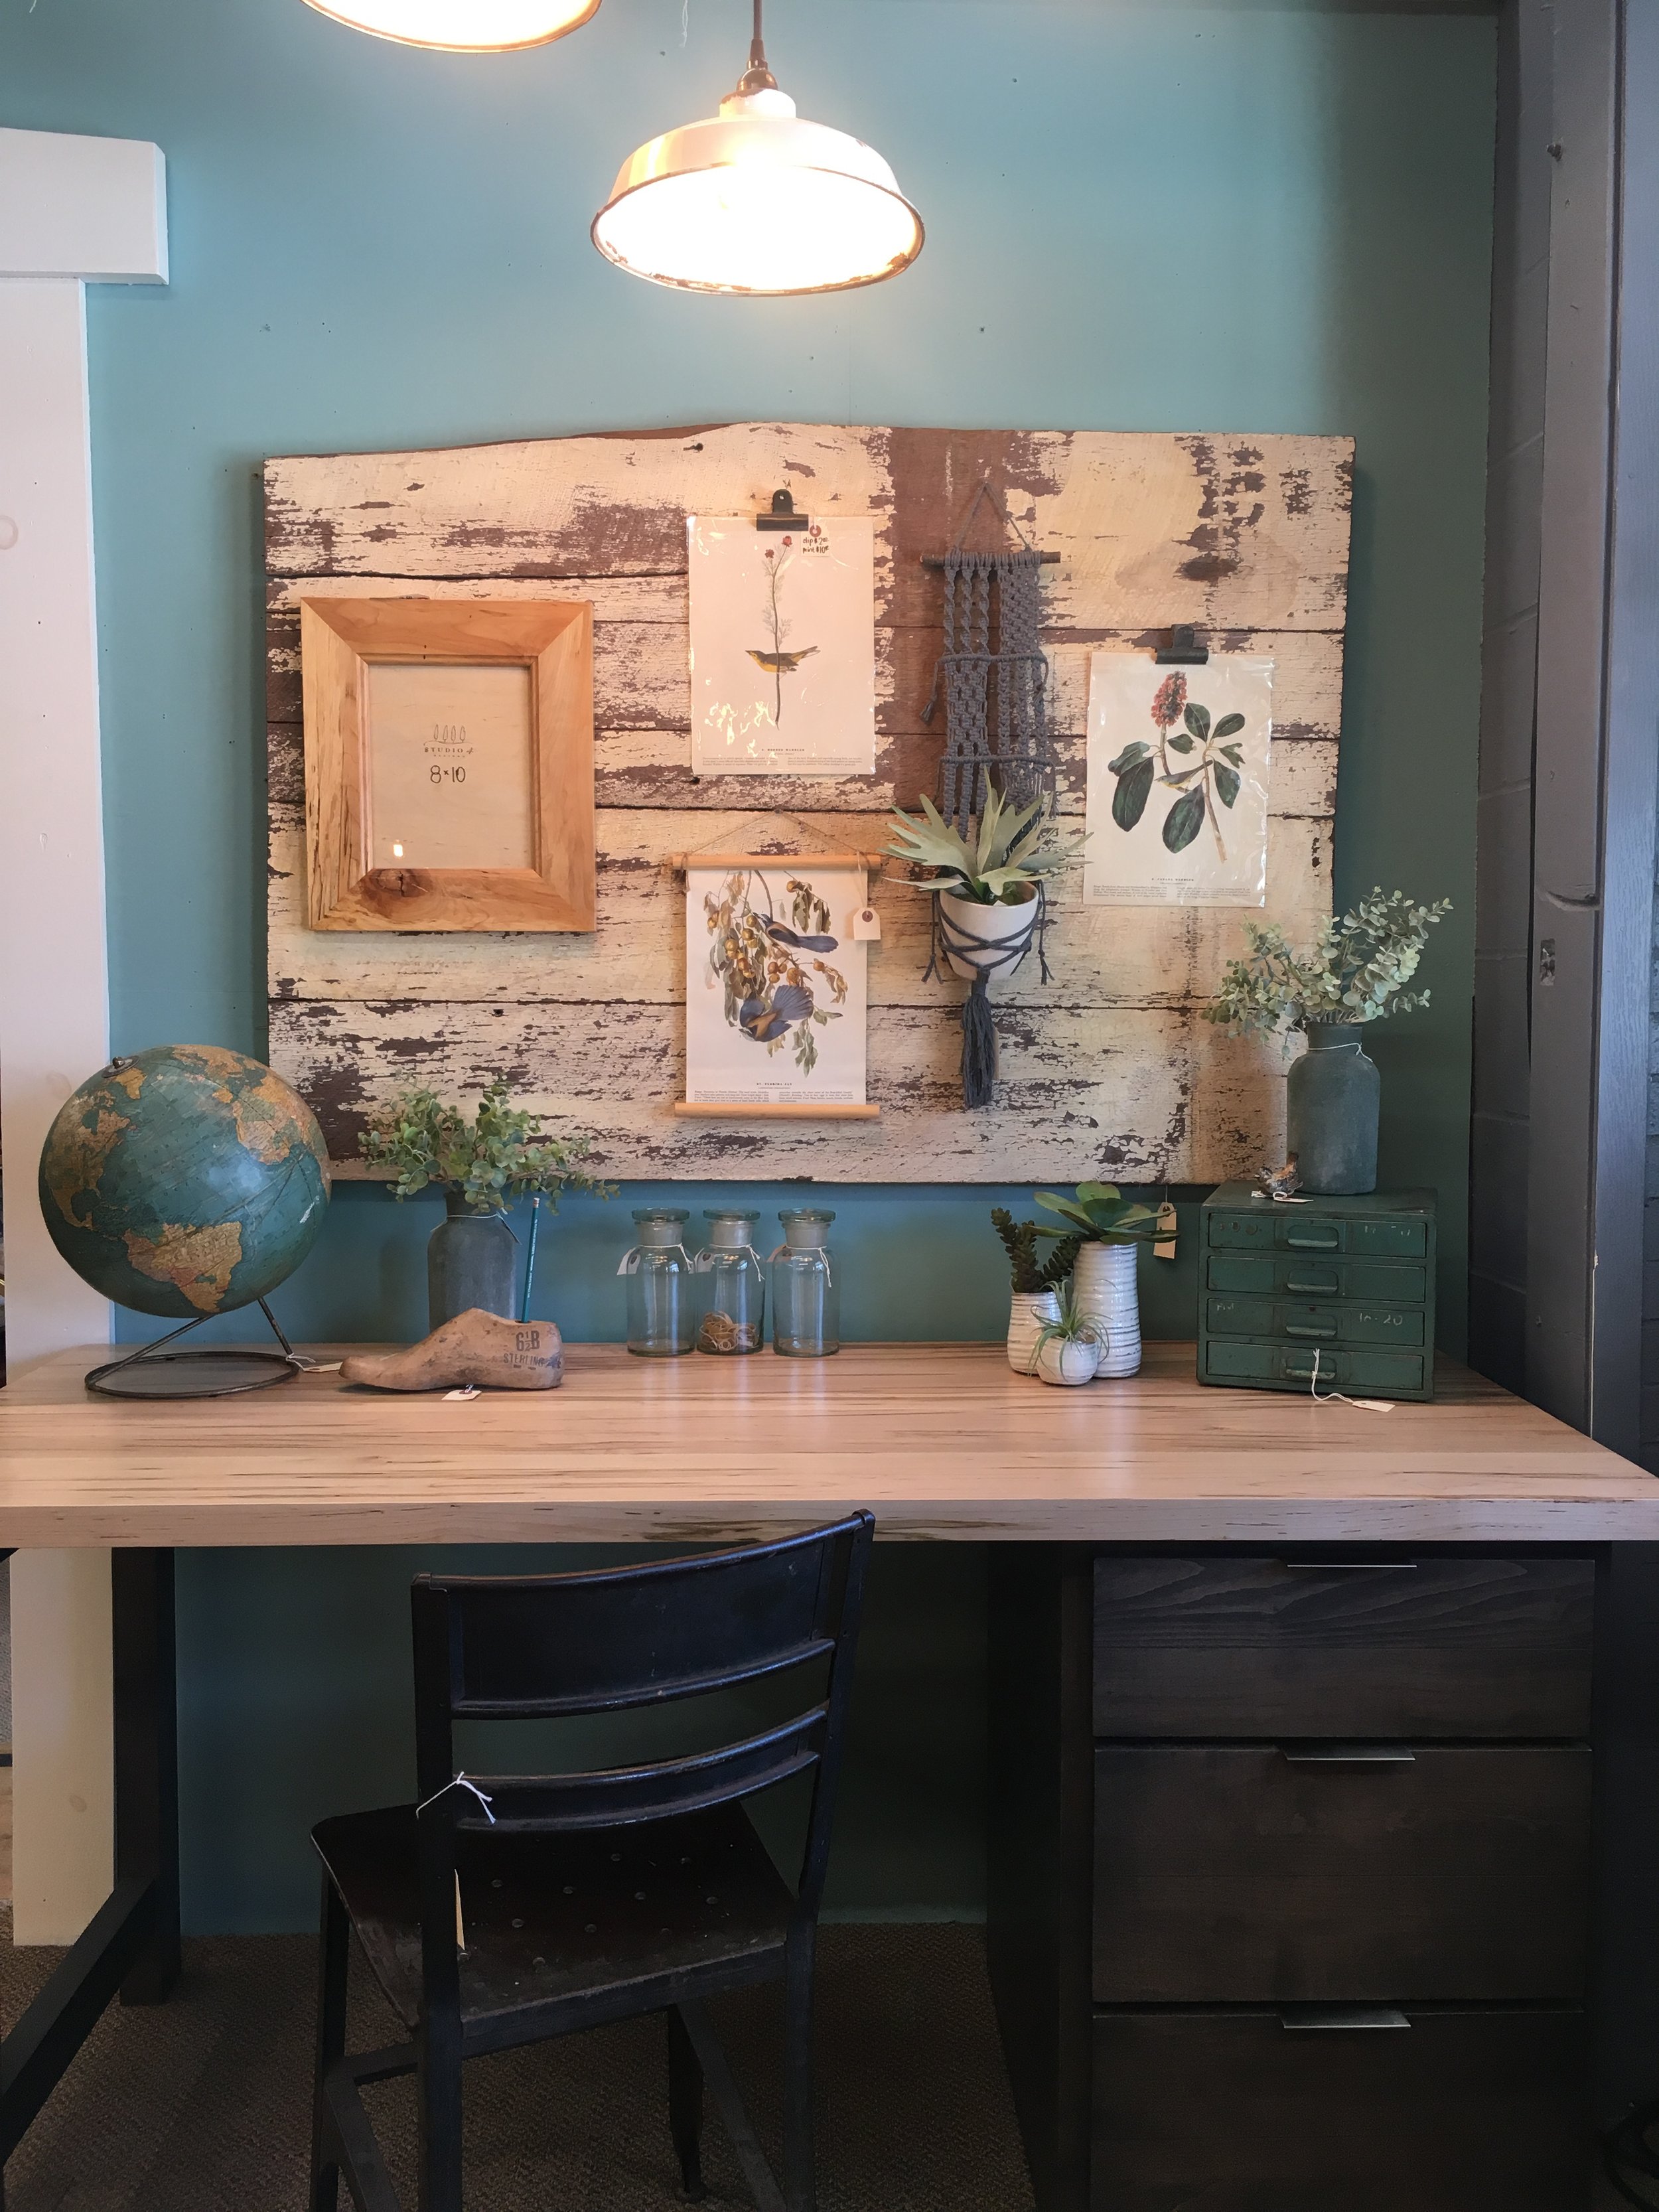
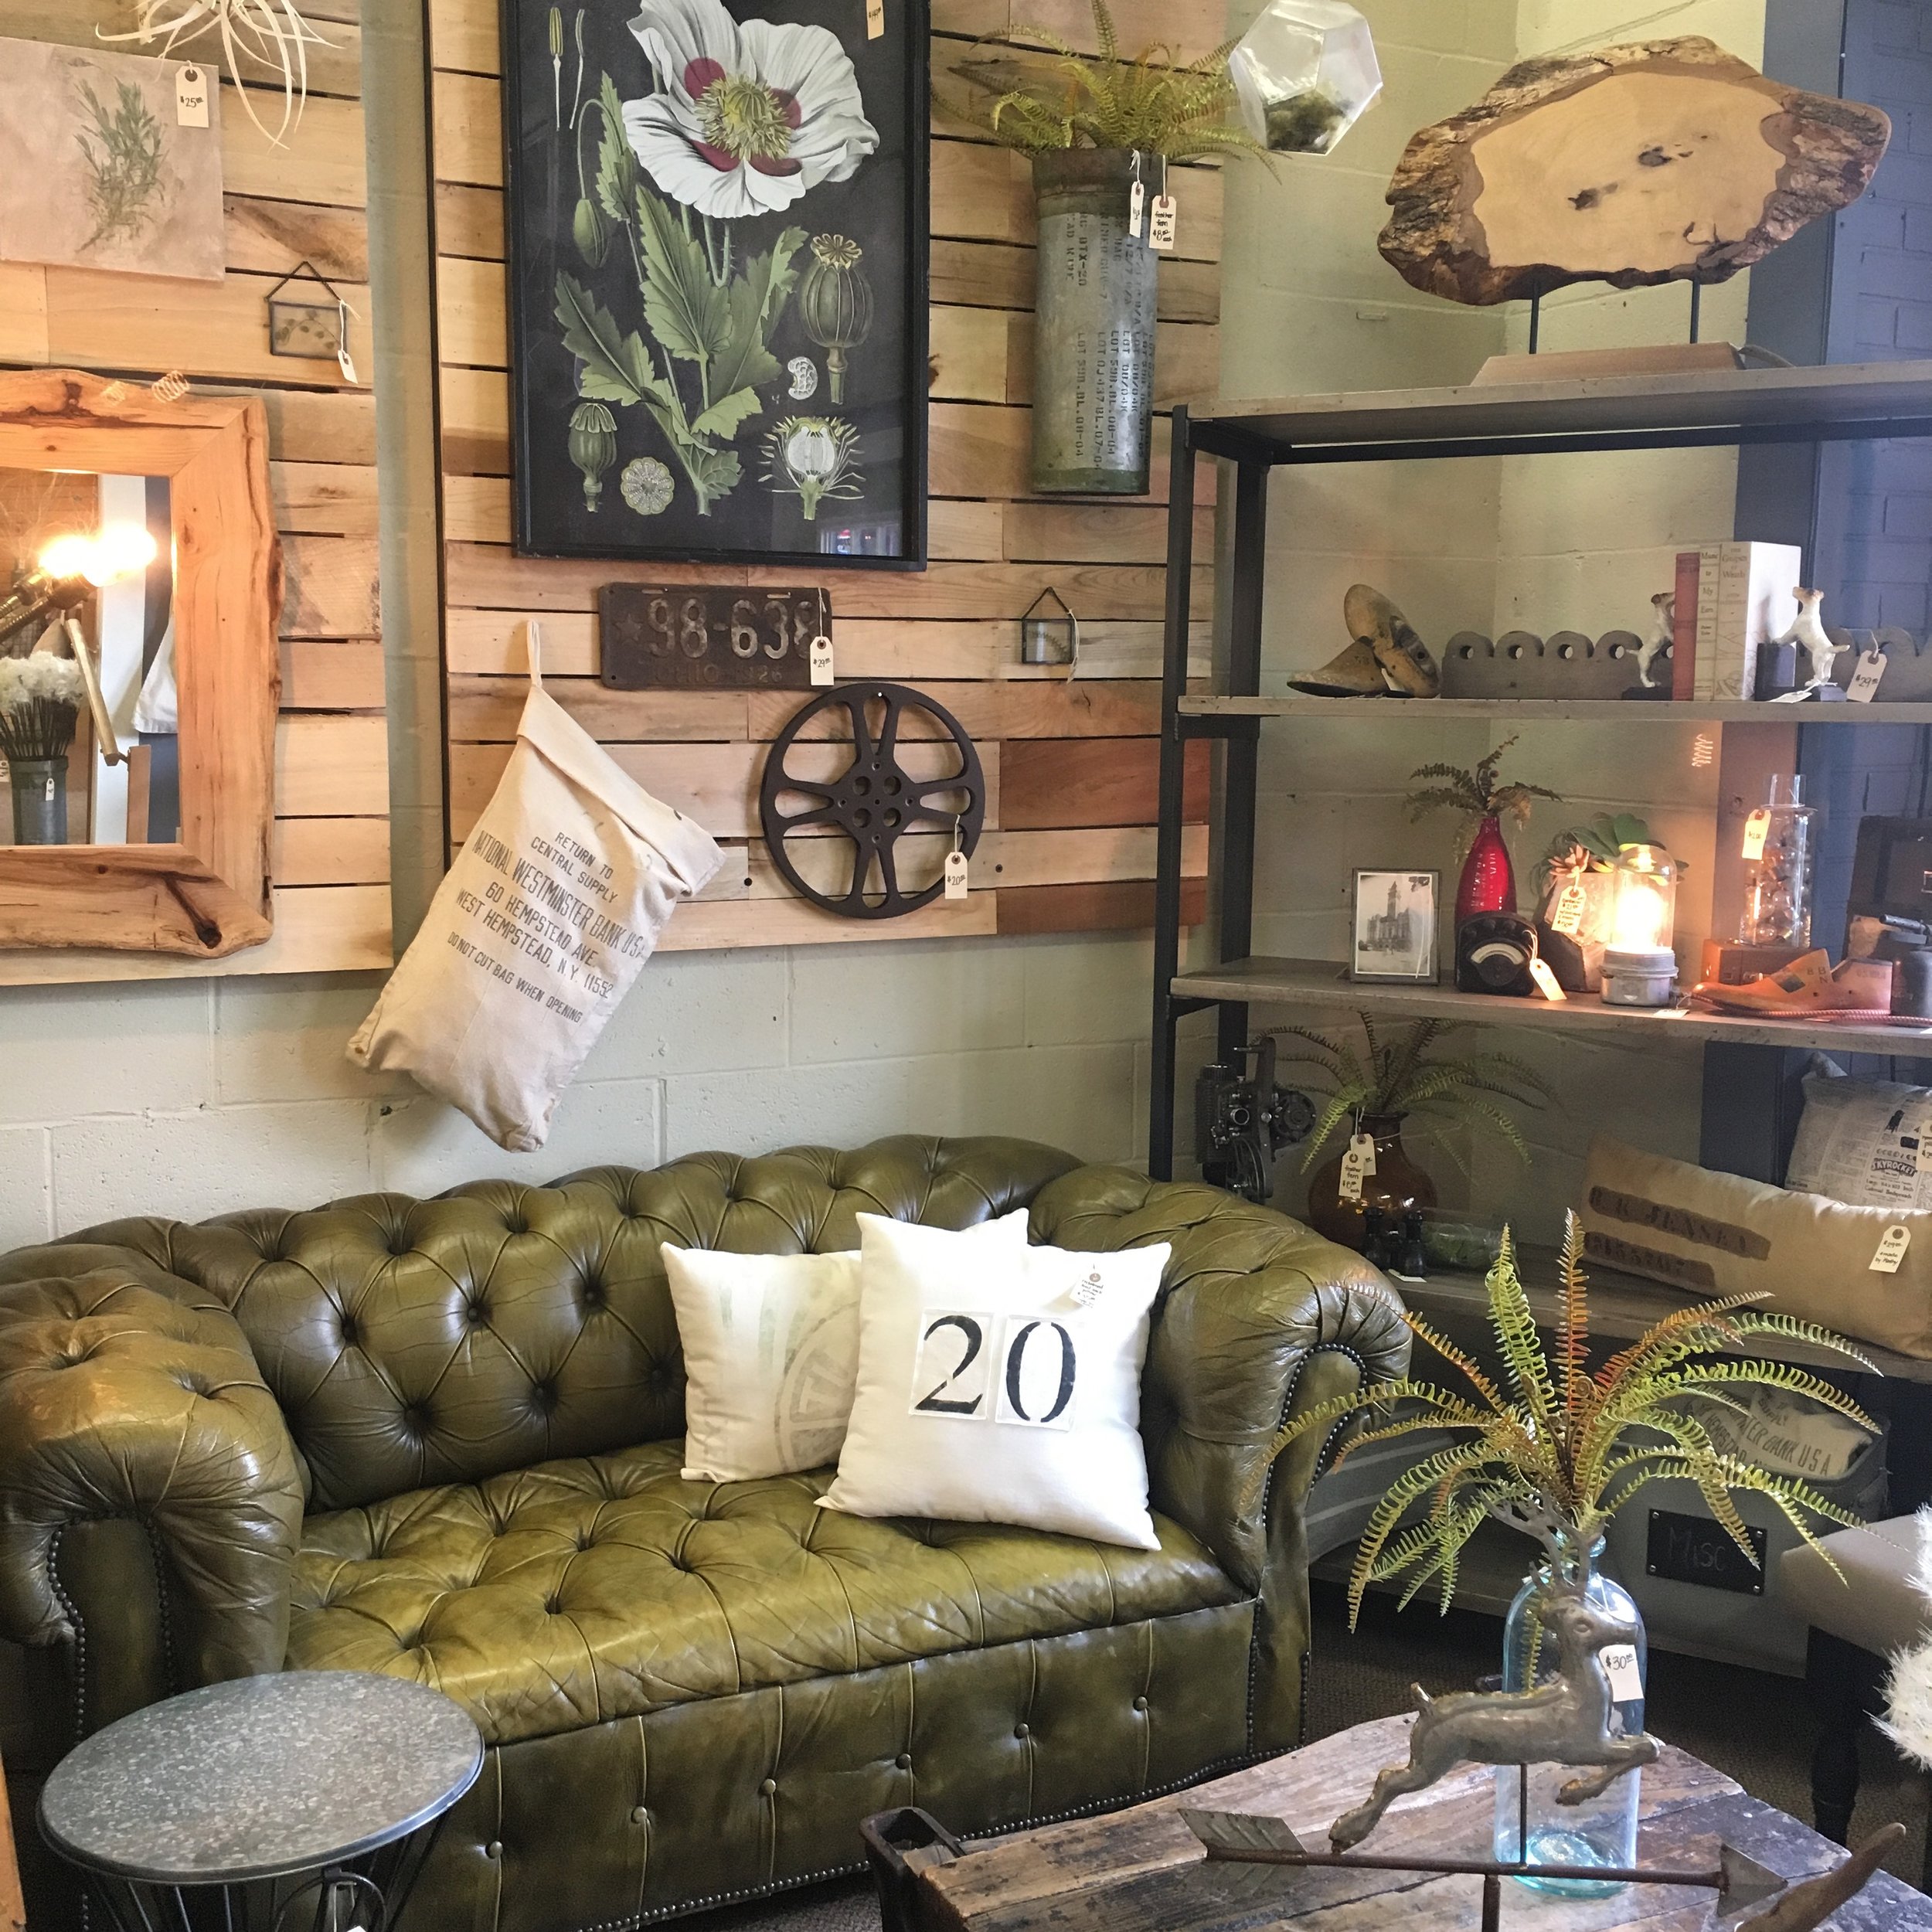
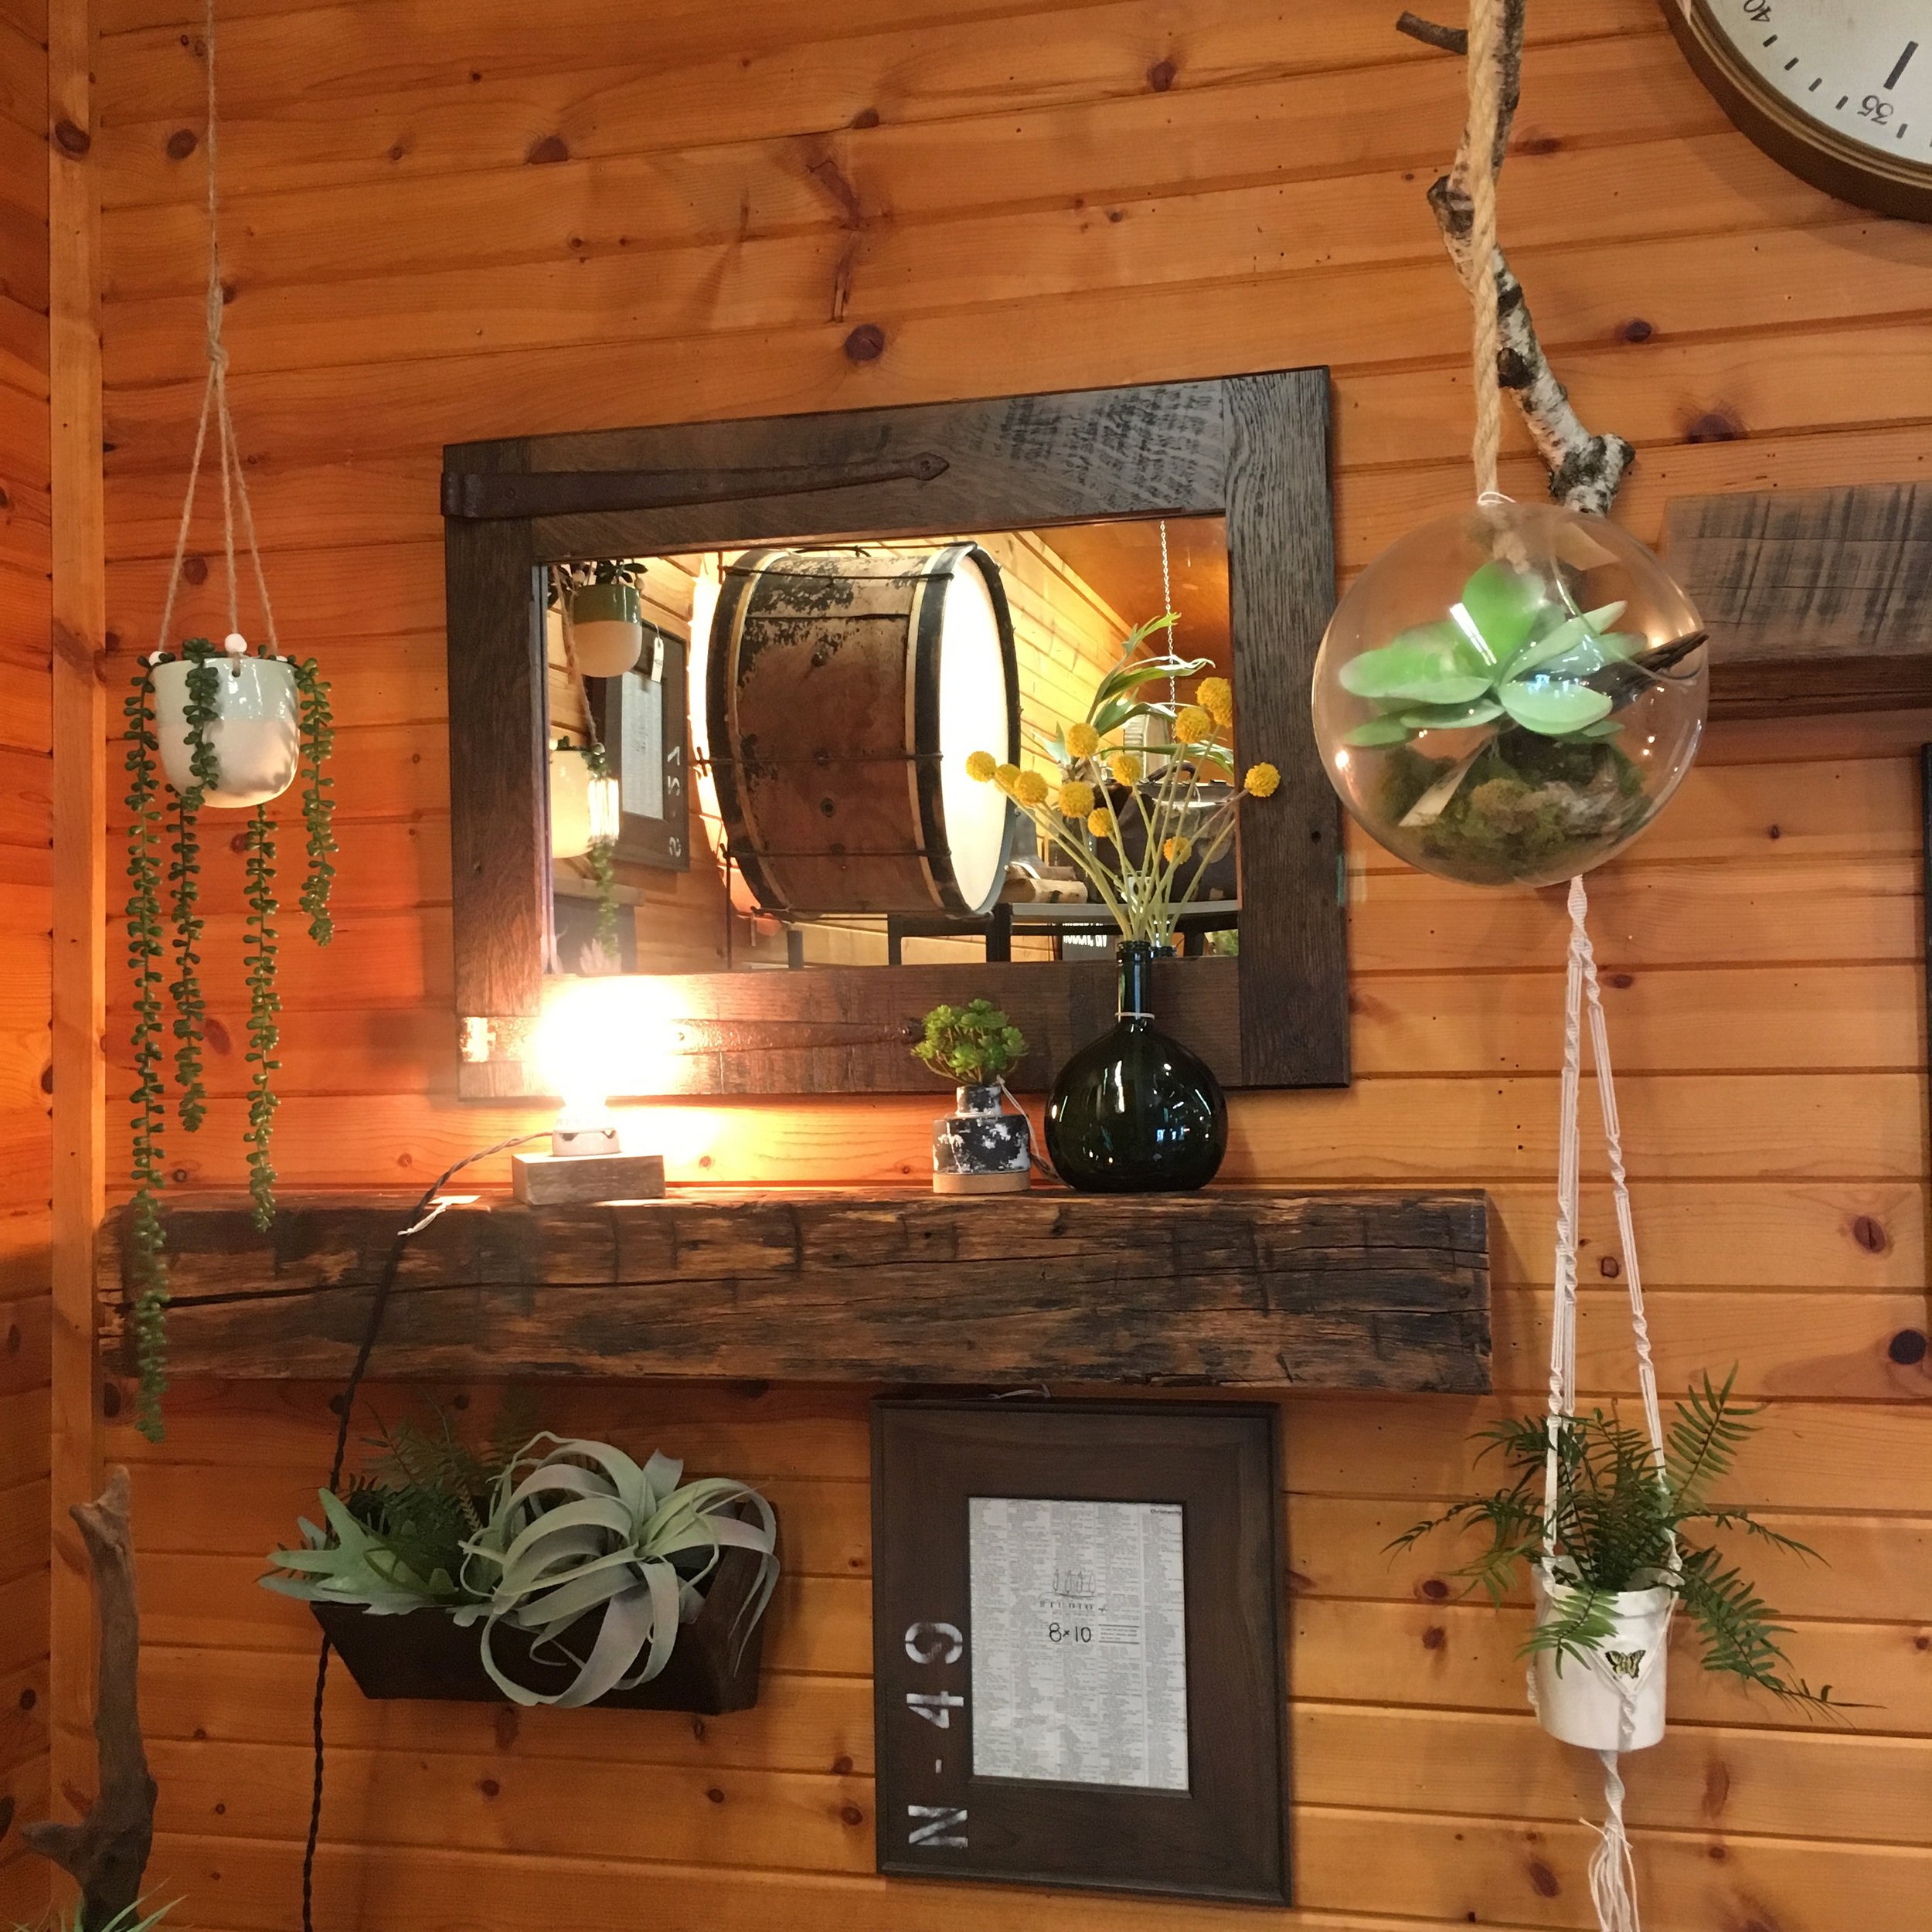
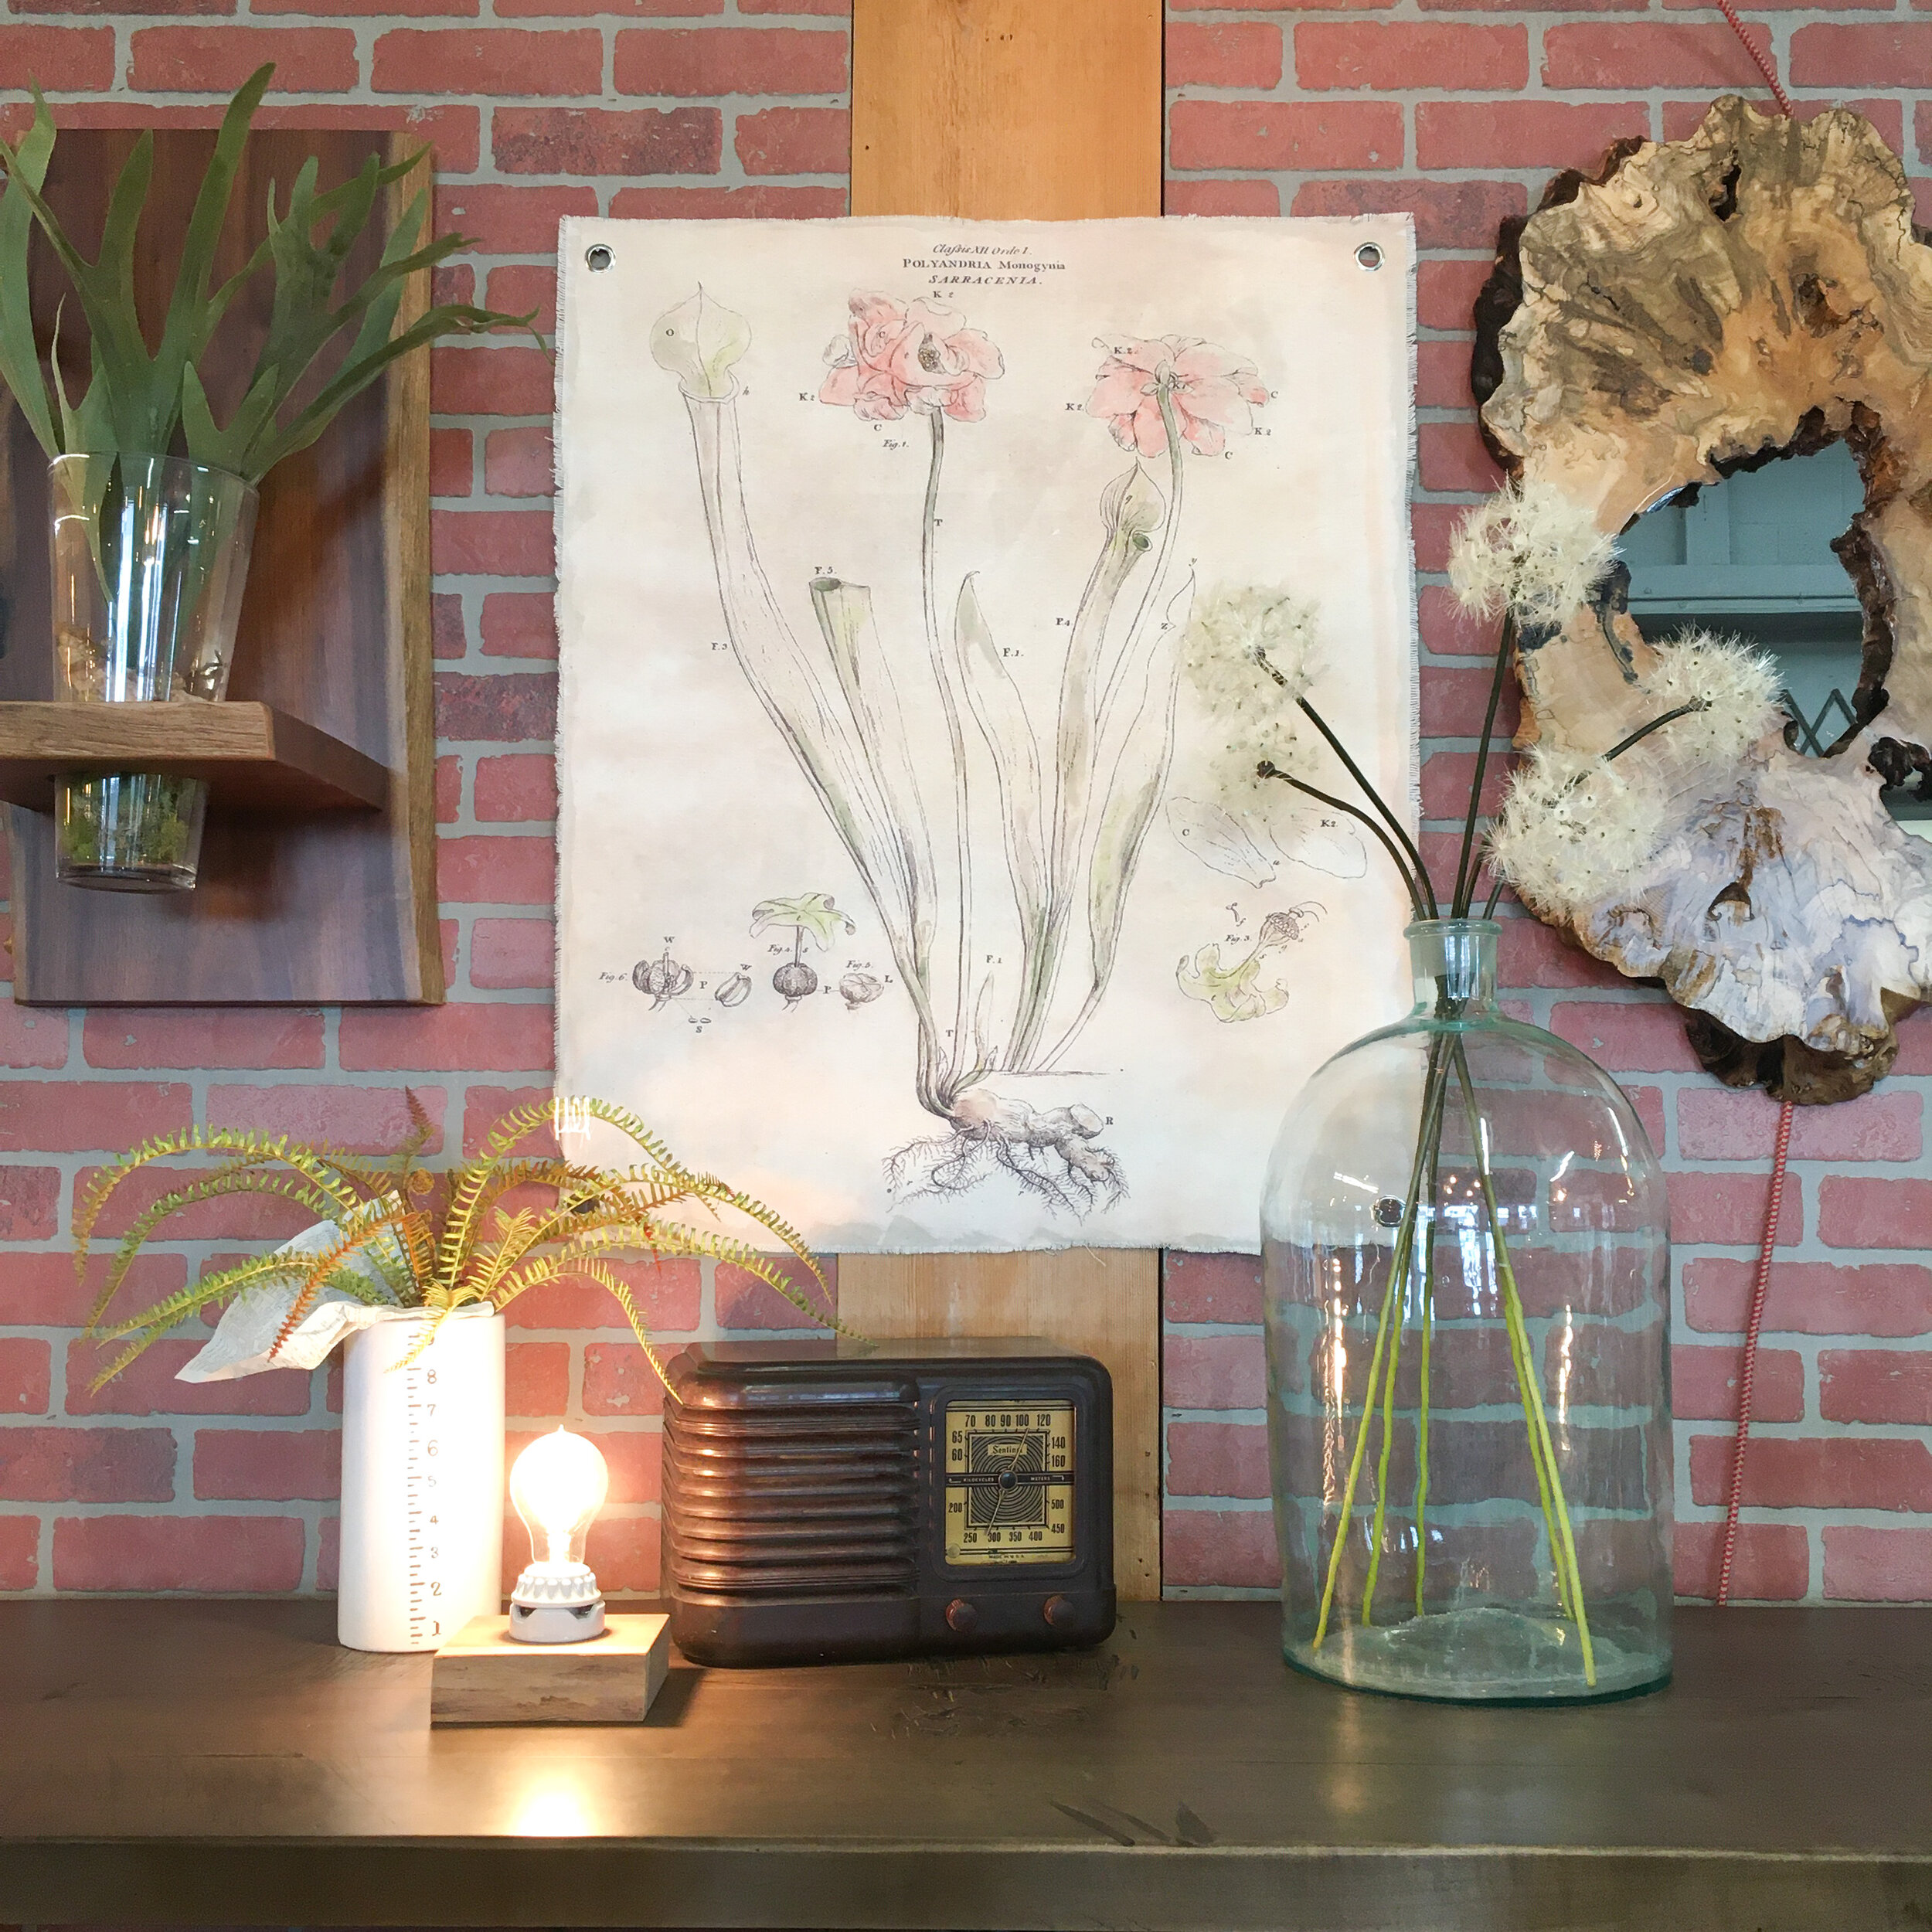
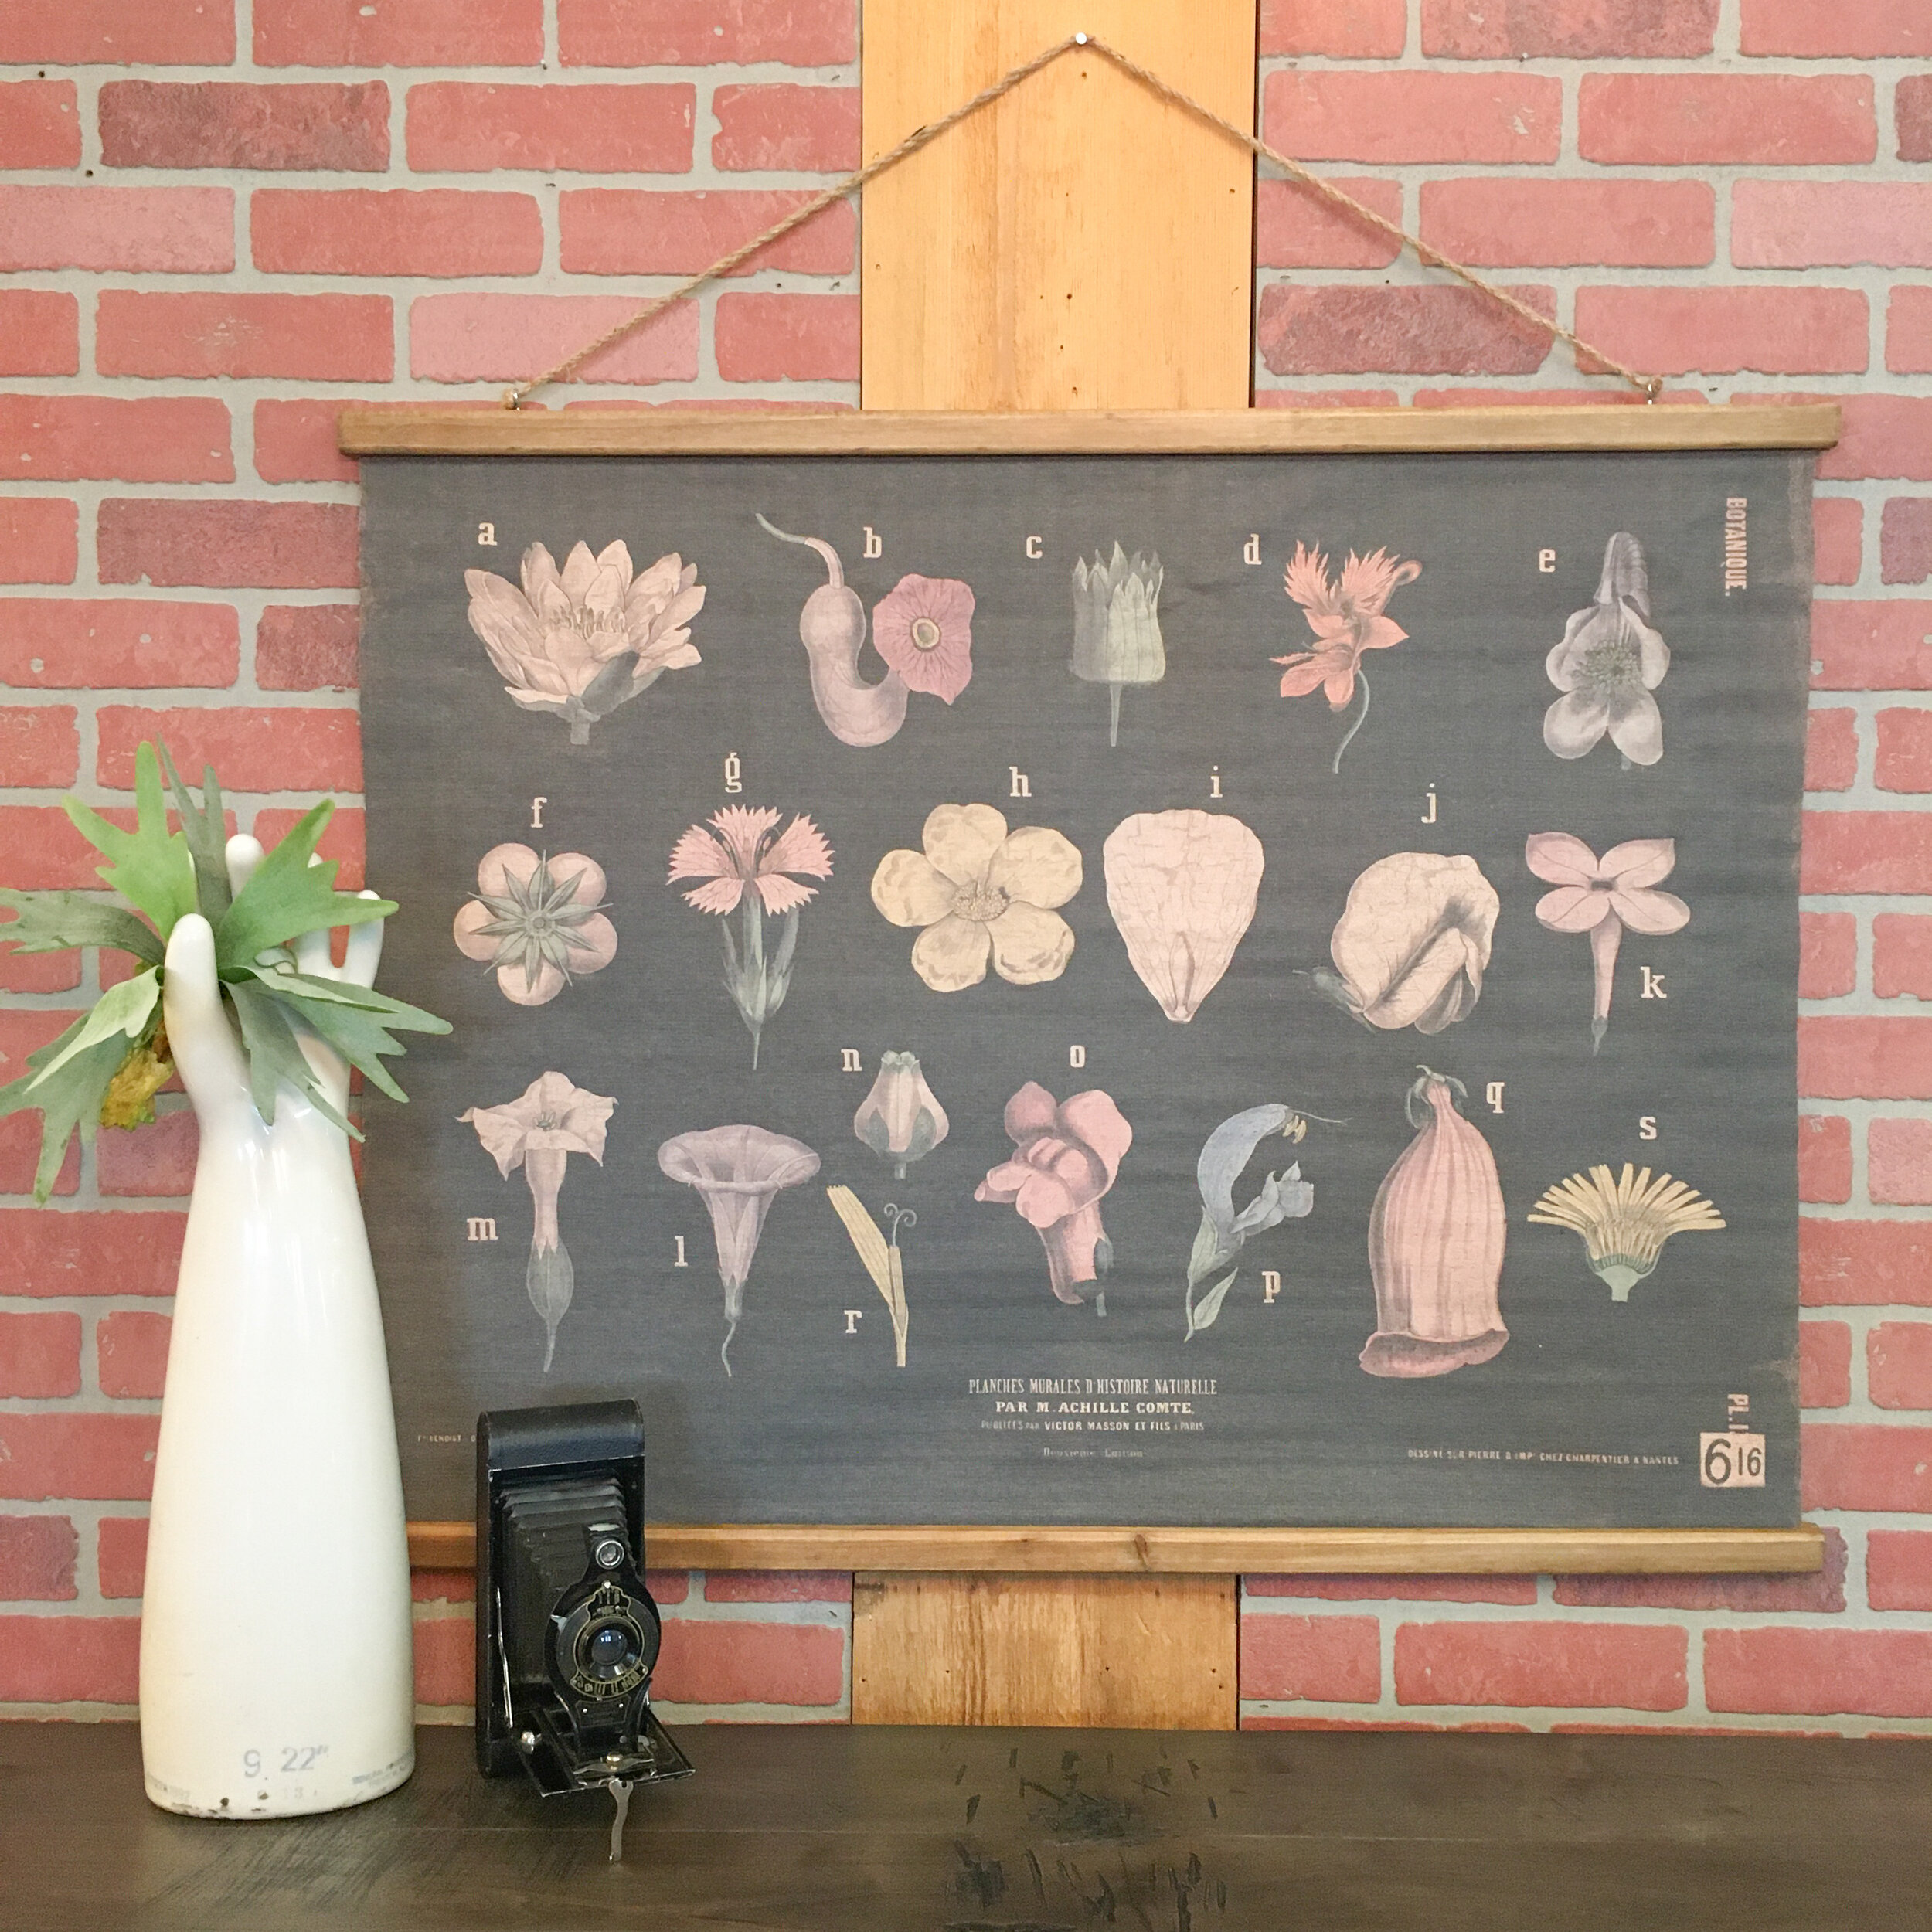
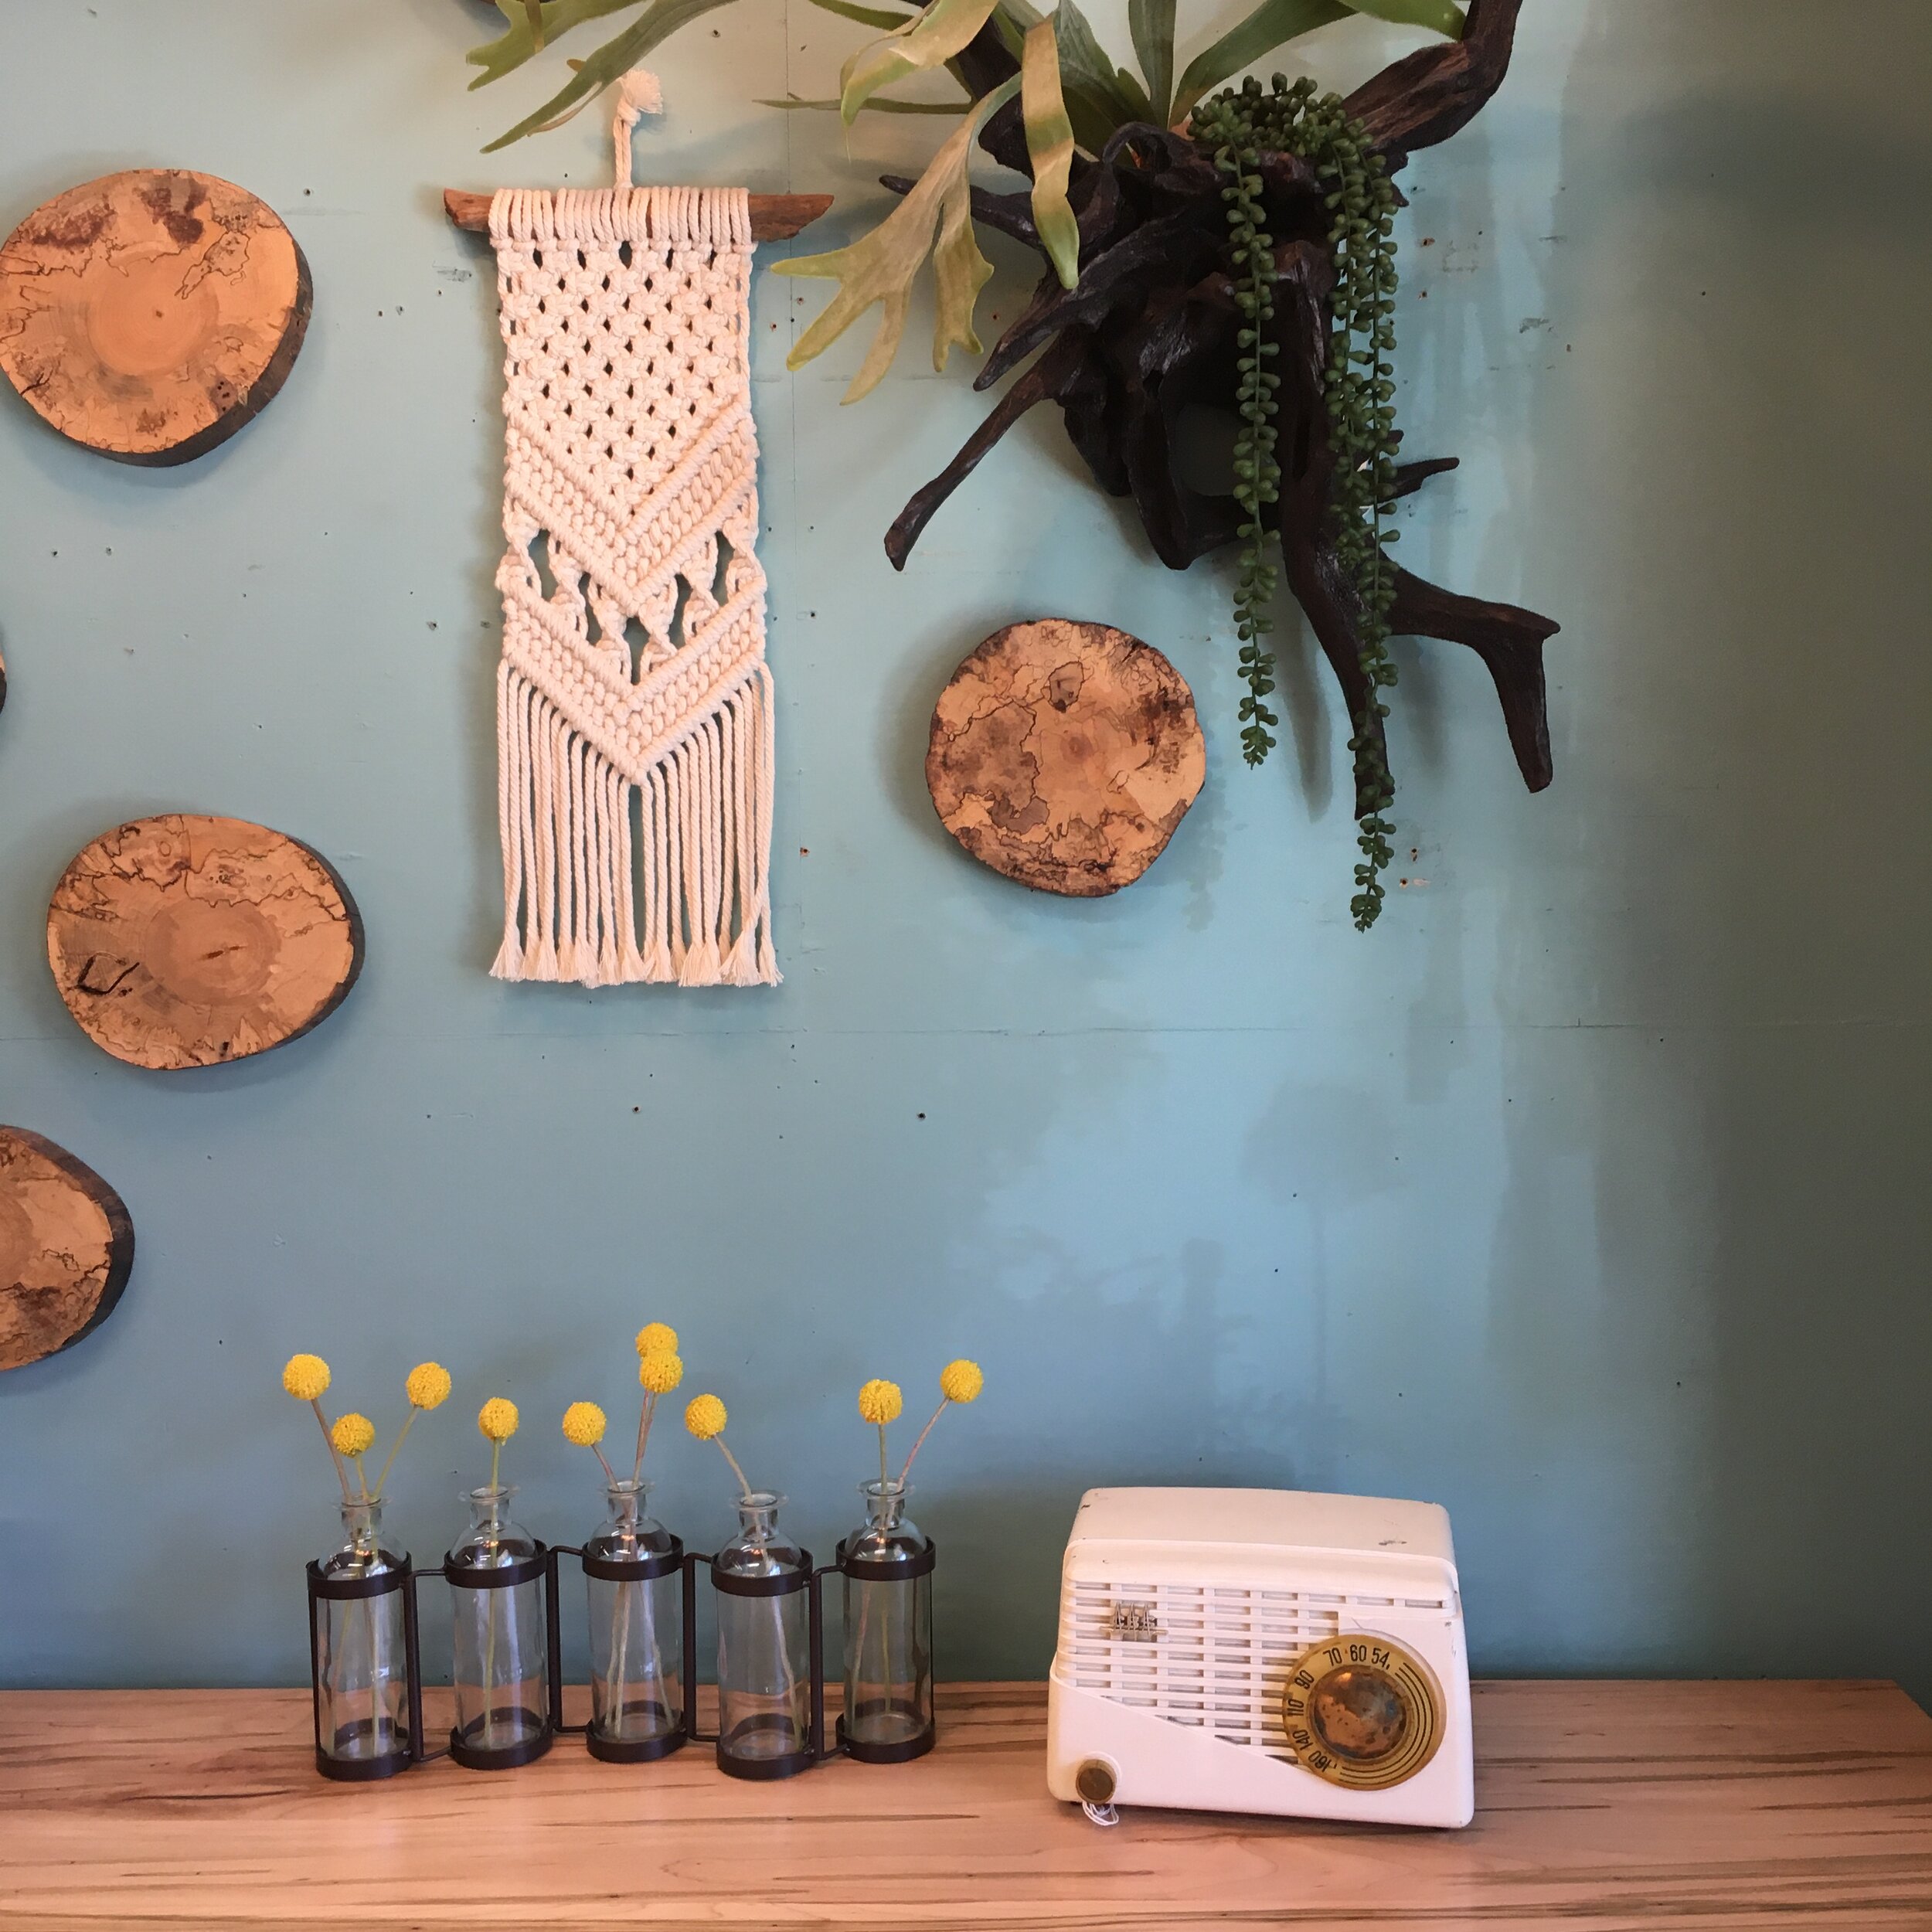
The face masks are no longer available. I ran out of the trim that I used for the ear straps and fabric. Plus, when the time came close to reopening the studio, we had to focus on rearranging and getting ready to open back up. New items were added in and the studio got a much needed make over. So, the next time you visit us, things will be different but better than ever. See you soon!

Much Love

~Kathy


Favorite Projects of 2019 by Kathy Hochstetler

slidingbarndoor

Favorite Projects

of 2019

The year was full of many projects. We find great joy in creating the custom furniture that you dream up. Here are a few of our favorite projects of 2019. Each one is unique, just like each of you.

olivetreetrunkbartable

Olive Tree Trunk Pub Table

This table right here….it’s a show stopper! In the planning stages of the custom project project, the customer stated that they want this piece to be a statement, something different from the rest of the furniture in their home. John showed them the olive tree trunk as an option. This became the natural choice. You see, they fell in love with the ancient olive trees that they saw on their recent trip to Israel.

When it was time to design the table, John knew that the table top had to be simple. The tree trunk had to speak for itself. Glass was the best solution and the table top supports were kept very minimal.

031.jpg

Heritage Walnut

Live Edge Dining Table

This dining table project was fun. The walnut slabs used to create the book match table have a family connection for the customer. They saved the wood from a tree that was cut down on their grandparent’s property. John worked with them to design a table base that best fit their modern style.

Let’s take this moment to talk about something. We are constantly asked if we can use some wood that has been stored in a barn for 50 years or a tree that was just cut down. There is a process that wood has to go through to make it suitable for furniture. It must be air dried for a period of time and then dried in a kiln. This process can take up to a year, year and a half. Even if wood has been air dried for 50 years, it still needs to be kiln dried to make sure the moisture content is right on the interior of the wood.

202.jpg

Reclaimed Oak Dining Table

While their new home was being built, the homeowner new they had to have a large statement dining table to fill this dining space. They fell in love with a dining table that was on display in the studio but needed to have it customized. This is what John came up with for them, altering the original design to accommodate the 9 foot by 6 foot table top. Wow. This is, definitely, one of the largest dining tables that we have created.

IMG_3105 (1).jpg

Custom Walnut

Dresser

This was a challenging, yet fun project for John. This dresser project all started when the customer provided inspiration photos. They could not find this style of dresser with the type of wood they wanted so they contacted us. I love the combination of the steel base with rich walnut wood tone and the modern, clean lines.

This piece was shipped off to California, along with a bed frame with drawers for much needed storage. You heard that right, it went to California. We work with a local company that provides home delivery all across the US. Keep that in mind if you have are in need of custom furniture. Getting the furniture to your home is no problem.

Thank you for supporting us. I’m looking forward to the projects that 2020 will bring our way.

Cheers,

~Kathy

Change is all around us by Kathy Hochstetler

changeisallaroundus

Change is all around us

Summer is flying by…it seems like we just celebrated our 5 year anniversary and that was a month ago. I hope you plan on soaking up each moment of summer that we have left, John and I are planning on it.

We are constantly creating and adding new creations to the studio. Here is a glance at what we’ve been up to lately.

Do you know what this flea market find was before we got our hands on it? A warehouse cart. Most of the warehouse carts we find end up becoming a coffee table but I had a different vision for this one. You see, it had those “ladder” sides on it when we found it and that gave me an idea…to transform it into a tv stand. That seemed too permanent so John helped me come up with a better solution. He created adjustable shelves out of locally salvaged chippy barn wood. This way it can be whatever your heart may desire: tv stand, bookshelf, kitchen storage, and the list goes on. When we put our heads together, you never know what will happen.

How cozy is this space? John used one of our reclaimed barn beams as a mantel for this makeshift fireplace. We went round and round with ideas for this space and this is what we came up with. The wall under the mantel was painted with chalkboard paint. Each brick was then chalked in to create the brick pattern. A little time consuming but I love the result.

We have a stock of barn beams to choose from to create a mantel just for your space and if we don’t have what your looking for, we’ll do our best to find it.

Are you a fan of sliding barn doors? This one features local barn wood with a special finish to show all the character. We love to use vintage track and hinges to finish off the look. Why would you want to use mass produced hardware when you can use vintage patina hardware like this? The amazing thing is that this door slides easily on the vintage track.

We would love to help you come up with a custom door design to fit your space and style. And of course, if you want to use reproduction hardware, we have a source for that.

Well, there you have it…a little glimpse into what’s new at Studio 4. Thanks for following along!

Much love,

~Kathy

Cheers to 5 Years! by Kathy Hochstetler

072.jpg

Cheers to 5 Years

Time flies when you’re doing what you LOVE!

It’s amazing to think that John and I do what we love everyday here at Studio 4 Designs! How is it possible that 5 years have passed, just like that? June 3, 2014 was the date that changed our lives as we knew it. That was the very first day that we opened our studio doors to the public. We felt like we were releasing our hearts into the world on that day. We love to create one of a kind furniture and home furnishings, to put our own unique twist on things.

Needless to say, this has us browsing through old photos and reminiscing. Just look at the first photos that I shared on social media on that very first day.

It is funny for me to see how spread out our displays were in those first days. Another thing is the photo quality….or lack there of. Ha! But hey…we were just winging it and getting things done. So much has been learned over the years and I’m grateful that we weren't afraid to go for it.

The studio has definitely evolved and filled up over the years.

Because of this wonderful place, John has had the opportunity to work on so many custom projects. It is a true privilege to make your furniture dreams come true.

Thank you for being a part of our journey! We are thankful for each of you!

Cheers!

~Kathy

Hello March by Kathy Hochstetler

Are You READY for Spring?

Okay, so it’s not just me, then…

These Ohio winters never seem to end, am I right? During these winter months, we take the time to put our heads down and create. John and I have been working hard to add some new furniture and decor to the studio.

What do you think of this reclaimed coffee table? The concept with this piece is multipurpose. It would be perfect to do homework, computer work, even eat your meal while watching a movie and, of course, it is a great place for your coffee cup and favorite book. John and I found the reclaimed legs at the last flea market we attended. The layers of paint were hard to pass up!

Around this time last year, I learned macrame. It was something that had intrigued me and I searched out tutorials to figure it out. These days with the internet, you can learn anything you want with the search bar. This year I have added an extra layer to my macrame wall hangings by incorporating weaving. It is therapeutic and I love it! It’s never too late to learn something new.

To be Creative means to be in love with life. You can be creative only if you Love life enough that you want to enhance its Beauty, you want to bring a little more Music to it, a little more Poetry to it, a little more Dance to it.
— Osho

This console table features maple with a dark gray glaze and reclaimed cast legs. The shelf is a great place for extra storage. I can see this table being useful in a foyer or for serving food in a dining room. The uses are endless.

We have added to our camera collection this winter featuring cameras from the early 1900s to 1960s. Not sure what it is about cameras but I love to clean them up and find unique ways to display them.

Plan a trip to Amish Country to explore what’s new. If you aren’t able to shop with us in person, check out our Etsy shop and Facebook page.

Don’t worry. Spring is just around the corner! Until then, enjoy each day that you are given.

Cheers! ~Kathy

Decorate your Christmas Tree like a Designer by Kathy Hochstetler

276.JPG

Follow These

Easy Steps

How do I begin?

It can be an overwhelming feeling when you pull all of those Christmas boxes out of the attic. Am I right? But I’ve got some tips for you to decorate your tree with confidence, like a Christmas elf.

Did you know that I worked at Tis the Season, a local Christmas store, prior to opening our studio? While employed there, I learned many tricks to decorating trees. You have to when you are working with over 70 trees each year!

203.JPG

Set Up and Lighting

Whether you are working with a live or artificial tree, it can be an easy process.

For an artificial tree, start by positioning the bottom section of the tree in the stand. Then fluff that section, which simply means bending the branches around to make the tree look more realistic. After you have that section fluffed, place the next section and repeat until your whole tree is together.

Live and artificial trees are lit in the same fashion. Make sure you are placing those lights in the center of the tree and out towards the branch tips, weaving in and out. A helpful tip: work on half (front/back) of the tree at a time. Start at the bottom of the tree and work your way to the top.

If your tree is prelit, be sure to replace burned out bulbs as you work through each section.

204.JPG

Add Dimension

What’s next? If you are adding some pine/floral picks, this is the time to do that. Just simply fluff (there’s that fancy word again) those picks. Give them movement, make them look like they are real, not flat as cardboard like when you bought them in the store. Add them into your tree to add some character and dimension. I opted to add some different picks into the tree later in the process to fill in some gaps.

205.JPG

Think Big

Pull out all those ornaments and objects that your are putting on the tree. Keep in mind, you need different sizes, shapes and textures to make for a unique tree.

Be creative. As you can see, I used scoreboard numbers and vintage cameras, as well as those traditional vintage ornaments.

Start by adding the largest items on the tree. Tuck them into the tree towards the center.

I know! Your tree can look kinda scary after this step but TRUST me. After each layer the tree looks better and better.

206.JPG

Now, the FUN Part!

Keep adding the ornaments to the tree. Just work from large to small. Tucking those larger items towards the center of the tree, filling in those gaps. As you get to the smaller ornaments, work your way out to the ends of the branches. This gives your tree dimension, are you tired of hearing that word yet?

If you are going with a monochromatic theme, be sure to use shades of the color. Just another designer tip.

207.JPG

Finishing Touches

Next, I added another pine pick. Position throughout the tree to fill in the gaps.

If you are using a garland, this would be the time to add that onto your tree. I find it easier to start at the bottom and work your way to the top. And only work on half of the tree at a time, start with the front first.

Are you traditional and love a big bow at the top of the tree? Now is the time to put it on the tree.

013.JPG

That wasn’t so hard, was it?

Don’t forget to hide that ugly tree stand with a tree skirt.

A very important step: grab your favorite beverage, sit back and enjoy the twinkling lights.

Remember to get creative and make your tree a reflection of your personality.

Merry Christmas!

Much Love,

Kathy

Express your style by Kathy Hochstetler

327.JPG

Create a Home You Love


Start with what you love

When it comes to styling your home, start with what you love.  Your instincts are right.  I hear so many people say that they love a style but it can't be incorporated into their home.  I beg to differ.  Styles and textures mix to create your own unique style.  You do not need to stick with one distinct look.  That's what is great about today design, anything goes.  Don't be afraid to create a home that is a unique expression of you.  Be bold.  Be different.  Find things that not just anyone will incorporate into their home.

Start with that one item that you really like and build around that, whether it is a piece of furniture, art work or a plant.  Add accessories with similar content, color, or texture.  Take your time with this process.  Be sure to find the things you really like without compromising.  Before you know it, you have a cohesive look that is uniquely you.

Color

Adding color into your space can easily be done.  Generally, the way I use color is to repeat it at least three times in a space.  I am a color lover and enjoy adding pops to any space.  The trick is placement of the color, making your eye dance around the room to take it all in.  Plus, different textures are important.  Although, there is something striking about adding a stand alone bold colorful piece into your space.  

007.JPG

Texture

Different textures and mediums help to soften your space and add warmth and interest.  Bringing in the outdoors with plants helps to soften hard lines, whether they are real or faux plants.  Pillows and throws with varying textures adds another layer.  Especially if you are sticking with a neutral pallet, texture is important.  It creates contrast and helps everything to not blend together.  I find that keeping things simple and clear of clutter lends to a more relaxing setting to live in.

022.JPG

Get started today

Don't hesitate on starting to change your home.  Start today and take small steps towards your ultimate goal.  No matter your budget, you can make simple changes that will have a big impact.  A lot of time is spent in our homes and we might as well enjoy them.  I would love to see how you are making your house a home.  And if you have any questions, ask away.  I will do my best to answer.

Much Love, 

Kathy