
Follow These
Easy Steps
How do I begin?
It can be an overwhelming feeling when you pull all of those Christmas boxes out of the attic. Am I right? But I’ve got some tips for you to decorate your tree with confidence, like a Christmas elf.
Did you know that I worked at Tis the Season, a local Christmas store, prior to opening our studio? While employed there, I learned many tricks to decorating trees. You have to when you are working with over 70 trees each year!

Set Up and Lighting
Whether you are working with a live or artificial tree, it can be an easy process.
For an artificial tree, start by positioning the bottom section of the tree in the stand. Then fluff that section, which simply means bending the branches around to make the tree look more realistic. After you have that section fluffed, place the next section and repeat until your whole tree is together.
Live and artificial trees are lit in the same fashion. Make sure you are placing those lights in the center of the tree and out towards the branch tips, weaving in and out. A helpful tip: work on half (front/back) of the tree at a time. Start at the bottom of the tree and work your way to the top.
If your tree is prelit, be sure to replace burned out bulbs as you work through each section.

Add Dimension
What’s next? If you are adding some pine/floral picks, this is the time to do that. Just simply fluff (there’s that fancy word again) those picks. Give them movement, make them look like they are real, not flat as cardboard like when you bought them in the store. Add them into your tree to add some character and dimension. I opted to add some different picks into the tree later in the process to fill in some gaps.

Think Big
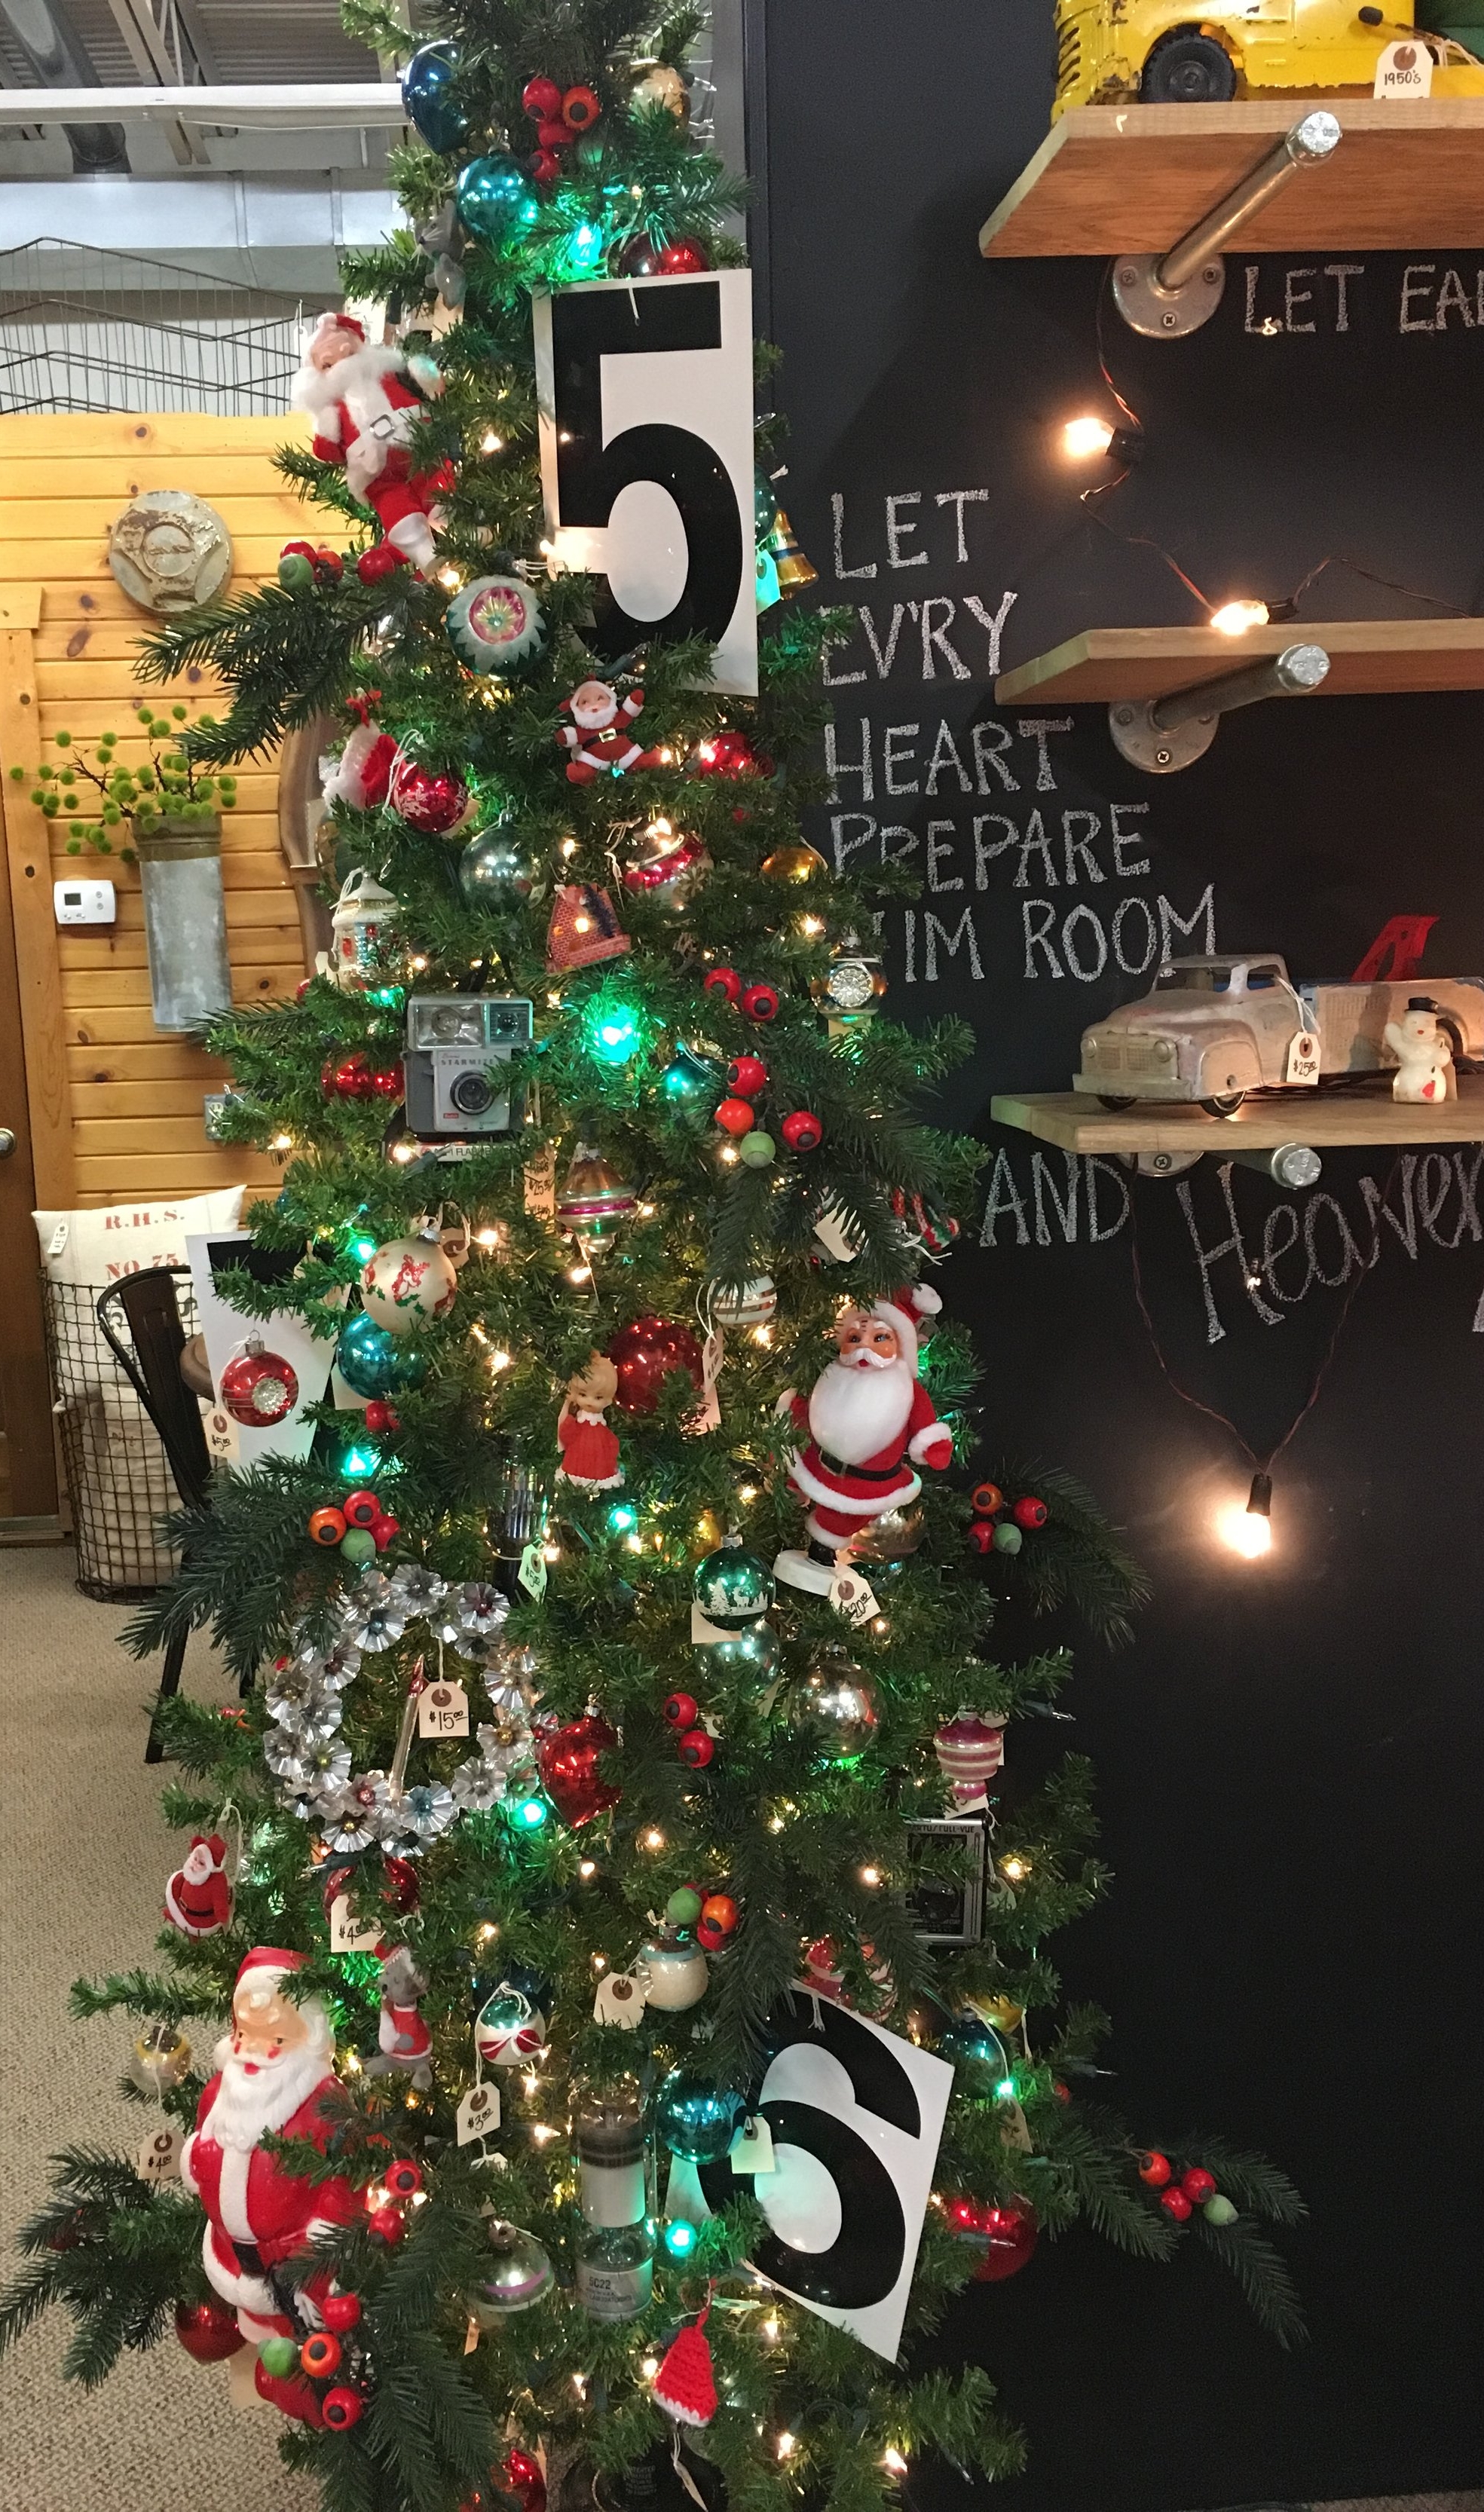
Pull out all those ornaments and objects that your are putting on the tree. Keep in mind, you need different sizes, shapes and textures to make for a unique tree.
Be creative. As you can see, I used scoreboard numbers and vintage cameras, as well as those traditional vintage ornaments.
Start by adding the largest items on the tree. Tuck them into the tree towards the center.
I know! Your tree can look kinda scary after this step but TRUST me. After each layer the tree looks better and better.
Now, the FUN Part!
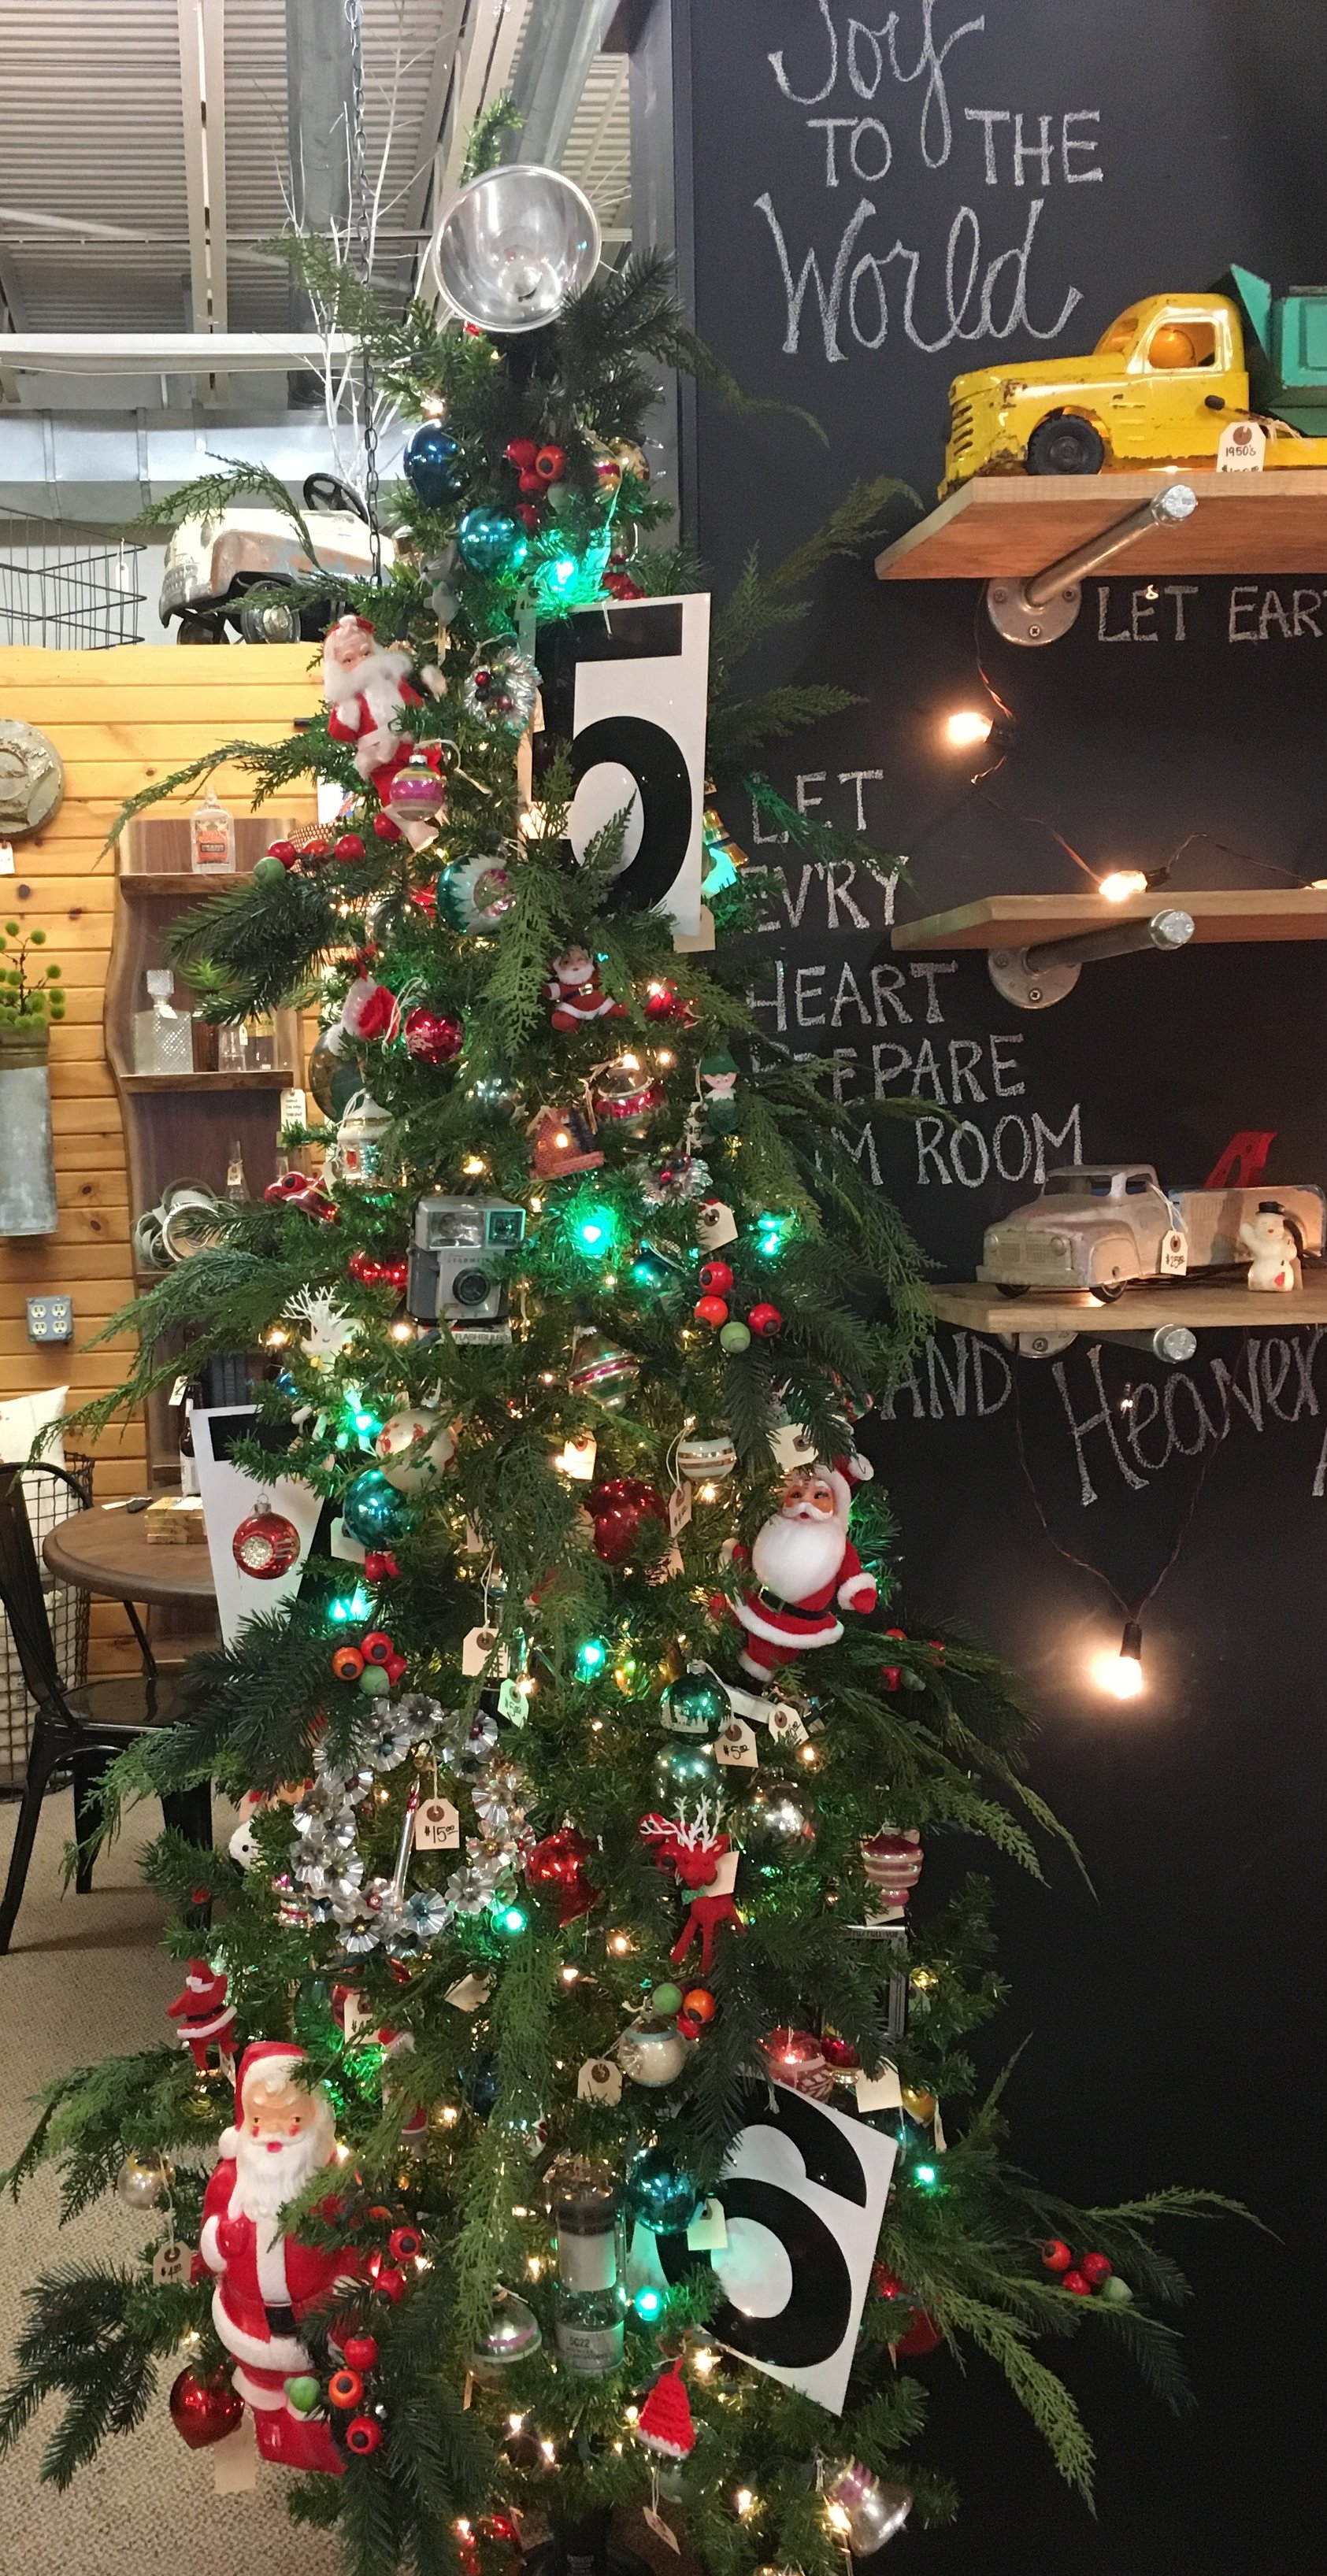
Keep adding the ornaments to the tree. Just work from large to small. Tucking those larger items towards the center of the tree, filling in those gaps. As you get to the smaller ornaments, work your way out to the ends of the branches. This gives your tree dimension, are you tired of hearing that word yet?
If you are going with a monochromatic theme, be sure to use shades of the color. Just another designer tip.
Finishing Touches
Next, I added another pine pick. Position throughout the tree to fill in the gaps.
If you are using a garland, this would be the time to add that onto your tree. I find it easier to start at the bottom and work your way to the top. And only work on half of the tree at a time, start with the front first.
Are you traditional and love a big bow at the top of the tree? Now is the time to put it on the tree.
That wasn’t so hard, was it?
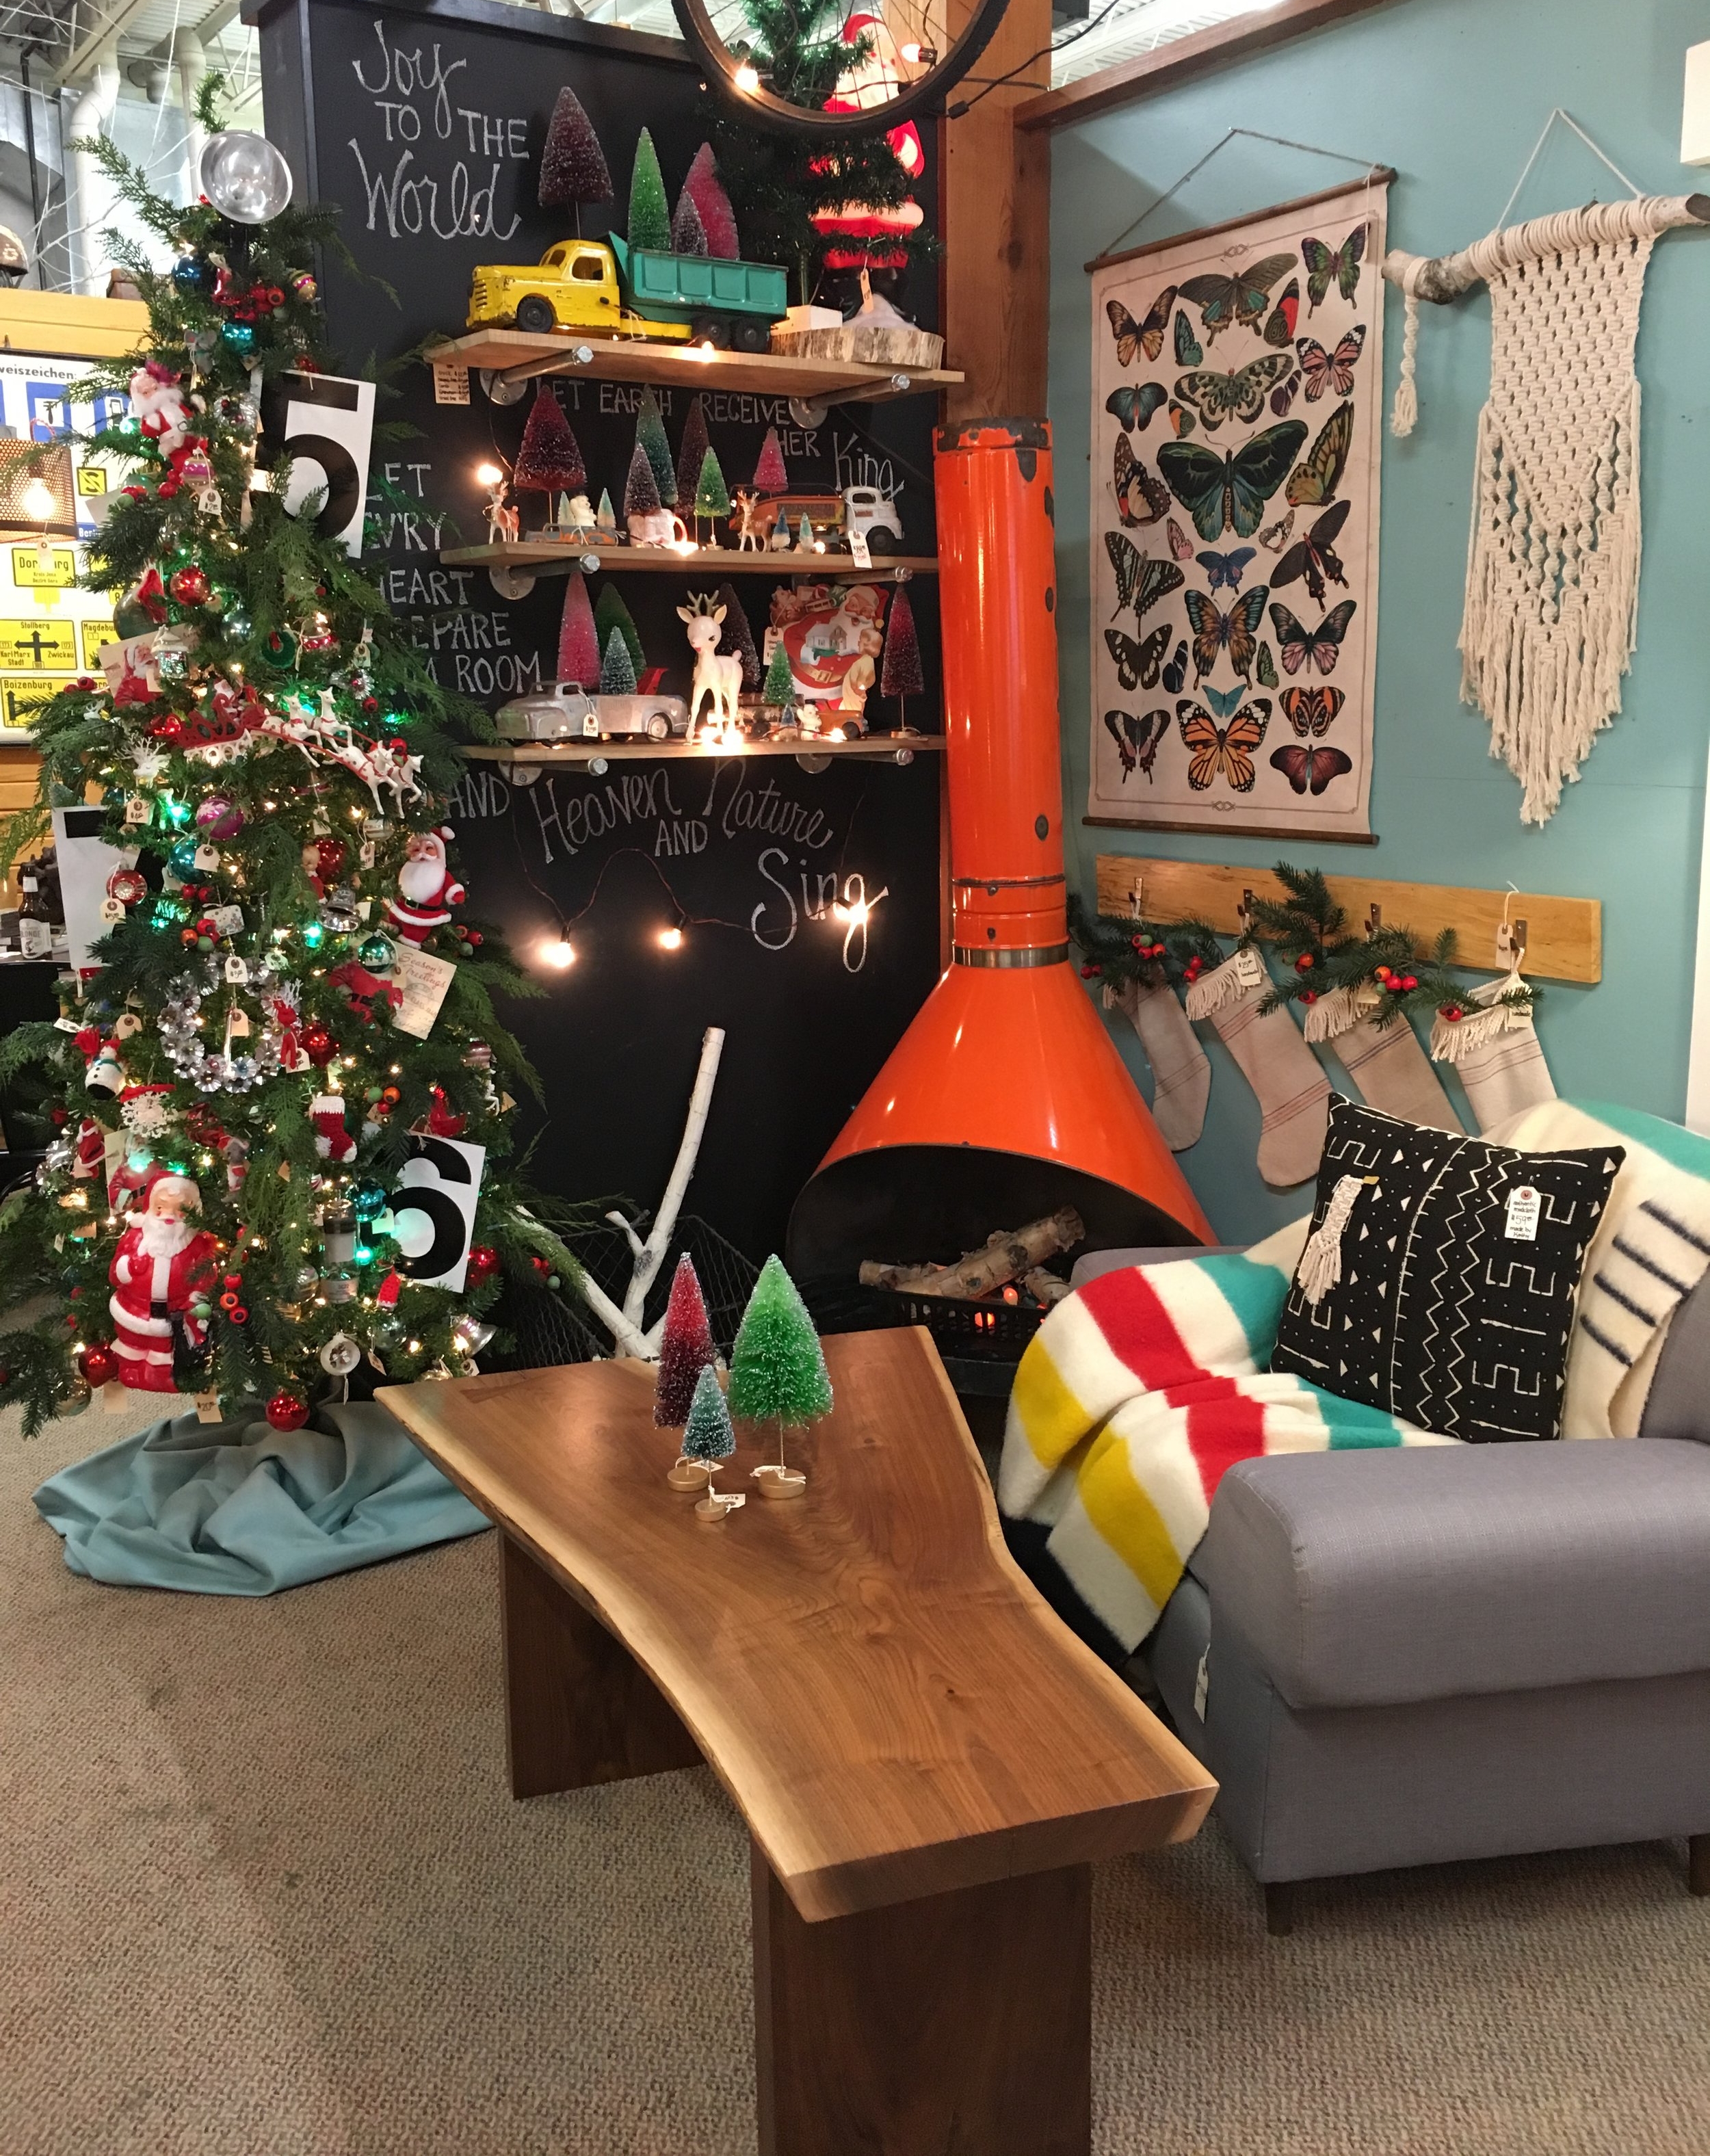
Don’t forget to hide that ugly tree stand with a tree skirt.
A very important step: grab your favorite beverage, sit back and enjoy the twinkling lights.
Remember to get creative and make your tree a reflection of your personality.
Merry Christmas!
Much Love,
Kathy